Understanding the fundamentals of the plastering process is necessary before beginning any construction or restoration project that requires it. Plastering is an art form that helps the aesthetic appeal and practical lifespan of walls and ceilings.
The initial coat of plaster is one of the most important steps because it creates a firm base for the subsequent coats. The term "scratch coat" and "base coat" is usually used to describe this first layer.
The final plaster coat will adhere well to this rough, textured surface created by skilled artisans applying a combination of sand, cement, & lime. The first coat removes the surface and fills in any irregularities, laying the groundwork for a beautiful final product.
In this piece, I'll explain why the initial coat of plaster is so crucial and how it affects subsequent coats.
The Function Of The Initial Plastering Coat
The first coat of plaster, often called the scratch coat, serves multiple purposes and is essential to the finished product. This first coat of plaster has various crucial purposes, including but not limited to:
- Creating a Strong Base: The first coat adheres to the surface and links with the remaining plaster layers. It helps the plaster stick to the wall, which gives the finished product a solid foundation.
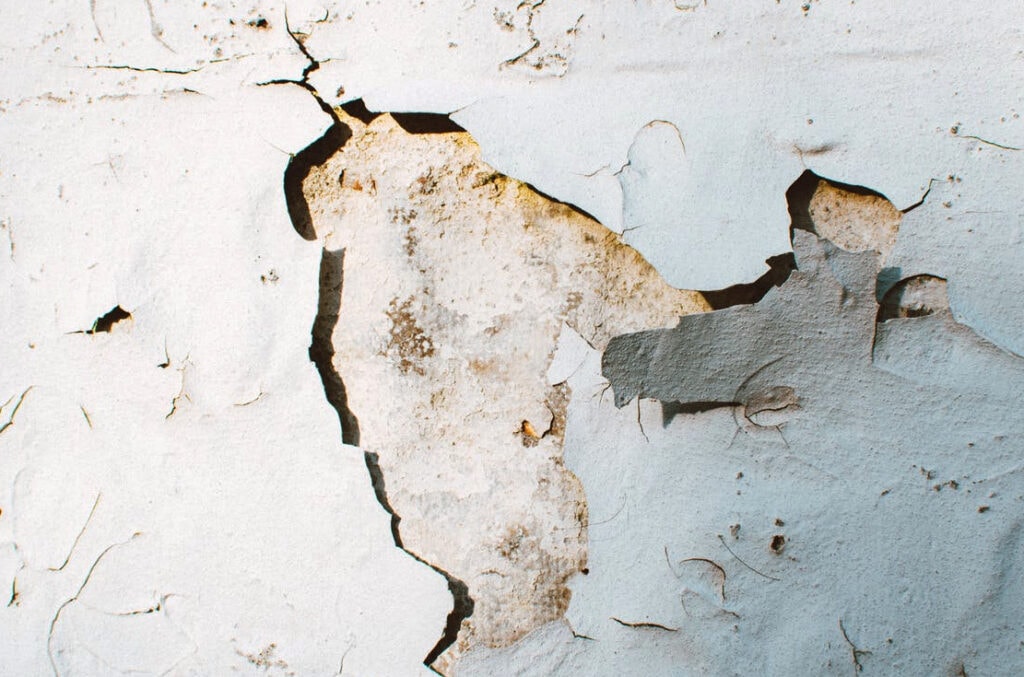
- Preventing Cracks: The initial coat serves to avoid cracks inside the final plaster by giving a rough & textured surface. Cracking due to paint shrinkage and movement is reduced because the texture helps succeeding coatings adhere to the scratch coat.
- Smoothing Imperfections: Before applying the initial coat of plaster, it is necessary to smooth away any defects or abnormalities on the surface. It's used to smooth out the wall before applying the final coats of paint.
- Enhancing Adhesion: A higher clinker ratio in the scratch coat facilitates adhesion to many substrates, including bricks, concrete blocks, and even older plaster. This sturdy connection keeps the plaster layers together for the long haul.
- Providing Insulation: Plaster provides some insulation on its own, while the initial coat adds to that by acting as a barrier between the inside and the exterior. This helps keep the house at a more agreeable temperature throughout the year.
- Soundproofing: The initial coat's thickness can also help with soundproofing by limiting the amount of noise that travels through the walls and into other rooms.
- Absorbing Moisture: Drying time is shortened, and cracking is minimised thanks to the first coat's capacity to soak up excess moisture from subsequent applications.
- Aesthetic Purposes: Although the first coat of plaster is not what is ultimately seen, it can affect how the finished product looks. When done properly, a scratch coat creates a homogeneous and sturdy foundation that boosts the surface's visual appeal.
To get a long-lasting, smooth, and aesthetically acceptable plaster finish, the initial coat is crucial. When applied correctly, it assures that succeeding plaster coatings will adhere properly, reducing the likelihood of cracks and improving the surface's overall performance.

The First Plastering Coat
While plastering, the first layer applied is the first coat, also called the scratch coat. It's a must-do if you want perfectly smooth plastered walls and ceilings. This coat establishes the groundwork for the rest of the plaster and is essential to the surface's long-term quality and durability.
Meaning And Importance
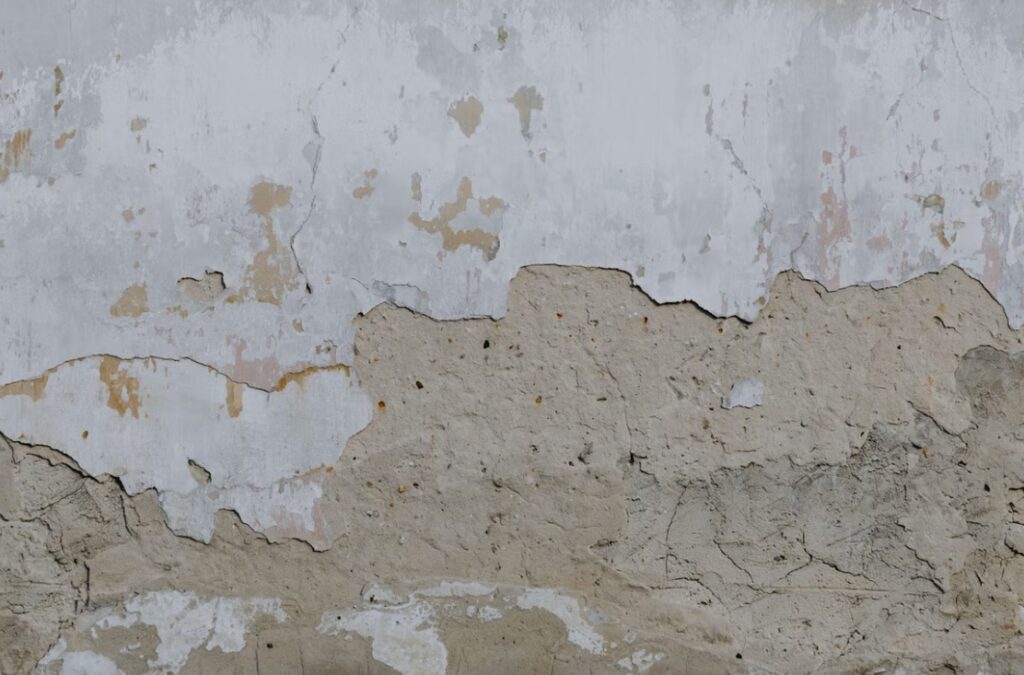
A good bond between the plaster and, indeed, the surface beneath it is the primary goal of the first coat. The resulting rough & textured base improves adhesion for subsequent applications and eliminates the possibility of delamination and fractures. Plaster failures and unattractive defects are possible if the initial layer is not put correctly.
Minor wall or ceiling defects can be smoothed out with the first application. It evens out rough spots so that the final coats of plaster may be applied more easily. This smoothing effect helps create a polished appearance.
Preparation And Implementation
Preparation is the key before the first coat is applied. Any debris, dust, or other particles that can prevent proper adhesion must be removed from the surface. Plaster's ability to adhere to a surface is further enhanced by applying a little mist of water to the area.
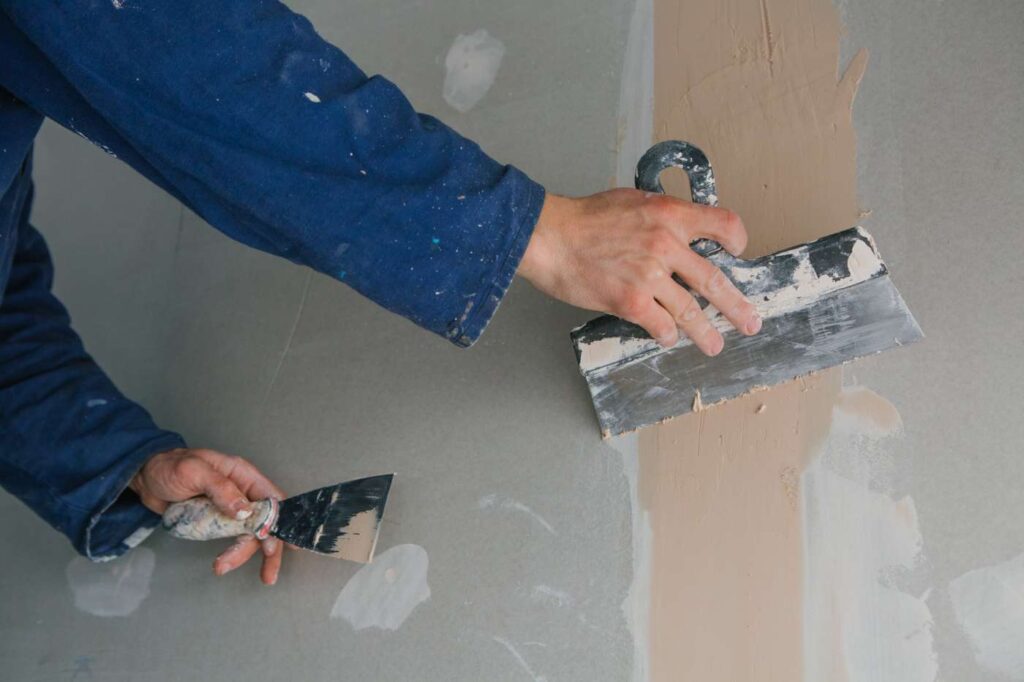
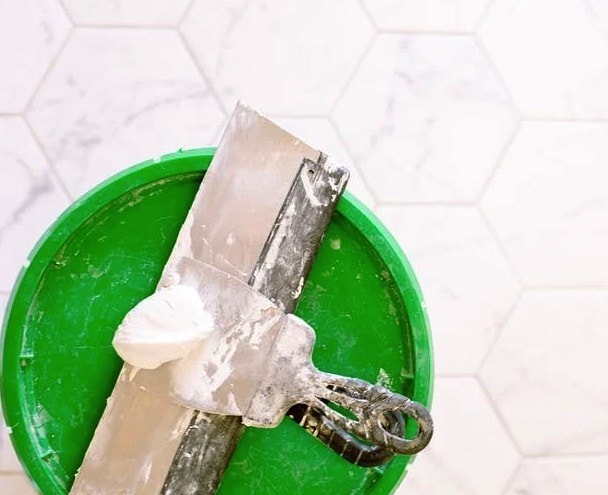
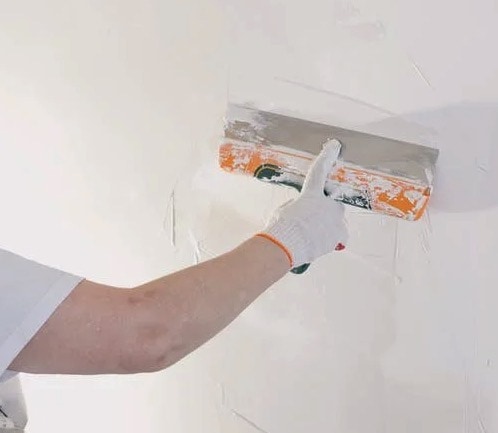
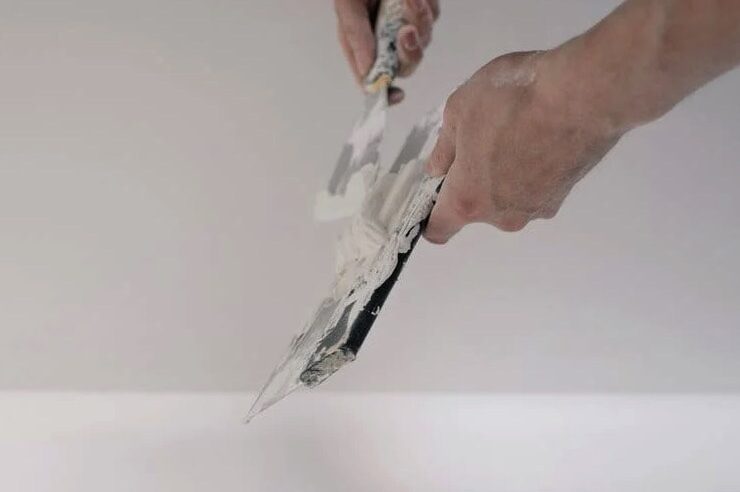
First-coat plaster is often a combination of cement, sand, & water. The plasterer mixes the materials to the right consistency, checking for and eliminating lumps and air pockets as necessary. The plasterer next spreads the first coat out evenly across the surface using a trowel.
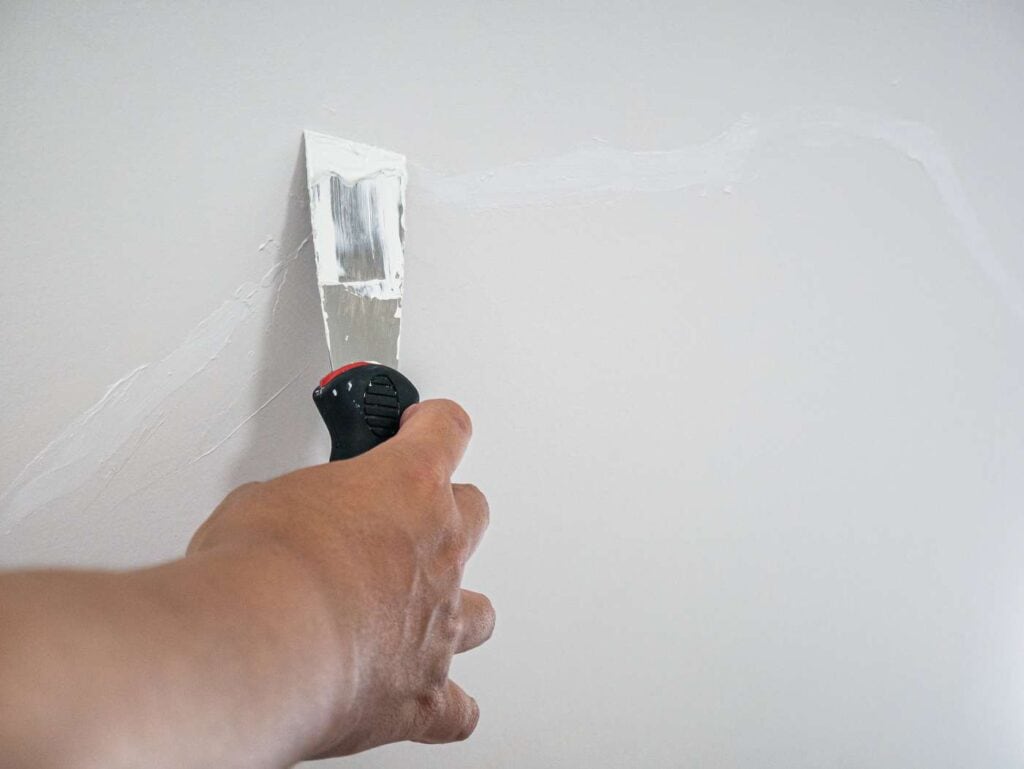
The scratch coat is made by the plasterer making horizontal lines in the wet plaster with the trowel. The roughness of the surface improves the bond between the paint layers. First coatings are often thinner than subsequent coats to promote optimal bonding.
Drying And Curing
It's vital to give the initial coat enough time to dry and cure after application. The plaster needs to be kept damp for a few days so that it can gradually gain strength while it cures. A robust and long-lasting finish can be achieved with proper curing, which also reduces the likelihood of cracking.
After the initial coat of plaster dries, it creates a foundation for future coats. The quality and efficacy of the initial coat determine the success of subsequent coatings. A poorly applied or improperly cured first layer might undermine the entire plaster job and cause problems in the long run.
A smooth, long-lasting, and aesthetically pleasing plaster finish relies heavily on the first coat of plastering. It ensures that succeeding coatings will adhere well to the surface and establishes a solid base for the coating. To achieve a high-quality plastered surface that lasts the test of time, the first coat is essential for levelling defects, strengthening structural integrity, and allowing for appropriate curing.
Experienced plasterers recognise the value of this foundational coat and apply it with great care to ensure a finish that will stay.
Factors Influencing The Initial Plastering Coat
First-Coat Plastering Factors: Identifying the Driving Forces
The initial coat of plaster, often called the scratch coat, is an essential part of the plastering process as a whole. It lays the groundwork for following applications, guaranteeing a robust and long-lasting plaster finish.
Some variables can drastically alter how well the first coat holds up. To plaster successfully, one must be aware of these considerations.
Weather And Climate Conditions
Plaster's first coat is sensitive to weather conditions on the day it is applied. Plaster's workability and surface adherence can be negatively impacted by quick drying caused by exposure to extreme temperatures, excessive humidity, or direct sunshine.
Plastering is best done while temperatures are reasonable, as this will allow the material to cure properly and prevent problems like cracking and poor bonding from occuring.
Material Used For Plastering
Plasters made from various ingredients, such as cement, lime, or gypsum, have advantages and disadvantages. Setting time, workability, & bond strength are only some of how each material responds to changes in environmental circumstances. While applying the initial coat of plaster, it is essential to select the right material for the job and the surface.
Surface Cleaning
For the initial coat of plaster to stick properly, the surface must be properly prepared. Adhesion will be improved if the surface is prepared by removing dust, debris, or pollutants. Plaster adhesion to its substrate can be strengthened by first dampening the surface, resulting in a more durable base layer.
Plasterer's Ability
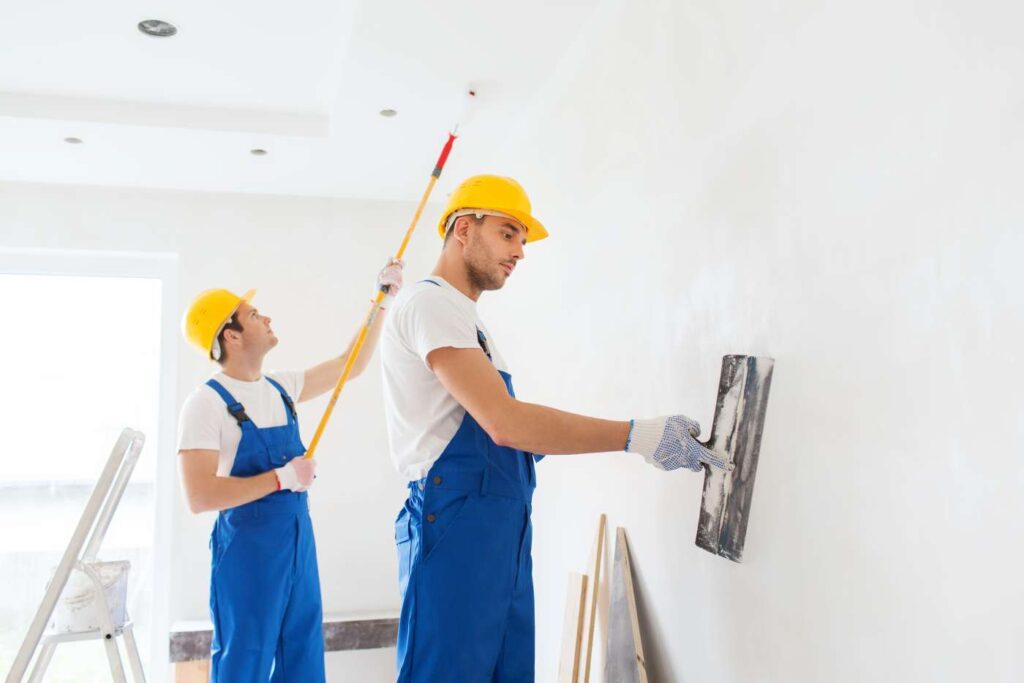
The quality of an initial layer is heavily dependent on the plasterer's experience and talent. Skilled plasterers know how to get the plaster mix just right, how to spread it evenly, and how to produce a uniform scratch coat with the desired texture. If you hire a pro, you can rest easy knowing that the initial coat will be placed evenly and without cracks in the plaster.
Consistency In Mixing And Application
Plastering requires consistency when mixing the material to ensure a good initial layer. Plaster that has been correctly prepared is easy to apply evenly and forms a solid base for subsequent layers. Adhesion and smoothness are compromised if the mixture is excessively liquid or has lumps.
Curing Procedure
The desired durability and strength cannot be achieved without allowing the first layer to cure properly. To cure the plaster, it must be kept damp during its first setting. This slows the rate at which the plaster hardens, reducing the likelihood that it may crack. If the first coat doesn't cure properly, it can undermine the structure and cause problems in the long run.
Environmental Aspects
The initial coat can be affected by environmental conditions, such as the amount of dust or particles present. Plaster's bonding and appearance can be ruined if dust settles on it while it's still wet. Plastering in a clean, controlled atmosphere is essential for producing a good first layer.
The first layer of plaster is crucial, and its performance is dependent on a number of things. An effective and long-lasting initial coat requires thought towards climate, selection of plastering material, surface preparation, competent application, suitable curing, and sensitivity to climatic conditions.
Plasterers may ensure a seamless and effective plastering project, laying the groundwork for a beautifully finished surface by knowing and resolving these contributing elements.
The Importance Of The First Plastering Coat
The initial coat of plaster, often called the scratch coat, is crucial to the success of the plastering job as a whole. This first coat of plaster is what the finished product will look like. It is crucial to the achievement of a high-quality, long-lasting plaster finish. Let's take a closer look at why the priming coat of plaster is so important:
- Creating a Strong and Durable Base: The initial coat of plaster serves as a bonding layer between both the surface and the succeeding coatings. It makes a strong bond to the subfloor and serves as a sturdy base for the subsequent coats of plaster. There will be no chance of debonding or plaster failure if the first layer is put correctly and the following coats adhere to it.
- Preventing Cracks and Shrinkage: The major purpose of the base coat is to reduce the number of cracks inside the finished plaster. The first layer, known as the "scratch coat," creates a rough surface that improves the adhesion of the subsequent layers. As the plaster dries & settles over time, this lessens the risk of cracks produced by shrinkage or movement.
- Levelling and Smoothing Imperfections: Neither the walls nor the ceilings are always flat and smooth. Plaster's first layer smooths down the surface so that subsequent coatings can be applied more easily and uniformly. The smooth and aesthetically pleasant finish achieved by this levelling effect greatly improves the plastered surface's visual appeal.
- Enhancing Structural Integrity: The initial coat of plaster is crucial to the durability of the finished wall or ceiling. It strengthens the surface and adds durability by bonding strongly to the substrate below. For load-bearing walls, in particular, this is crucial, as it strengthens the building's foundation.
- Improving Insulation and Soundproofing: Plaster provides some insulation on its own, and the initial coat helps to maximise that effect. The extra coat of plaster helps insulate the wall and keeps the interior at a more agreeable temperature. Moreover, the initial coat's thickness can aid in soundproofing by decreasing sound transfer between rooms or to the outside.
- Providing a Neat and Professional Base: The first coat of plaster determines how the finished product will look. A smooth and even scratch coat lays a professional foundation for future layers. This adds to the overall beauty of a plaster finish and makes it more inviting to the eye.
- Ensuring Longevity and Durability: The overall durability and strength of the plastering system are improved by a first coat that is both thick and well-bonded. If the structure is sound, the plaster will stay longer without cracking, peeling, or decaying. As a result, the plaster finish will be more resilient throughout time and in different climates, requiring less upkeep overall.
The foundation of a well-executed plastering job is the first coat. A robust, long-lasting, and aesthetically attractive finish is guaranteed with its correct application. The initial coat establishes the foundations for a plastered finish that lasts time by building a firm foundation, avoiding cracks, levelling irregularities, and boosting structural integrity. The success of a faultless & long-lasting plaster finish depends on this phase. Thus, plasterers must pay close attention to it.
Plastering Advice For A Better First Coat
Plastering success depends on a solid initial coat, which forms the basis for the rest of the work. Here are some helpful hints for a professional-looking and long-lasting base coat:
Make Usage Of High-Quality Plastering Materials
Spend your money on high-quality plaster for the initial coat. Using high-quality components improves the plaster's longevity and ease of application. While mixing the plaster, be sure to use reputed brands and according to the instructions provided by the manufacturer.
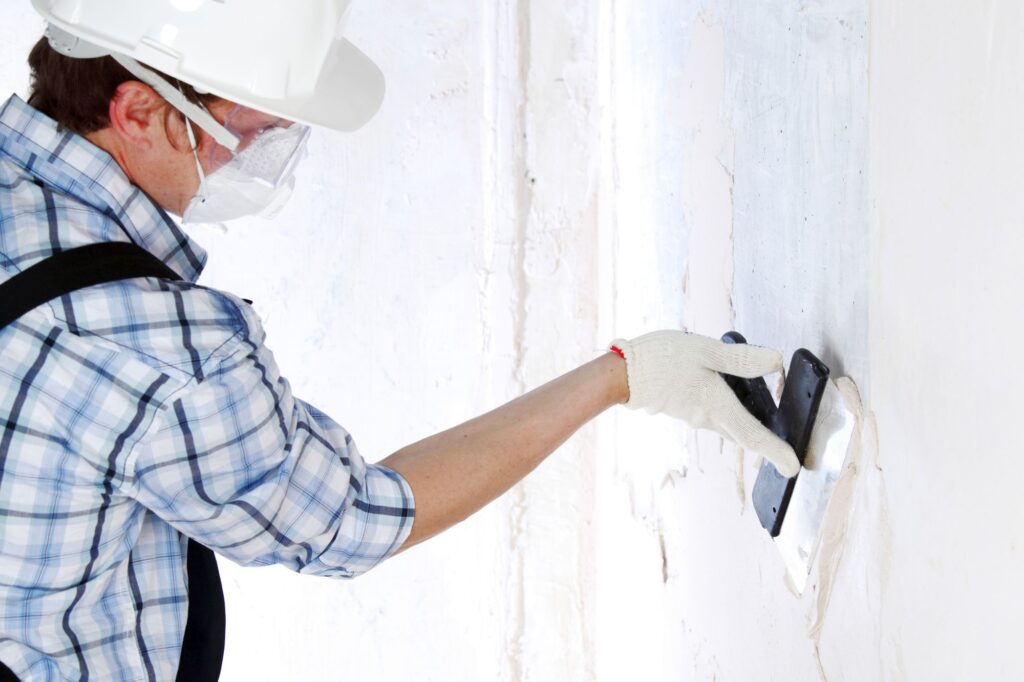
Prepare The Surface Correctly
When applying the first layer, make sure the surface is completely clean. Remove the debris and dust that could prevent the adhesive from sticking. The plaster will adhere better to a damp surface, so do that as well. The foundation for a good first coat is laid by thorough surface preparation.
Keep The Correct Consistency
Make sure the plaster has the right consistency before you start applying it. Plaster with the right consistency is simpler to spread and sticks better to the substrate. The quality of your initial coat can be compromised if the mixture is either too thin or too thick.
Expertise In Application
Skill and accuracy are needed to apply the initial layer. Get a professional plasterer's help to get the first coat on evenly and correctly. The likelihood of problems like uneven surfaces and plaster failures is diminished when a competent plasterer is employed.
Make A Scratch Coat Using Texture
A proper first coat includes a scratch coat. Make scratches or lines in the wet plaster with a trowel. The successive coatings will adhere better to this rough surface, protecting against cracking and establishing a secure bond.
Let Enough Curing Time
When the initial coat has been applied, it must be allowed to cure fully. The plaster needs to be kept damp for some days so that it can gradually gain strength while it cures. Drying too quickly might cause cracks and damage the plaster, so don't rush it.
Manage Environmental Factors
Keep the area where the plastering is happening tidy and under control. The gloss and adhesion of the plaster might be damaged if dust or debris settles on it while it is still wet. Keep the area as traffic-free as possible while the plaster is still wet.
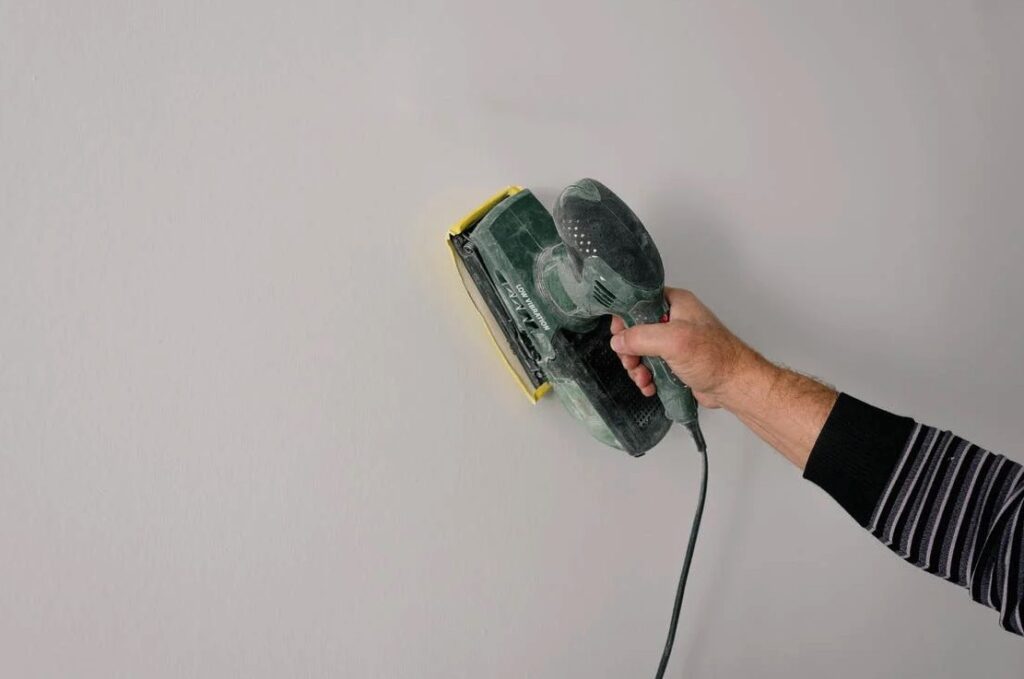
Check For And Correct Flaws
Once the first coat has dried, you should examine the surface for flaws and unevenness. Fix any problems right away before applying new layers. Fixing tiny imperfections before applying the final coat of plaster will yield better results.
Keep The First Coat Safe
Keep the initial coat out of direct sunshine or extreme wetness as it cures. Plaster can be kept at the ideal moisture level while curing by covering it with a damp cloth.
Get Professional Help
Ask a skilled plasterer for advice if you have any questions while you apply the first layer. You can count on their advice to help you put on a good initial layer of plaster and finish your project efficiently.
By following these tips, you can ensure that the first coat of plastering sets the stage for a flawless and long-lasting plaster finish. Proper preparation, skilful application, and attention to detail are key to achieving a successful first coat that lays the groundwork for a beautifully plastered surface.
Conclusion
The first coat of plaster, also known as the "scratch coat," is an important part of the building process because it makes a solid base for the next coat. This first layer, which is often called the "base coat," is made by skilled workers who mix sand, cement, and lime together. The scratch coat smooths out the surface and fills in any bumps, making it possible for the end product to look great.
The scratch coat has many uses, such as making a strong base, stopping cracks, smoothing out flaws, improving bonding, insulating, reducing noise, and soaking up moisture. It also changes the look of the finished product because it provides a solid, uniform base that makes the surface look better.
Before you put on the first coat of plaster, you need to do some planning and work. This makes sure that the plaster sticks well to the surface underneath. With a trowel, you make parallel lines in the wet plaster to make the first coat. This helps the paint layers stick better to each other. In order to get the best bond, the first coat is often lighter than the rest.
Drying and curing are important for the first coat to dry and cure, which gives it time to get stronger and makes it less likely to crack. The quality and effectiveness of the first coat determine how well the rest will work. If the first layer of plaster isn't put on right or doesn't dry right, it could ruin the whole job and cause problems in the long run.
The first coat of plaster depends on the weather and temperature, the type of plaster used, how clean the surface is, and how well the plasterer can apply the first coat. By keeping these things in mind, the first coat of plaster is important for making a smooth, durable, and visually pleasing finish. When tiling, the quality of the first layer depends a lot on how skilled and experienced the plasterer is. Skilled plasterers know how to mix the plaster right, spread it evenly, and make a uniform scratch coat with the right thickness. For a good first layer, you need to be consistent with how you mix and apply the paint. This makes sure that the next layers will have a strong base. To keep the plaster from breaking and to make sure it will last, keep it damp while the first layer is setting. Dust or other particles in the air can affect how well the plaster sticks together and how it looks. To make a good first layer of plaster, you must work in a clean, controlled environment.
The first coat of plaster, also called the "scratch coat," is a very important part of the job. It makes a strong, long-lasting base, stops cracks and shrinkage, evens out and smooths out flaws, strengthens the structure, improves insulation and soundproofing, and gives the next layer a clean, professional place to go. Plasterers must be aware of the weather, choose the right materials, prepare the surface, apply the plaster correctly, let it dry for the right amount of time, and be sensitive to the weather in order to do a good job.
Content Summary
- Mastering plastering basics is vital before any construction or restoration.
- Plastering is an art form enhancing aesthetics and durability.
- The initial plaster coat establishes a sturdy foundation for subsequent layers.
- Termed as the "scratch" or "base" coat, it's a pivotal step.
- Skilled artisans create a textured surface with sand, cement, and lime.
- The first coat removes irregularities, setting the stage for a polished finish.
- The article delves into the importance of the initial plaster coat.
- It serves numerous functions, including creating a strong base.
- Preventing cracks is achieved by the rough texture of the scratch coat.
- Smoothing defects and enhancing adhesion are additional benefits.
- The initial coat improves insulation and acts as a sound barrier.
- Moisture absorption aids in quicker drying and prevents cracking.
- Despite not being visible, the first coat impacts aesthetics.
- A flawless, lasting plaster finish hinges on the initial coat.
- The first layer, called the scratch coat, is vital for smooth walls.
- It's the foundation for quality and durability.
- Proper adhesion between plaster and surface is the primary goal.
- A rough texture improves subsequent application adhesion.
- Proper application of the initial coat is crucial to prevent defects.
- Surface smoothing contributes to a polished appearance.
- Adequate surface preparation is key for the initial coat.
- Dampening the surface before plastering enhances adhesion.
- The right consistency in mixing plaster ensures an even application.
- Professional application guarantees evenness and quality.
- Textured scratch coat boosts adhesion for subsequent layers.
- Curing time is essential to ensure plaster's strength.
- Dust-free and controlled environments aid curing.
- Environmental factors, like dust, impact the outcome.
- Proper initial coat performance depends on various factors.
- Weather conditions impact plaster's adhesion and workability.
- The plaster material choice affects setting time and bond strength.
- Surface preparation involves cleaning and dampening.
- Skilled plasterers ensure proper material application.
- Mixing consistency is vital for an even application.
- Proper curing enhances plaster's durability.
- Dust-free environments contribute to optimal results.
- Quality assurance involves checking and correcting defects.
- Consultation with professional plasterers is valuable.
- The first coat serves as a bonding layer.
- Preventing cracks is a key function of the base coat.
- Levelling and smoothing out imperfections enhance appearance.
- The initial coat strengthens structural integrity.
- Insulation and soundproofing are improved by the scratch coat.
- A neat and level base impacts the final appearance.
- Durability and strength are achieved with a well-bonded first coat.
- The foundation of plastering lies in the first coat.
- Proper application prevents cracks and unevenness.
- Curing time ensures the first coat's stability.
- Environmental management affects drying and curing.
- Professional guidance enhances the first plaster coat's outcome.
Frequently Asked Questions
The first coat of plastering, also known as the scratch coat, is the foundation for subsequent coats. It provides a strong and even base for the final finish and enhances the overall durability of the plaster.
While small plastering tasks can be attempted by homeowners, larger or more intricate projects are best left to professional plasterers. They have the expertise and tools to ensure a high-quality result.
The drying time of the first coat of plastering can vary depending on the climate and material used. It typically takes several days to a week to dry completely.
Yes, the first coat can be applied directly on bricks or concrete blocks. However, it's essential to ensure the surface is clean, dampened, and free of loose particles.
The ideal thickness of the first coat of plastering is usually around 10-12mm. This thickness provides sufficient coverage and ensures a stable base for subsequent coats.