How many layers of plaster do you need to apply before you're satisfied with the look of your walls? When tackling a home improvement or building project, this is a common point of confusion for homeowners and do-it-yourselfers.
Plastering is an essential step in preparing walls for painting, wallpapering, or simply leaving the plaster unfinished for a textured effect. To get the intended effects and guarantee the lifetime of the finish, knowing the optimal number of coats necessary is vital.
Different types of plaster, the state of the substrate, and also the desired final appearance all play a role in determining the optimal amount of applications to apply.
Factors Influencing Coat Number
The number of coatings of plaster required for a proper application is dependent on a variety of factors. A successful plastering project with the appropriate quality and finish can be ensured by paying attention to these details. Let's have a look at the main factors that affect the required number of coats:
Surface Type And Plaster Material
The quantity of coatings of plaster required is highly dependent on the state of the surface being plastered. Several coats may be needed to produce a uniform sheen on rough or uneven surfaces. Conversely, surfaces with a high degree of smoothness may require fewer coats.
The amount of applications also varies depending on the specific plaster material used. Plasters made from gypsum, lime, or cement have unique qualities that determine where and how they can be used. To get the desired effect with some materials, more coats may be needed, while with others, fewer layers may be sufficient.
Desired Ending
While plastering, the desired finish is quite important. Several coats may be required to create the smooth appearance desired if a polished & refined appearance is desired. In contrast, you may just need one or two applications for a more weathered look.
The amount of coatings of plaster needed for a project can be adjusted based on the desired finish, which should be communicated to the plastering crew or contractor.
Climate Conditions
Plaster's drying time between layers can be affected greatly by the weather. Plaster drying time can be extended by wet or cold weather, which might delay the completion of a job.
Plaster may dry too quickly in hot, dry weather, making it difficult to apply further layers. To ensure that the plaster dries and cures properly, it is essential to consider weather conditions and make any required alterations.
Plasterer's Experience
The amount of coats needed also heavily depends on the skill level of the plasterer or team. Plastering professionals have the expertise to determine the optimal number of coatings for a given surface and plaster type.
With their expertise, you won't have to worry about needing further coats or a ruined finish. The desired result sometimes depends on hiring a reputable & skilled plastering contractor.
Homeowners, builders, or contractors can estimate how many coats of plaster will be necessary for a given job if these considerations are considered. Plastering will go more smoothly and quickly if you take the time to plan, learn about the surface and plaster materials, and establish reasonable goals for the final product.
The Plastering Procedure
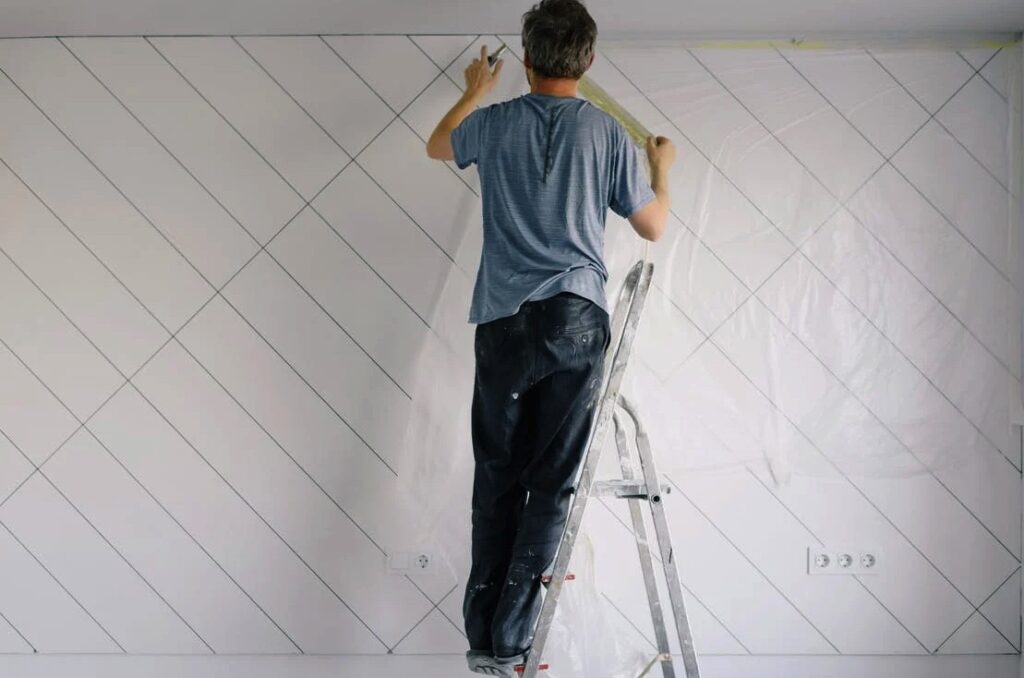
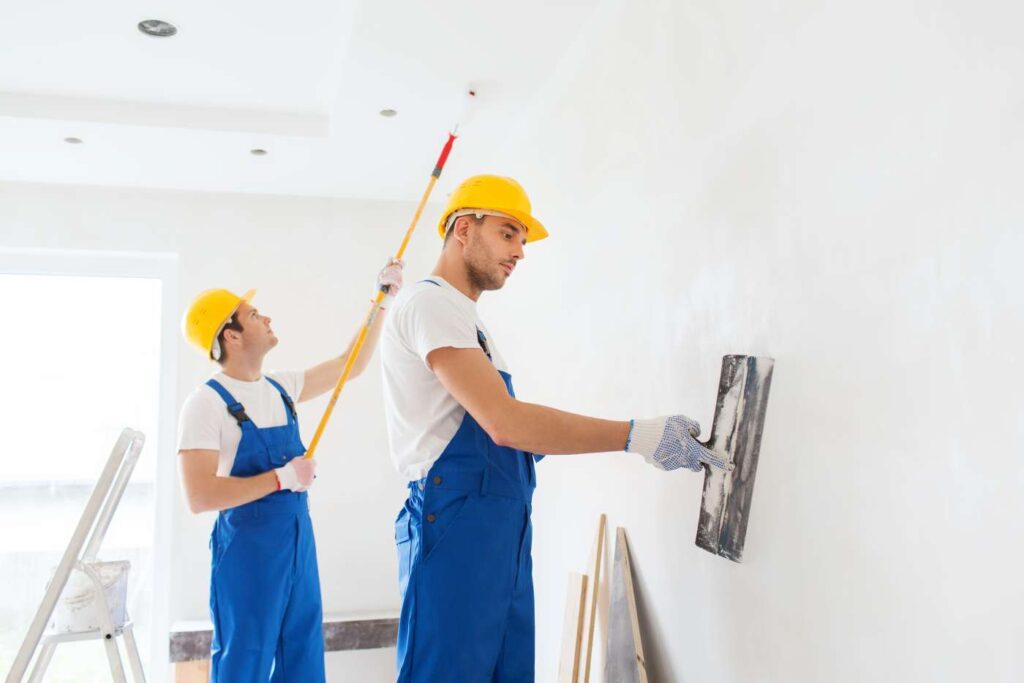
Plastering is a laborious technique that needs precise planning and execution to obtain a beautiful, even coat. Plastering walls, ceilings, and surfaces successfully require careful planning and execution. Let's have a look at the systematic procedure of plastering:
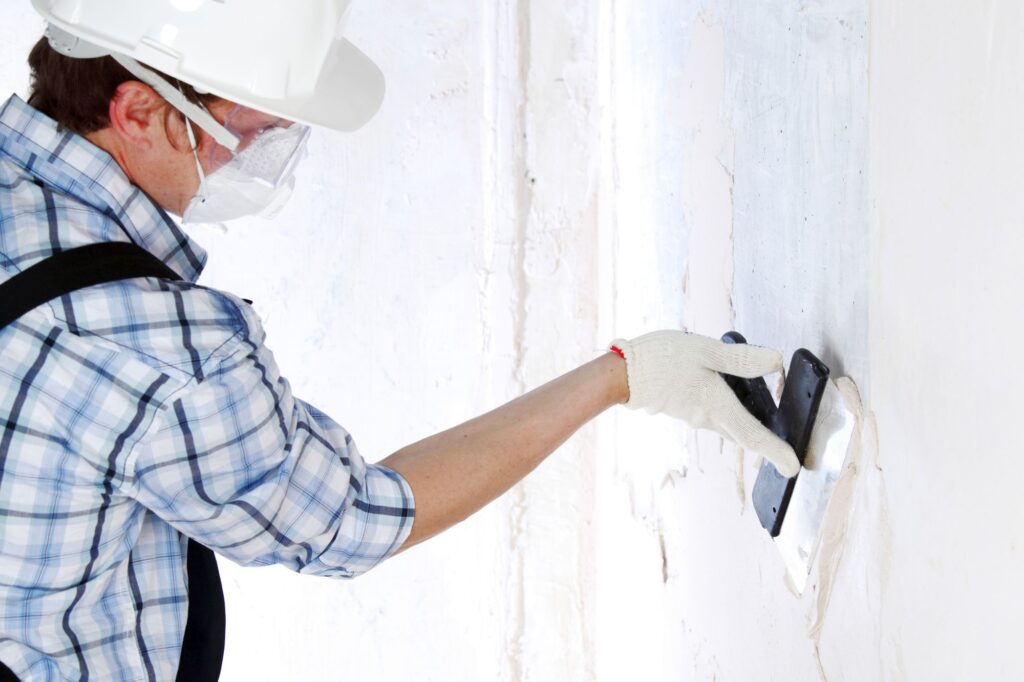
- Preparation of the Surface: It's important to prepare the surface before putting the plaster. Get started by sweeping away any dirt, dust, or other particles from the area. Put some filler in the holes and cracks and wait for it to dry. Dry the area completely, as any moisture will prevent the plaster from sticking.
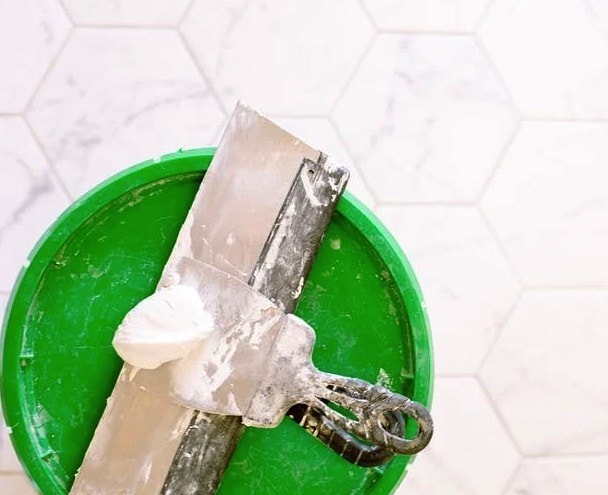
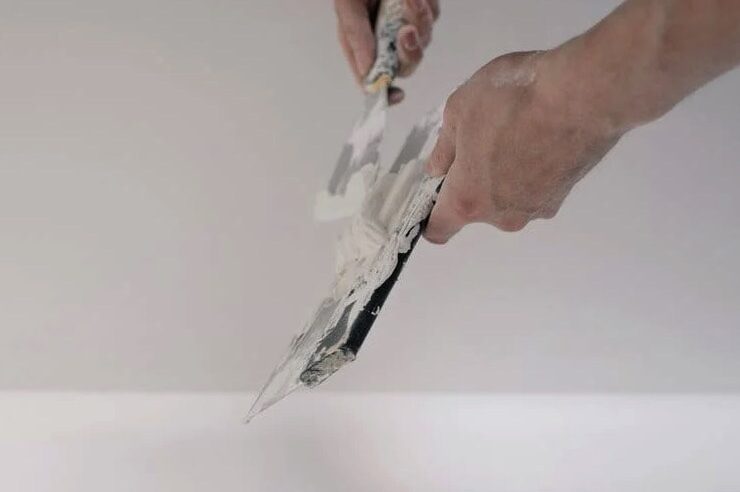
- Mixing the Plaster: The plaster needs to be mixed next. To get the right proportion of plaster to water, just follow the guidelines provided by the manufacturer. To ensure a uniform mixture, use a cleaned container & mixing paddle. Please don't make more plaster than you can use in the allotted time for working with it.
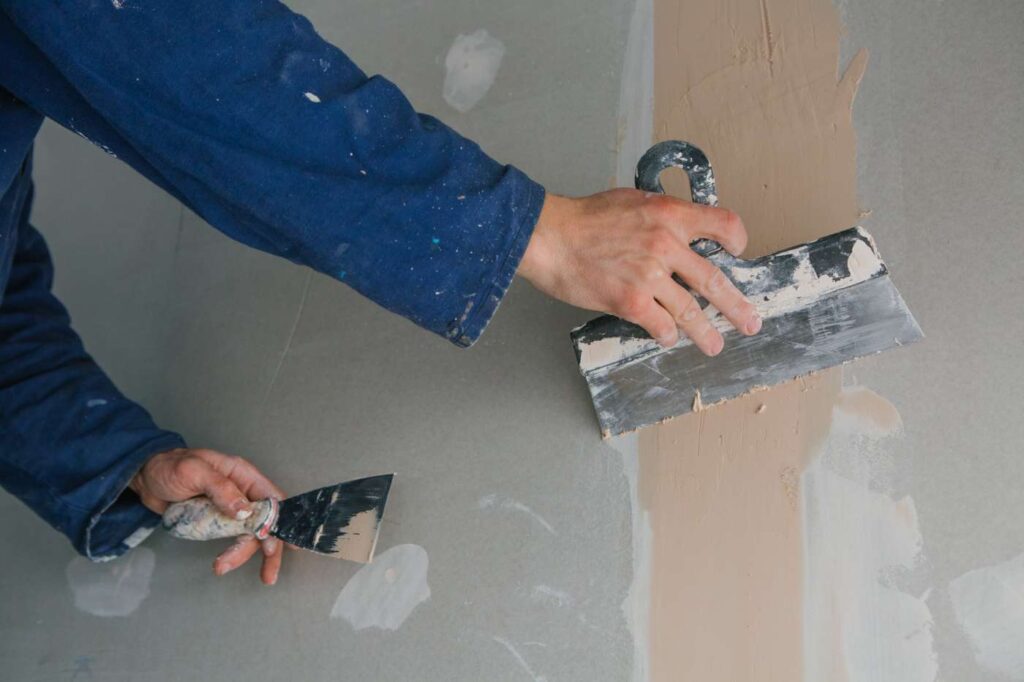
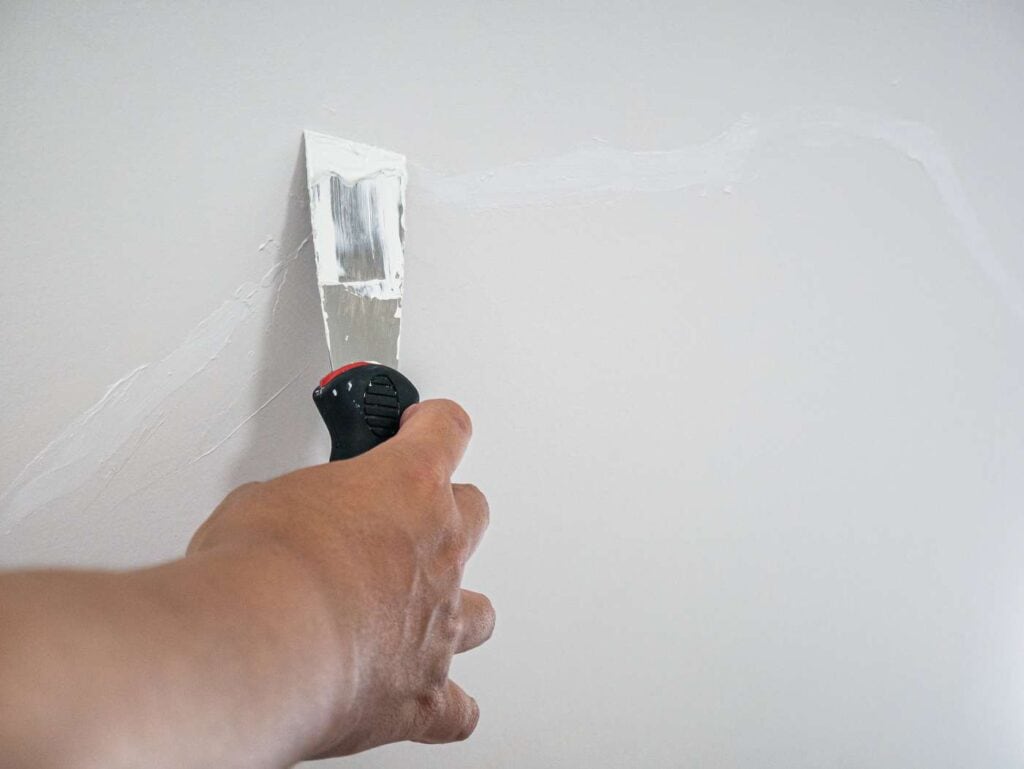
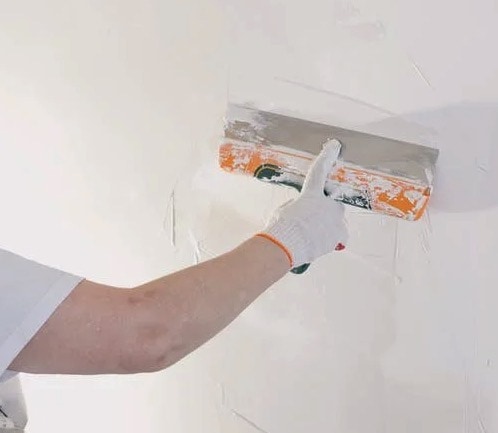
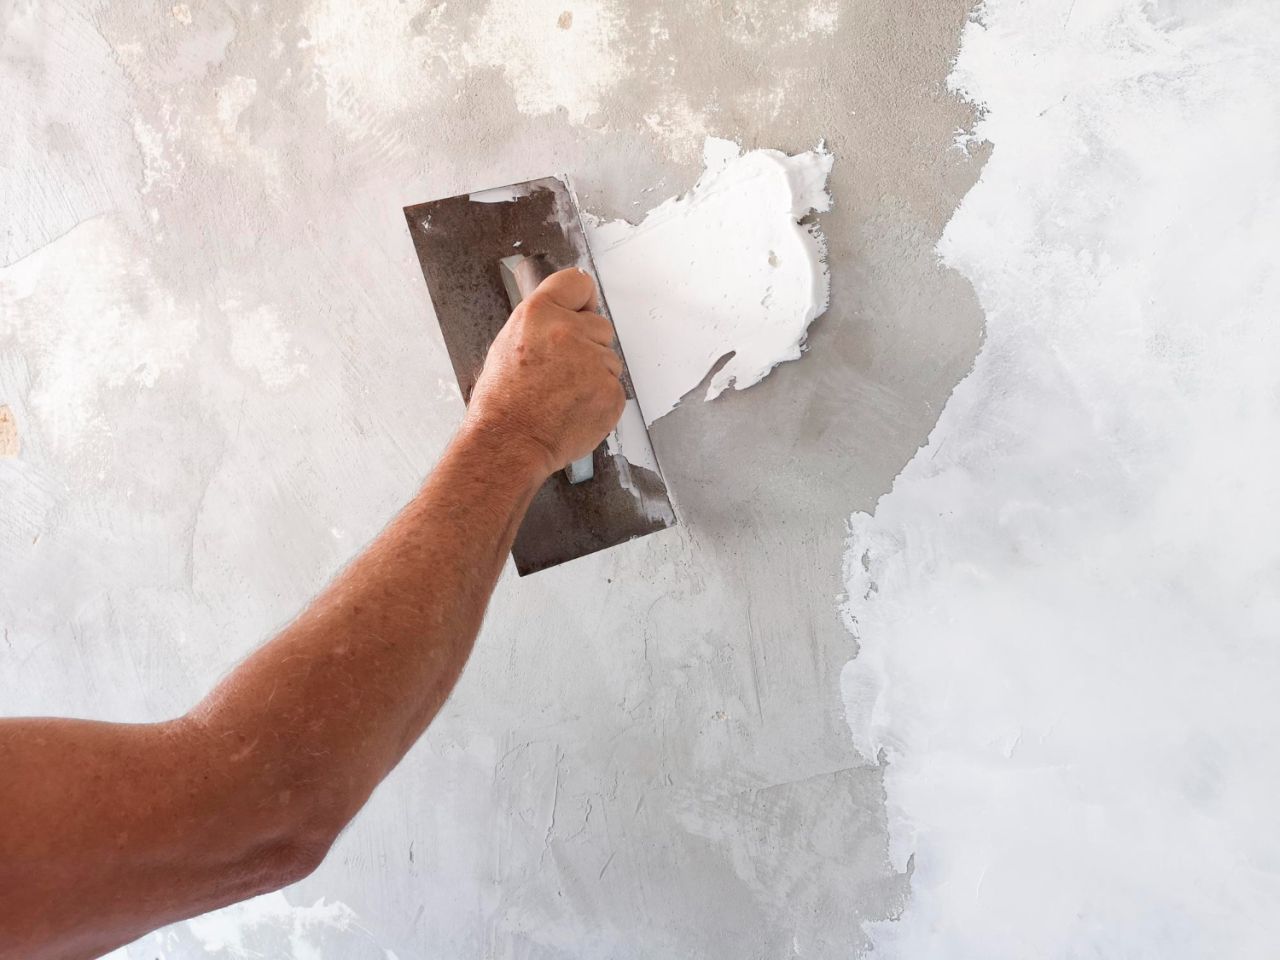
- Application of the First Coat (Base Coat): The initial coat of plaster, sometimes known as a base coat, acts as the most important layer. Spread the plaster around using a trowel. Before applying the plaster, softly scratch the surface with the trowel to improve adhesion. The plastering technique and surface condition will determine the optimal first coat thickness.
- Curing and Drying Time: After the initial coat has been applied, the curing and drying time must elapse as specified by the manufacturer. Curing plaster correctly is crucial for getting a good set and surface adhesion. At this point, the plaster needs to dry completely. Therefore, it's important not to disturb or expose it to moisture.
- Application of Subsequent Coats (Skim Coats): It's time for any subsequent coats or skim coats after the first has dried. The final appearance and the chosen plastering technique will determine the required number of skim coatings. If you're only going to plaster once, the initial layer can double as the finish. After applying two or three layers of plaster, the material is built up to its final thickness and smoothness.
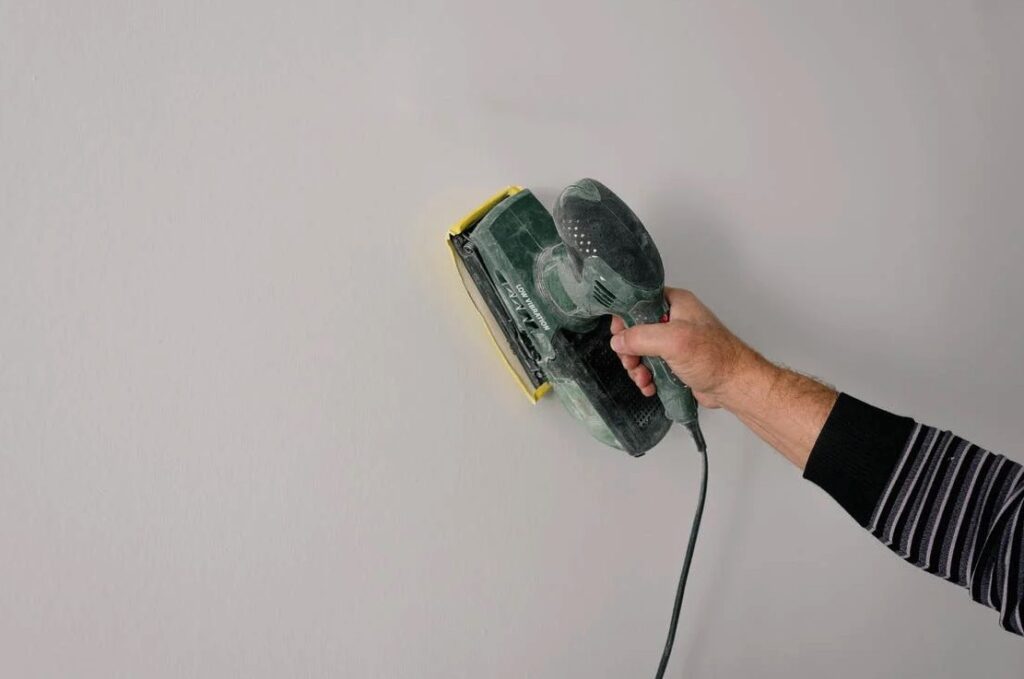
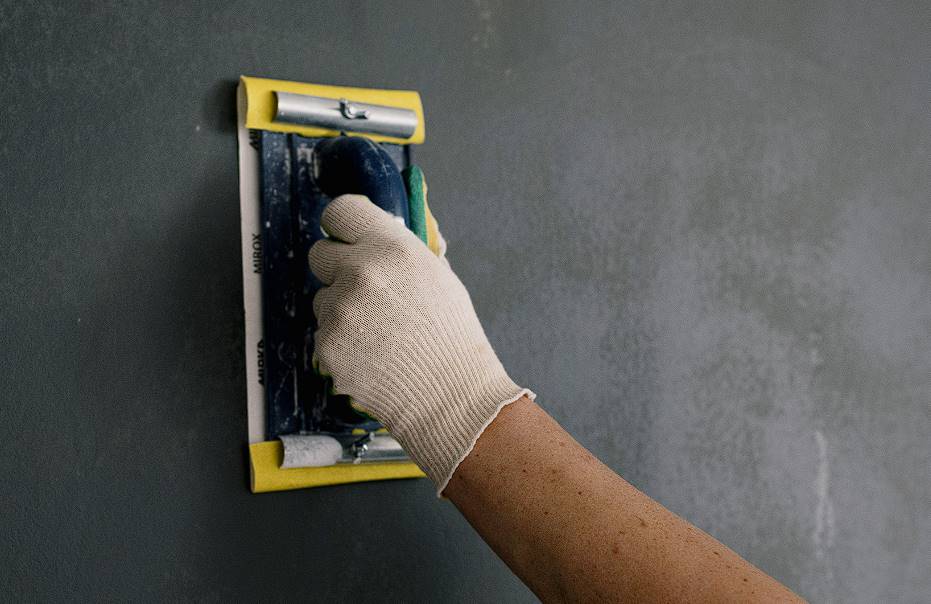
- Smoothing and Leveling: Use a shovel to smooth & level the plaster after applying each skim coat. It's important to get a smooth surface because imperfections will appear in the coating. Don't rush this process if you want the best outcome.
- Final Finishing: Make sure the final skim coat is smooth and even. Remove any bumps and scratches so the surface is uniform and appealing.
- Drying and Curing the Final Coat: Let the plaster dry & cure completely between applications after the desired finish. Again, please stick to the manufacturer's recommended drying time and keep it dry as much as possible during this phase.
Following these instructions and using the right techniques will result in a plastered surface that looks professional and lasts for the life of your building. Although mastering the art of plastering may take some time and practice, the results are well worth the trouble.
Plastering With A Single Coat
Single coat plastering, often known as one plastering, is a plastering technique that provides a fast and simple answer to specific building challenges. Single-coat plastering is an alternative to the more common practice of applying numerous layers of plaster to a surface. There are good and bad uses for this method, depending on the circumstances.
The Benefits Of One Coat Plastering
- Time-Saving: The time savings associated with applying a single coat of plaster is a major benefit. It is quicker than the traditional approach of applying multiple coats of plaster because just one coat needs to be applied. When there is a limited amount of time or for time-sensitive undertakings, this can be helpful.
- Cost-Effective: Single-coat plastering can still save money because it requires fewer workers and fewer supplies. Fewer coats mean less money spent on materials and less time spent on labour, making this an appealing alternative for those trying to save money.
- Suitable for Smooth Surfaces: While applying a single coat of plaster, the surface must be flat and smooth. If the surface beneath is in decent shape already, one layer may be sufficient to cover any defects.
- Ideal for Temporary Structures: Single-coat plastering is an option for quick and easy finishing on temporary constructions or projects where durability is not a top consideration. Without considerable plastering, it produces a respectable finish appropriate to the period in question.
The Disadvantages Of Single Coat Plastering
- Limited Thickness: The thickness of a plaster layer cannot be increased by applying only one application. This approach may not work if a heavier coat is needed, in which case other plastering methods should be tried.
- Surface Preparation: The success of a single coat of plaster depends greatly on how well the base surface has been prepared. The final appearance can be negatively impacted by any surface flaws that become accentuated during the finishing process. Successful outcomes almost always depend on careful surface preparation.
- Less Durability: Longevity may be compromised by using a single coat of plaster instead of the more common practice of applying multiple layers. With time, it could become increasingly brittle and susceptible to cracking & wear in high-traffic or damp places.
- Limited Finish Options: It's possible that you won't have as many alternatives for decorative plaster finishes when using a single-coat technique. It may be difficult to achieve complicated textures or finishes with just one coat of plaster.
Situations Appropriate For One Coat Plastering
- Interior Walls: When time and money are of the essence, a single coat of plaster may be all needed to finish an interior wall.
- Temporary Structures: Single-coat plastering may offer a suitable finish without requiring substantial plastering labour, making it ideal for temporary constructions or short-term projects.
- Smooth Surfaces: Single-coat plastering may be a cost-effective method for achieving a simple finish when working with flat, level surfaces.
Plastering with only one layer might save time and money on certain building projects. Although it is not as long-lasting or versatile in terms of finish options as more conventional multi-coat approaches, it is a viable solution when time and money are critical considerations. To get good results with a single coat of plaster, you need to prepare the surface and know its limitations properly.
Using Two Coats Of Plaster
Applying two coats of plaster for a smooth and long-lasting finish is a common technique known as double-coat or two-coat plastering. This time-honoured method is frequently used in various building projects because of its many benefits, particularly when a plastered surface of superior quality and durability is required.
The Benefits Of Double-Layer Plastering
- Enhanced Durability: The increased durability afforded by a double coat of plaster is one of the main advantages of this method. The first coat, called the base coat, is a bonding agent that ensures the plaster will stick firmly to the surface. The second coat, the finish coat, provides an extra layer of defence, increasing the plastered surface's durability.
- Superior Finish: Compared to a single layer of plaster, the finish achieved by applying two coats of plaster is much smoother and more polished. The two-layer method effectively hides flaws in the surface, making for a more polished and attractive final product.
- Versatility: This technique is adaptable and may be utilised in different settings, including ceilings and walls. It's useful for a wide variety of building projects because it performs effectively on both flat and slightly undulating terrain.
- Better Insulation: Improved acoustic and thermal insulation can be achieved with double-coat plastering thanks to the use of two layers of plaster. This can help make a building more pleasant by reducing heat loss and noise transfer.
The Two-Coat Plastering Method
- Base Coat Application: When plastering with two layers, the first is the base coat. This first coat is often thicker and is the plastering project's basis. With the trowel, a base coat is applied uniformly to the primed surface.
- Scratching the Base Coat: Scratching the base coat lightly with such a trowel helps strengthen the adhesion between the two layers. This method produces a hard texture that promotes strong adhesion for the subsequent coat.
- Curing and Drying: The base coat is applied and then allowed to dry and cure. This is an essential step in ensuring a good bond between the base coat and the top coat.
- Application of the Finish Coat: When the first coat, the base coat, has dried, the second coat, the finish coat, is put on. The final coat, applied with great care, is thinner & smoother than the base coat.
- Smoothing and Leveling: The plasterer ensures the surface is level and smooth before applying the final coat. It is at this stage that the base coat is smoothed out to remove any defects or bumps.
- Final Drying and Finishing: When the second coat of plaster has been placed, the surface is given ample time to dry and cure. After this final drying phase, the plaster will be fully cured and ready for use. Once it's dried, you can fix any flaws or imperfections for a polished look.
Circumstances Appropriate For Double Layer Plastering
- Interior Walls and Ceilings: Interior ceilings and walls in homes and businesses often get a double layer of plaster for a smooth and long-lasting finish.
- Long-Term Projects: Plastering with two layers is recommended for projects that will be around for a while, like permanent homes.
- Renovation and Restoration: When a smooth finish that blends in with the existing building is a priority during reconstruction or restoration, double-coat plastered is often used.
Plastering with two coats has been used for centuries since it is a reliable and efficient technique. Because of its long lifespan and aesthetically pleasing appearance, it is frequently used in building construction. Double-coat plastering is often employed because of its adaptability and high-quality output in the building industry.
Plastering With Three Coats
The application of three separate coats of plaster is what's known as "three-coat plastering," or "classic" or "old-school" plastering. This time-tested method has earned acclaim for its superior strength, lifespan, and ability to produce high-quality results. Because of its reliability and durability, it is frequently utilised in high-end building and remodelling projects.
The Benefits Of Three Coat Plastering
- Superior Finish: The smoothness and elegance of three-coat plastering can't be matched. By applying three coats of plaster, flaws in the base surface can be concealed, resulting in a flawless surface that can elevate the look of any room.
- Longevity and Durability: The various layers of material used in three-coat plastering produce a surface that is both strong and durable. This technique is best for buildings that will be in use for a long time and need to be protected from the elements.
- Excellent Adhesion: With three-coat plastering, each coat of plaster is a bonding material for the layers below it. Due to the plaster's outstanding adherence, cracks and other flaws are less likely to appear in the finished product.
- Thermal and Acoustic Insulation: The increased acoustic and thermal insulation can be attributed in part to the several coats of plaster. This can reduce energy use and make the interior space more pleasant to spend time in.
The Three-Coat Plastering Method
- Scratch Coat Application: Scratch coat application is the first stage of the three-coat plastering process. The base coat is the most substantial of the three layers. A trowel is used to apply the scratch coat uniformly over the surface.
- Scratching the Scratch Coat: When the scratch coat has been placed, it is given a rough appearance by scratching it lightly with a trowel. This improves the connection between succeeding coatings by increasing adhesion.
- Curing and Drying: The scratch coat is applied and then allowed to dry and cure. For the successive coatings to adhere properly, this curing procedure is required.
- Brown Coat Application: After the scratch coat has dried, the second layer, brown coat, is applied. Brown coats are situated between the scratch coat and the final coat in terms of thickness. To have a nice, even surface, it's spread and levelled out.
- Curing and Drying: The brown coat, like the scratch coat, needs time to dry and cure. Plaster needs sufficient drying time to harden and build strength.
- Finish Coat Application: The final and third coat is the protective finish. This is the smallest layer, but it's the one that makes the plastered surface look sleek and professional. The last coat is applied with great care so that the result is faultless.
- Final Drying and Finishing: The plastered surface is permitted to dry and cure after all three coatings have been placed. At this point, the plaster will have dried to its maximum strength. Once the surface is dry, any remaining flaws can be fixed, and the final coating can be applied.
Conditions Appropriate For Three-Coat Plastering
- High-End Residential and Commercial Projects: When a high-end, flawless finish is required, homeowners and business owners commonly opt for three-coat plastering.
- Restoration and Historic Preservation: If the original plasterwork is to be preserved, this technique is frequently utilised in restoration & historic preservation projects.
- Projects Requiring Longevity: Three-coat plastering is recommended for constructions where longevity and performance are paramount, such as historic homes and museums.
The three-coat method of plastering has been used for centuries because it consistently produces high-quality results. Because of its high-quality finish, durability, and thermal/acoustic insulation capabilities, it is still often used in high-end buildings and remodelling. Three-coat plastering is a time-consuming operation, but the result is a surface that is both beautiful and durable.
The Importance Of Good Plastering
Plastering correctly has far-reaching practical and aesthetic implications in the building. A building's longevity, stability, and functionality would suffer greatly without it. The following are some of the main reasons why every building, whether a home or business, must have high-quality plastering:
- Enhancing the Aesthetics: Plastering is often done to give walls and ceilings a nice, even surface that is also aesthetically pleasing. Plastering surfaces properly results in a neat appearance that is both inviting and aesthetically pleasing. A room's aesthetic appeal can be greatly improved by a skilled plasterer, making the area feel more homey and welcoming.
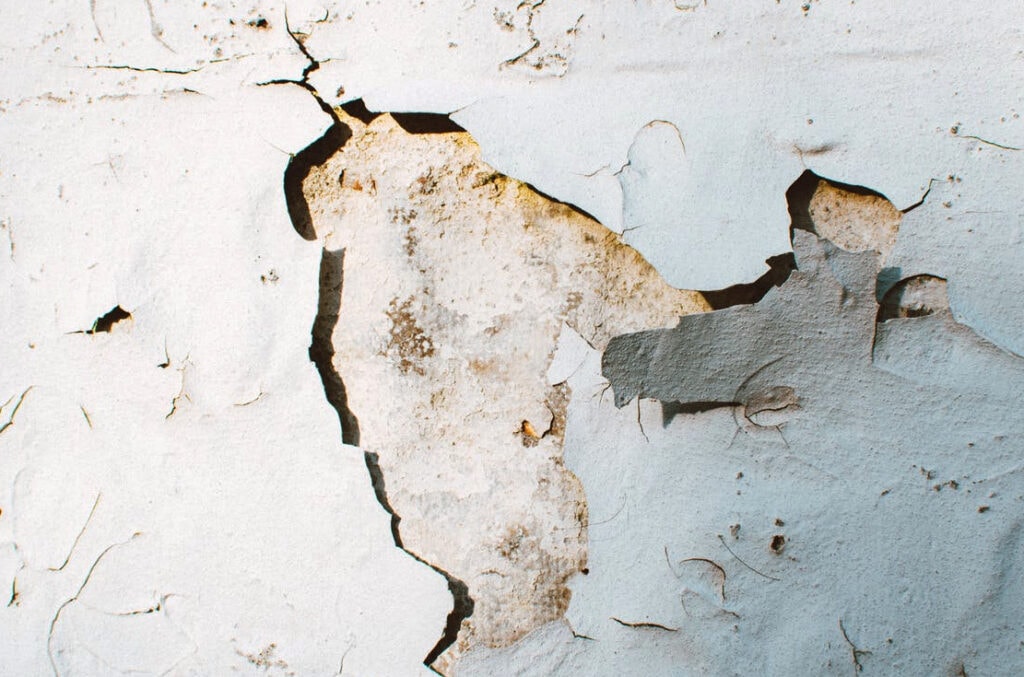
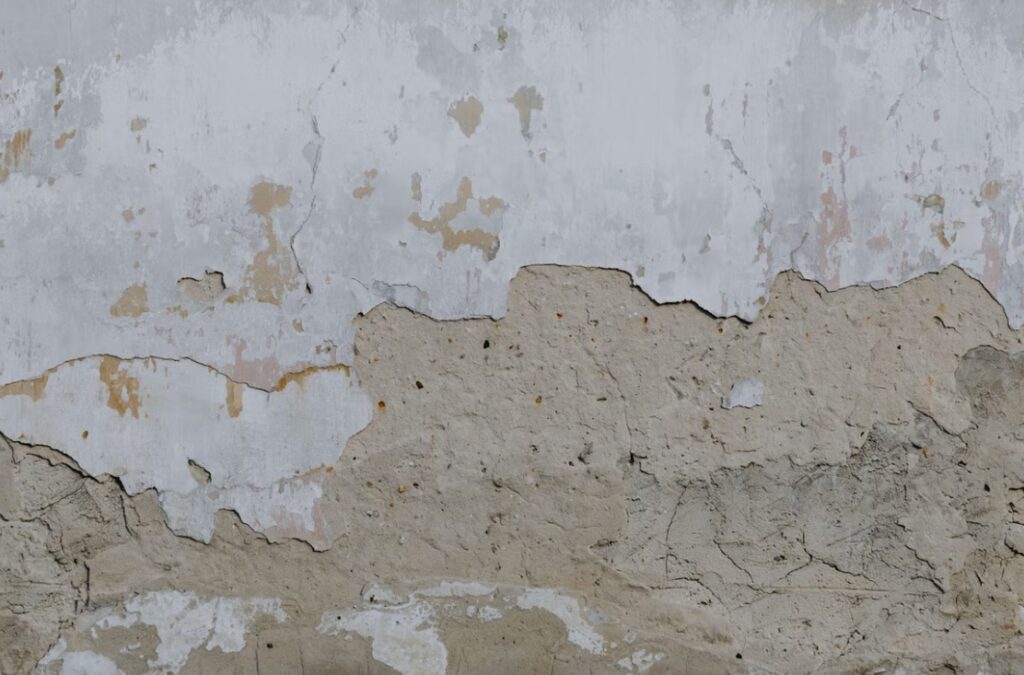
- Improving Structural Integrity: Plastering provides a barrier between the environment and the underlying structure. It helps stop the seepage of water, which can cause rot and decay in buildings. Plastering also serves to fortify the structural integrity of the building's walls and ceilings.
- Providing Thermal and Acoustic Insulation: Plastered walls and ceilings help with heat retention and sound absorption. Plaster provides a thermal barrier that reduces heat loss and gains within a building. It also works to reduce the volume of ambient noise, making your home a more relaxing place to spend time in.
- Concealing Imperfections: Plastering is a great way to cover up minor flaws and uneven surfaces in ceilings and walls. Plastering can hide flaws such as cracks, joints, and imperfections by creating a homogeneous and smooth surface.
- Increasing Fire Resistance: Plasters made with gypsum, for example, have a natural resistance to fire. By using these products in the plastering process, you can buy yourself precious time to evacuate and reduce the damage caused by a fire.
- Easing Decoration and Painting: A smooth, evenly plastered wall or ceiling makes a great canvas for further finishing touches. It improves the adhesion of paint and other decorative finishes, leading to a finished product that looks great and lasts for a long time.
- Reducing Maintenance Costs: Plastering correctly can decrease long-term maintenance expenditures. Plastering reduces the likelihood of walls and ceilings deteriorating due to moisture infiltration and surface damage. In the long run, this means less money spent on repairs and upkeep.
- Increasing Property Value: The value of a home can be significantly increased by spending money on professional plastering. A property's worth increases with a well-kept and attractive interior, which is more likely to attract purchasers or tenants.
- Creating a Healthy Indoor Environment: Plastering that does its job well helps keep the air within a building free of mould and dampness. A healthy living or working environment is dry and well-insulated.
Plastering a structure properly is an investment in its long-term health and functionality, not just a superficial upgrade. Plastering has several good effects on the property and its occupants, including aesthetic enhancement, increased structural stability, and increased insulating value. Plastering, when done properly, may make a space more welcoming, more long-lasting, and more aesthetically pleasing.
Conclusion
How many coats of plaster are needed for a home improvement or building job is important for getting the look you want and making sure the finish lasts. The number of coats needed depends on the type of surface, the plaster material, the finish you want, the weather, and the skill level of the plasterer or team. The number of coats needed depends on the surface type and the material of the plaster. The desired finish and the weather also affect the number of coats needed.
The weather also affects how many clothes are needed. Wet or cold weather can make a job take longer to finish. Plastering experts know how to figure out how many coats are best for a certain area and type of plaster. Based on these factors, homeowners, builders, or contractors can guess how many coats are needed for a given job.
Preparing the surface, making the plaster, putting on the first coat (the base coat), letting it dry and cure, putting on the next coats (the skim coats), smoothing and levelling, finishing, and drying and curing the last coat are all steps in the plastering process. If you follow these steps and use the right methods, the painted surface will look professional and last for a long time. Plastering is an art that takes time and practice to learn, but the effects are well worth the time and effort.
Single-coat caulking is a quick and easy way to solve certain building problems. It also saves time and money. It works well on smooth surfaces and is perfect for portable buildings. But it has some problems, like being thin, hard to clean, and not lasting as long as other materials. Single-coat plastering might not be good for smooth surfaces, inner walls, or temporary structures.
Double-coat or two-coat plastering is a more flexible and cost-effective way to get a smooth finish that will last longer. It has improved longevity, a better finish, more uses, and better insulation. The two-layer method hides surface flaws, making the end product look more polished and nice. It is versatile and can be used on ceilings and walls, among other places. Also, double-coat plastering can improve both acoustic and thermal shielding, making a building more pleasant by reducing heat loss and noise transfer.
Single-coat plastering saves time, and money, and is flexible, but it may not last as long or be as flexible as more traditional multi-coat methods. Ultimately, choosing one coat or two coats of plaster relies on your needs and budget.
The first coat of plaster is the base coat, which is the foundation of a plastering job. Scratching the base coat helps the two layers stick together better, so they stay together well. The base coat is then allowed to dry and cure while the finish coat is put on. This makes the finish thinner and smoother. Before putting on the final coat, the plasterer makes sure the surface is flat and smooth, taking out any imperfections or bumps.
Double-layer plastering is good for inner walls and ceilings, long-term projects, and renovation and restoration projects. It is a method that works well and lasts for a long time. It also looks good. Three-coat plastering, also called "classic" or "old-school" plastering, is a method that has been used for a long time and has proven to give strong, long-lasting, and high-quality results. Because it is reliable and lasts a long time, it is often used in high-end building and rebuilding projects.
Three-coat plastering has many benefits, such as a better finish, longer life, better adhesion, and more sound and heat protection. The first step is to put on the scratch coat. The base coat is the thickest. Scratching the scratch coat makes it easier for the next coatings to stick together, and the curing process is important for good adhesion. The final protection finish, the brown coat, is the thinnest layer. It is carefully applied to make the plastered surface look smooth and professional. In the final drying and finishing phase, the plaster is allowed to dry until it is at its strongest. This lets any flaws that are still there be fixed and the final coating be put on.
Three-coat plastering is a common method for high-end residential and commercial jobs, restoration and historic preservation, and buildings that need to last and work well. This time-consuming process makes a surface that looks good and lasts a long time. Plastering affects a building's durability, stability, and usefulness in ways that are both practical and aesthetic. It makes walls and ceilings look better, makes them stronger, insulates against heat and sound, hides flaws, makes them less likely to catch on fire, and makes decorating and painting easier.
It also cuts down on maintenance costs, raises the worth of the property, and makes the inside environment healthier. Plastering is an investment in a building's long-term health and usefulness, making it a more welcoming, long-lasting, and aesthetically pleasing place. Plastering is important for keeping a building's structure strong, lowering maintenance costs, increasing the worth of the property, and making the inside a healthier place to be. Plastering is an investment in a building's long-term health and functionality. It is also an important part of a building's general look.
Content Summary
- Determining the right number of plaster coats can be confusing for homeowners and DIY enthusiasts.
- Plastering is crucial for wall preparation, offering a smooth canvas for painting or wallpapering.
- Different plaster types, substrate conditions, and desired finishes influence coat requirements.
- The experience level of plasterers influences the number of coats needed.
- Climate conditions impact plaster drying time and completion of the project.
- Proper surface preparation involves removing dirt, filling holes, and eliminating moisture.
- Mixing plaster according to manufacturer guidelines ensures an even mixture.
- The initial plaster coat, or base coat, establishes a solid foundation for further layers.
- Weather conditions affect plaster drying times between layers.
- Subsequent skim coats are added after the initial coat dries.
- Skim coats enhance the thickness and smoothness of the plaster.
- Professional plasterers possess the expertise to determine optimal coating numbers.
- Careful planning and execution are essential for achieving a beautiful plastered surface.
- Single-coat plastering offers time-saving benefits for specific projects.
- Cost-effectiveness and suitability for smooth surfaces make single-coat plastering appealing.
- Single-coat plastering is suitable for temporary structures or quick finishes.
- Limitations include restricted thickness and surface preparation requirements.
- Double-coat plastering ensures enhanced durability and a smoother finish.
- The finish coat provides extra protection and smoothness in double-coat plastering.
- Double-coat plastering is ideal for interior walls, long-term projects, and renovation.
- Three-coat plastering provides superior strength, durability, and insulation.
- Scratching coats and proper drying are key stages in three-coat plastering.
- Three-coat plastering is suitable for high-end projects and restoration.
- Plastering enhances aesthetics by creating a neat and inviting appearance.
- Structural integrity improves with proper plastering, preventing water damage.
- Plastered walls offer thermal and acoustic insulation benefits.
- Plastering conceals imperfections and creates a smooth surface.
- Fire resistance can be increased with gypsum-based plasters.
- Well-plastered surfaces improve adhesion for painting and decoration.
- Proper plastering reduces long-term maintenance costs and increases property value.
- Professional plastering creates a healthy indoor environment by preventing mould.
- Choosing the right number of plaster coats is a common challenge.
- Plastering is essential for preparing walls for paint or wallpaper.
- Different plaster types and desired finishes affect coat requirements.
- Understanding "How Many Coats Of Plaster?" is vital for confidence.
- Skilled plasterers determine optimal coating numbers based on experience.
- Weather conditions impact drying time between plaster layers.
- Proper surface preparation includes cleaning and filling holes.
- Mixing plaster correctly ensures an even mixture for application.
- The initial base coat sets the foundation for further plaster layers.
- Weather conditions can influence plaster drying times.
- Skim coats enhance plaster thickness and smoothness.
- Professional plasterers have the expertise to determine coat numbers.
- Careful planning and execution lead to a beautiful plastered surface.
- Single-coat plastering offers quick finishes and cost savings.
- Double-coat plastering enhances durability and finish quality.
- Three-coat plastering ensures superior strength and insulation.
- Proper plastering enhances aesthetics and structural integrity.
- Professional plastering creates a healthy indoor environment and adds value to a property.
Frequently Asked Questions
The drying time between plaster coats can vary depending on temperature and humidity. It's best to follow the manufacturer's instructions for drying times.
While small DIY plastering projects can be attempted, larger or more complex jobs are best left to professionals to ensure a quality finish.
Three-coat plastering provides the highest quality finish, excellent durability, and enhanced aesthetic appeal, making it ideal for premium projects.
Yes, plastering can be used on exterior surfaces, but the plaster material and application technique may vary to withstand weather conditions.
Promptly fill in the cracks and apply fresh plaster to the damaged areas to prevent further deterioration and maintain the integrity of the plaster.