Since newer gypsum-based plasters have taken their place, most people nowadays don't need the expertise or abilities essential to work with lime plaster. This is due to the fact that the plastering industry has been split into flat and ornamental work, resulting in the creation of new "fibrous plasterwork" in specialised studios.
Plasterboard and plaster skim coating are two of the foundational skills that newcomers to the profession master.
They say it's all about supply and demand, in which case, individuals who care about keeping historic structures standing ought to be more selective.
There is a great demand for skilled plasterers who can remove and replace dado and cornice mouldings. The existing educational system makes it challenging to develop such talents.
As early as 8000 BC, people were using walls to enclose and protect their homes. This ranged from simple huts to elaborate palaces. Here, we'll explore the history of lime plaster and its many applications.
Lime plastering is an excellent option for both indoor and outdoor wall treatments because of its long history and low environmental impact.
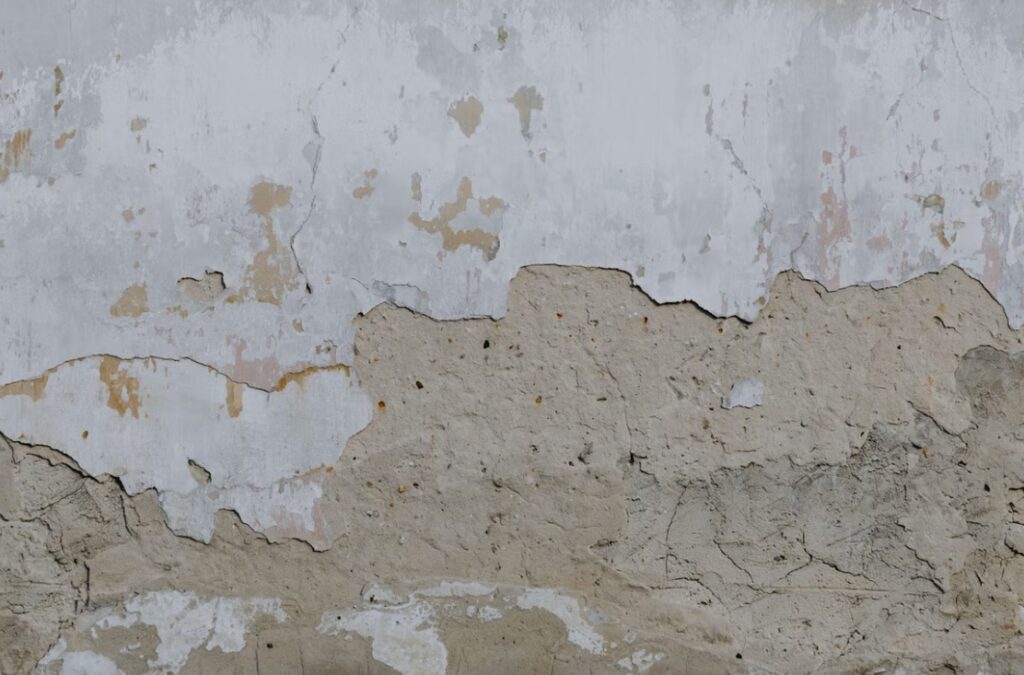
Walls built of poor materials, such as rubble stone or porous brick, or walls that are constantly being beaten by the weather are often referred to by this name.
In contrast to other wall coverings, lime plaster effectively prevents water penetration because it absorbs moisture and retains it until it evaporates.
Finishing with this material is usual for little cottages, and eco-friendly builders utilise it since it looks great on hay bales and soil.
Some Pointers on Lime Plaster Application
Lime plastering and its attendant skills have been mostly superseded by modern gypsum-based plasters. Unfortunately, the issue has not been eased by the division of the plastering sector into flat work and ornamental work.
Although lime is frequently employed in historic structures, the benefits of a "breathing" cement or plaster are sometimes disregarded due to the difficulty of dealing with lime. Let's get something straight: the lime revival is not some idealists' "open plan fairy" idea.
Rather, it results from the disturbing realisation that the condition of our buildings, and by extension, the health of our citizens, is deteriorating. The intricacies of the plastering trade and the skill sets required of conventional plastering professionals are beyond the scope of this article.
But there are a few basics that all lime plasterers should grasp. Unfortunately, many lime plasters fail because the personnel who specified the work or carried it out lacked the necessary knowledge or competence.
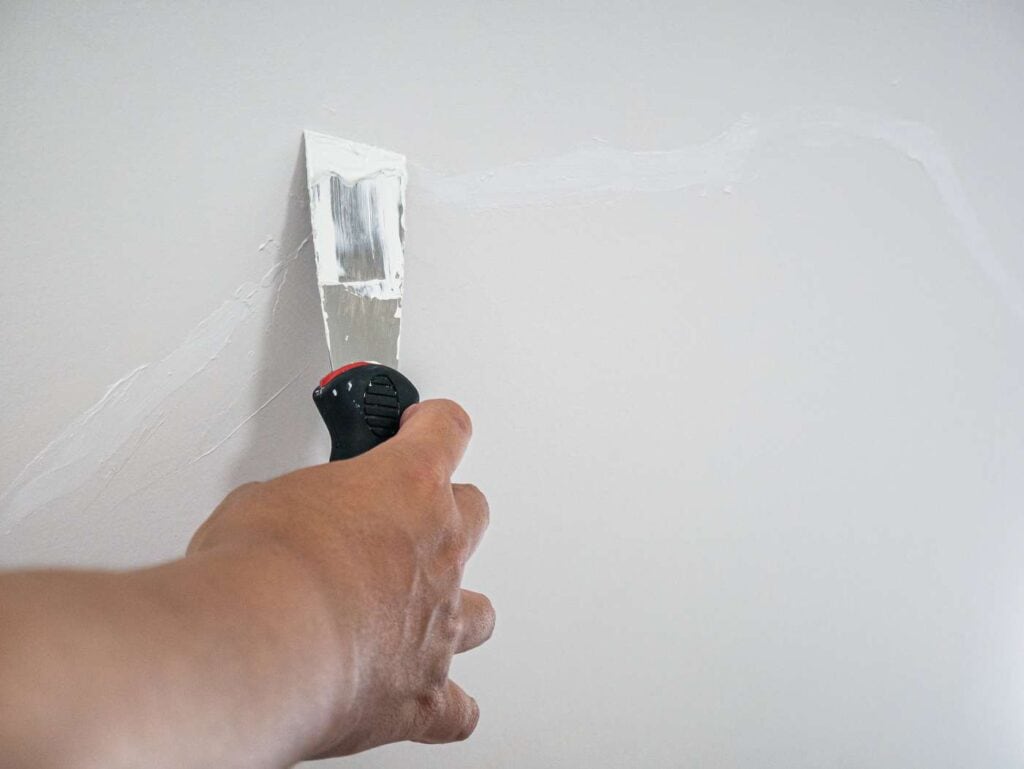
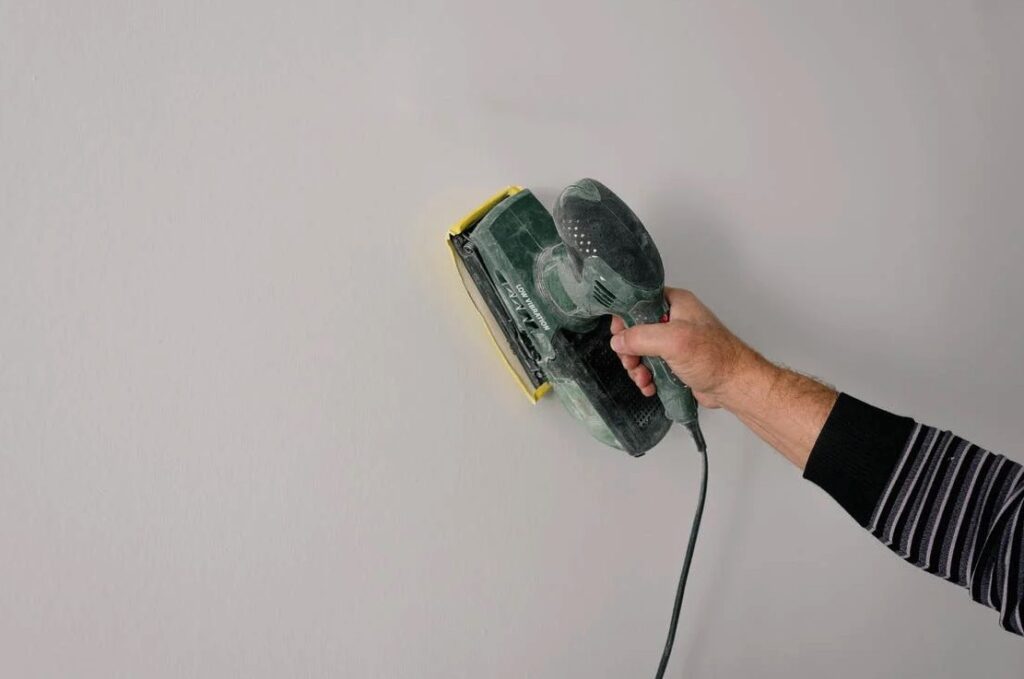
Surface Preparation for a Wall
In order for lime plaster to adhere properly, bond to the background, and solidify, the wall mass must be devoid of plants, containments, and moisture. The wall's structural integrity depends on the state of both the masonry and the bedding mortars.
Repairing the underlying brickwork or masonry is separate from applying various dubbing out coats.
Who is responsible for filling in excessive hollowness or unevenness due by missing or damaged brickwork or open joints before putting any plaster or dubbing out coats?
Plastering should not commence until the rough spots have been smoothed out using lime mortar and stone or brick slips bedded into the mortar.
The Use of Lime in the Construction of Buildings Using Hydraulics
A non-hydraulic lime plaster may need to be modified in order to carbonate properly in humid conditions like cellars.
Because hydraulic lime is used in its production, it can harden even while wet.
Since hydraulic lime plaster is not as fatty as traditional lime plasters, it may be trickier to apply to laths and ceilings.
However, this lime plaster cures in about 90 days, making it possible to paint a permeable covering considerably sooner than usual.
Mixing
In contrast to Portland cement mixes, Limestrong Build Binder and Finish and other pozzolanic lime plasters do not hard-charge in the same way.
Longer mixing times "fatten" or improve the workability of the lime plaster and allow for more thorough hydration of the lime; therefore, mix the mud for longer than is common with Portland cement stuccos.
Mixing lime plaster for at least five minutes, slaking it for three to five minutes, and then mixing it again for two minutes is all necessary.
Constraint Bonding and Vacuum Management
Before adding fresh hydraulic or non-hydraulic lime coatings, it is crucial to evaluate the degree of suction in the background.
Inadequate or excessive suction can hasten the drying of freshly applied render, which can lead to a weak bond with the substrate and an increased risk of failure and separation in the long run.
However, in locations where suction is weak or nonexistent, further effort will be required to help bind the coating to the substrate.
Dense or almost impermeable masonry blocks will need to be diluted with water to control suction.
A light sprinkling with water will suffice in some circumstances, such as with old brickwork, while in others, a more considerable amount of water will be needed.
The day before rendering, you should maybe moisten the wall with a hose, beginning at the top and working your way down.
Maintaining and Retraining
When lime plaster hardens too much, it can be retempered (loosened up) to restore its usage.
A fast bond formation is not triggered by re-mixing (which weakens the final, overall plaster set of Portland cement plasters). If properly stored, LSB plasters have a shelf life of three to five days (cold). g.
The Coat That Floats
When lime plaster hardens too much, it can be retempered (loosened up) to restore its usage.
A fast bond formation is not triggered by re-mixing (which weakens the final, overall plaster set of Portland cement plasters).
If properly stored, LSB plasters have a shelf life of three to five days (cold).
Background
Plastering is most frequently used in contrast to a brick wall.
Clear away any dirt or lichens that may have grown there. If dust has settled on the surface of a stone backdrop, it can be seen by applying a piece of masking tape and then removing it.
If you want the plaster to properly adhere to the wall, you must first ensure that the sticky side has nothing on it.
It's not uncommon to see rough, uneven walls within a house that have been patched or otherwise altered.
Therefore, a myriad of pre-plastering concerns crop up frequently and need fixing. It is recommended to bed in pinnings in the mortar, key them, and allow the mortar dry after using a dubber to make deep holes, wide joints, or pockets in thin layers of mortar.
The base coat will adhere to and dry uniformly thick on top of the foundation.
Invisible Repair Layer
During the "scratched coat" process, lines are scratched into the surface before the first coat is applied so that they can be used as a "key" for the second coat.
It is common practise to mix one part lime plaster with two and a half parts sharp, gritty, well-graded sand.
Let's pretend, then, that the sand's grading gives preference to some particle size over others.
Potentially, more or less lime should be added. Plasterers who are experts in their craft can quickly and easily tell if the mixture needs more sand or lime.
The amount of lime needed can also be determined by taking a sample of the dry sand and figuring out how much water would be needed to fill all the spaces between the grains.
Who here knows how to add hair to the mix to increase its tensile strength?
If you're plastering over stone or brick, this step is unnecessary, although it's a good idea to protect your work from any damage caused by structural movement or loose plaster. The hair will work well as a filler for any holes.
Older plaster can produce a hollow sound when tapped, even if hair is still embedded in it.
Moisten the walls with water before painting and in between applications.
Before applying the scratch coat, the substrate should be moistened (but not wet).
When using LSB Build with various substrates, specific instructions can be found in the corresponding literature.
As soon as the previous coat of plaster has hardened enough to be worked with, mist-dampen it broadly with a tank sprayer, misting hose attachment, or a wide brush. Avoid going overboard.
If water is being absorbed, keep applying it; if it is beading up, apply less. Having water trickle down the wall is a horrible idea.
Scratch coating on the substrate and interlayer suction may benefit from dampening.
There needs to be a lot of suction for lime plasters to work, and while that is necessary, it is even more important to keep it under control.
Plaster's cured strength and performance can be enhanced by limiting the amount of moisture drawn up from the substrate or cured layer beneath during the working phase.
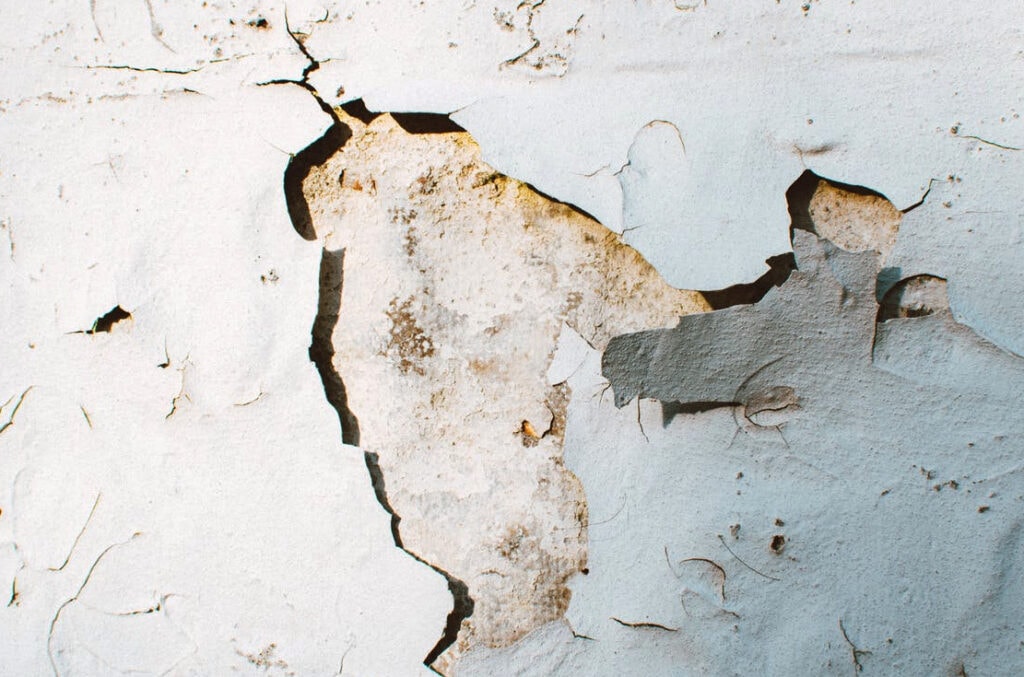
Toxic Salt Buildup
When reapplying lime coatings to masonry that has been damaged by salt, it is vital to allow the masonry dry completely before doing so.
This means the salt on the bricks and mortar can be pinpointed.
A poultice of clay or lime mortar may be required if excessive salt is found.
If you're on the fence about whether or not to bring in a professional, consider the following.
The mortar joints should be raked out to a depth of up to 50 mm whenever salt is discovered on them. It's likely severely depleted and contaminated. Repoint To learn more about this, check see the section on repointing.
In no event should you try to eliminate salt contamination by washing the surface, as this would only cause the salt crystals to disintegrate once again, allowing them to migrate back into the pores of the masonry or brick.
Bricks that have accumulated salts must be scrubbed and cleansed. Pre-mixed lime render may be necessary for salt-contaminated walls.
Play With Texture
A little bit of imperfection adds character to lime plaster and washes, and you can acquire it by using different tools to generate distinct styles.
Troweling plaster on creates a surface that, depending on the plaster and the amount of pressure applied, can be rough or smooth, porous or closed.
Because it is a reflection of the instrument and the hand of the person applying it, the finish is as individual as a fingerprint.
Aggregate
It is especially important to pick the proper sand for making lime plasters, as their finishing strength depends on the structural bonding of the gravel (sand) particles rather than the cement concrete itself.
Lime plaster sand that's good for the job is clean, comes in a range of sizes, and has sharp grains. Get the LSB book "Sourcing Sand" to view the images and read the detailed descriptions.
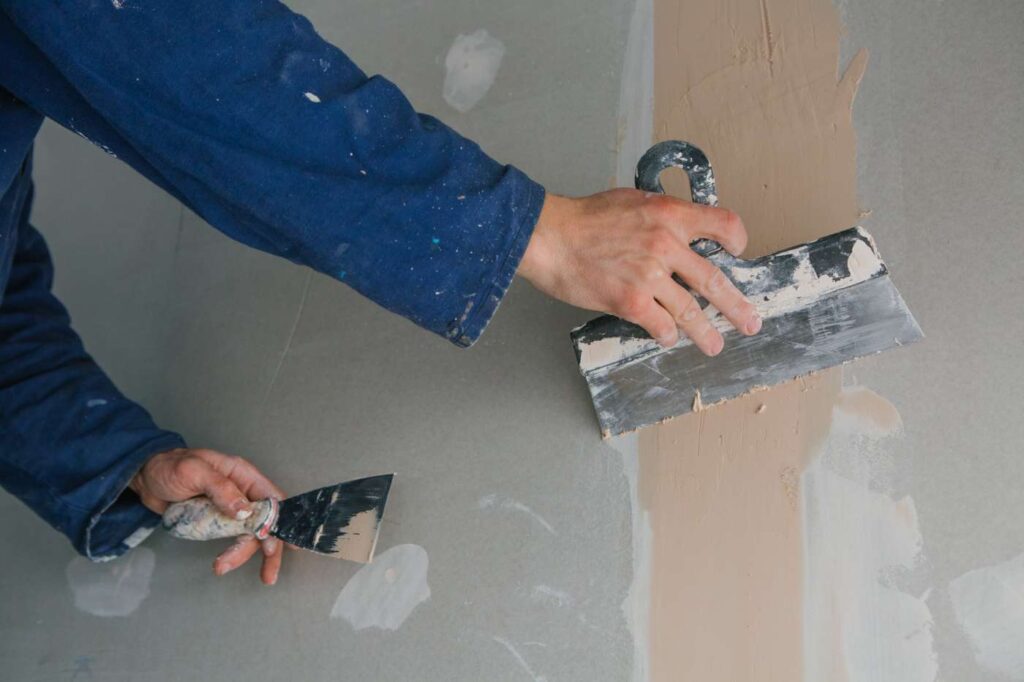
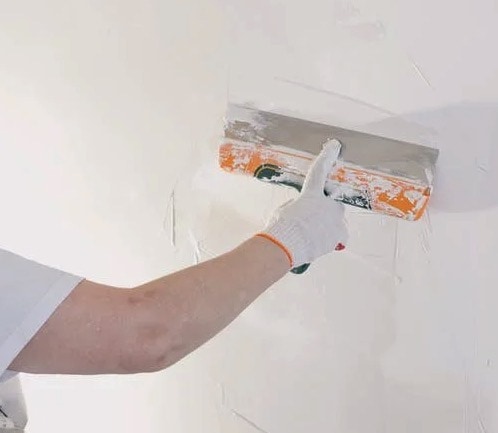
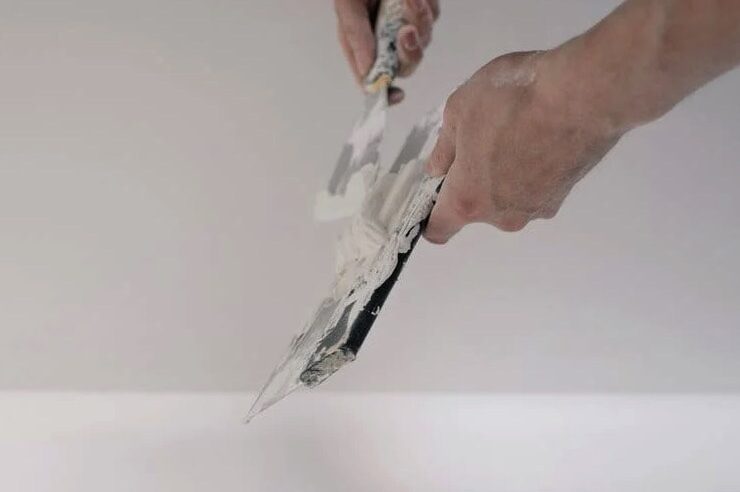
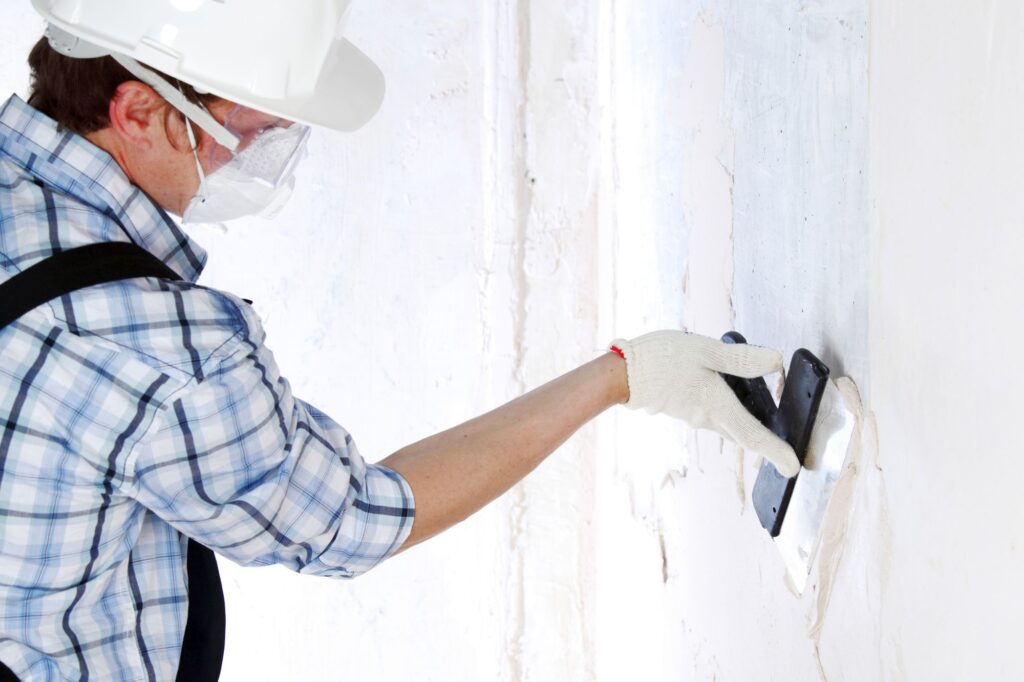
Putting on the Final Coat
Finally, a finishing or setting coat is smeared on. Third layers are often thinner than the previous two and employ sharper, finer sand. When lime and sand are mixed together, the consistency can either be soft (when the ratio is one part lime to three parts sand) or hard (when the ratio is three parts lime to one part sand).
When more sand is added, the surface becomes rougher and more suited for open-textured float finishes, but when more lime is added, the surface becomes softer and easier to polish. Having one worker per machine is sufficient for most tasks.
Common paint thicknesses are between 2 and 5 millimetres (1/16 and 3/16 of an inch).
Apply it in at least three very thin coats after the surface is dry to ensure a uniform finish. Extra work here will help the plasterer get a better result, so it's time well spent.
Applying a tiny mist of water to the floating coat before applying the setting coat can help reduce suction.
Once the prior layer has had time to "firm up," typically after half an hour, the next layer is brushed on top of it, employing alternating brush strokes in different directions.
After the work has reached a point where it can be scoured, doing so will help it to concentrate and harden on the surface.
While a float with grain running lengthwise can be used for scouring, a float with grain running transverse produces a flatter finished product.
Rough patches are evened out and projections are eliminated by moving the float in a cross-grain pattern. Contrary to popular belief, a cross-grain float is not the best method for applying lime plaster.
Only a cross-grain float can be used to scour or brush across a given surface.
Afterwards, you can decide between a fine closed texture created with a trowel, or an open texture created with wooden and sponge floats.
Water may be required again, but this time it can be administered with a brush and a fine mist.
Conclusion
Lime plaster was used to enclose and fortify dwellings as early as 8000 BC. Most modern homeowners don't need the specialised knowledge or skills to work with lime plaster.
Fibrous plasterwork has emerged due to the industry's division into "flat" and "ornamental" subsectors. Applying numerous dubbing out coats is distinct from repairing the underlying brickwork or masonry.
A thicker, more malleable lime plaster can be achieved by allowing the mixing process to continue for longer.
A lack of or an overabundance of suction can cause the newly applied render to dry too quickly, compromising its bond with the substrate. Lime plaster can be retempered (loosened up) to restore its usability when it has hardened too much.
Plasters made from LSB have a three- to five-day shelf life when handled correctly (cold). A typical ratio is one part lime plaster to two and a half parts coarse sand.
The substrate must be wetted before the scratch coat is applied (but not wet).
Use a misting nozzle on your hose or a tank sprayer to evenly saturate the area.
If you tap on some older plaster, you might hear a hollow sound even if the hair is still stuck.
Lime plaster and washes benefit from a small amount of imperfection, and you may get it by utilising different techniques to make different styles.
Lime plasters rely on the structural bonding of gravel (sand) particles for their finishing strength, not cement concrete.
Hence, it's important to use the right sand when producing them. Water may be needed once more, but it can be applied with a brush and a tiny mist.
Content Summary
- Since newer gypsum-based plasters have taken their place, most people nowadays don't need the expertise or abilities essential to work with lime plaster.
- This is because the plastering industry has been split into flat and ornamental work, creating new "fibrous plasterwork" in specialised studios.
- There is a great demand for skilled plasterers who can remove and replace dado and cornice mouldings.
- Lime plastering is an excellent option for indoor and outdoor wall treatments because of its long history and low environmental impact.
- Modern gypsum-based plasters have mostly superseded lime plastering and its attendant skills.
- Unfortunately, the issue has yet to be eased by the division of the plastering sector into flat work and ornamental work.
- Although lime is frequently employed in historic structures, the benefits of "breathing" cement or plaster are sometimes disregarded due to the difficulty of dealing with lime.
- Let's get something straight: the lime revival is not some idealists' "open plan fairy" idea.
- Rather, it results from the disturbing realisation that the condition of our buildings, and by extension, the health of our citizens, is deteriorating.
- For lime plaster to adhere properly, bond to the background, and solidify, the wall mass must be devoid of plants, containments, and moisture.
- The wall's structural integrity depends on the state of both the masonry and the bedding mortars.
- Repairing the underlying brickwork or masonry is separate from applying various dubbing out coats.
- Longer mixing times "fatten" or improve the workability of the lime plaster and allow for more thorough hydration of the lime; therefore, mix the mud for longer than is common with Portland cement stuccos.
- Before adding fresh hydraulic or non-hydraulic lime coatings, it is crucial to evaluate the degree of suction in the background.
- Dense or almost impermeable masonry blocks must be diluted with water to control suction.
- The day before rendering, you should moisten the wall with a hose, beginning at the top and working your way down.
- Clear away any dirt or lichens that may have grown there.
- If you want the plaster to adhere properly to the wall, you must ensure that the sticky side has nothing on it.
- Therefore, a myriad of pre-plastering concerns crop up frequently and need fixing.
- The base coat will adhere to and dry uniformly thick on top of the foundation.
- Experts Plasterers can quickly and easily tell if the mixture needs more sand or lime.
- The amount of lime needed can also be determined by taking a sample of the dry sand and figuring out how much water would be needed to fill all the spaces between the grains.
- Before applying the scratch coat, the substrate should be moistened (but not wet).
- Scratch coating on the substrate and interlayer suction may benefit from dampening.
- When reapplying lime coatings to masonry damaged by salt, it is vital to allow the masonry to dry completely before doing so.
- This means the salt on bricks and mortar can be pinpointed.
- A poultice of clay or lime mortar may be required if excessive salt is found.
- If you need help deciding whether or not to bring in a professional, consider the following.
- The mortar joints should be raked out to a depth of up to 50 mm whenever salt is discovered.
- In no event should you try to eliminate salt contamination by washing the surface, as this would only cause the salt crystals to disintegrate again, allowing them to migrate back into the pores of the masonry or brick?
- Pre-mixed lime render may be necessary for salt-contaminated walls.
- A little bit of imperfection adds character to lime plaster and washes, and you can acquire it by using different tools to generate distinct styles.
- Troweling plaster creates a surface that, depending on the plaster and the amount of pressure applied, can be rough or smooth, porous or closed.
- Lime plaster sand that's good for the job is clean, comes in various sizes, and has sharp grains.
- Common paint thicknesses are between 2 and 5 millimetres (1/16 and 3/16 of an inch).
- Apply it in at least three very thin coats after the surface is dry to ensure a uniform finish.
- Applying a tiny mist of water to the floating coat before applying the setting coat can help reduce suction.
- After the work has reached a point where it can be scoured, doing so will help it to concentrate and harden on the surface.
- Contrary to popular belief, there are better methods than a cross-grain float for applying lime plaster.
- Only a cross-grain float can scour or brush across a given surface.
Frequently Asked Questions About Plaster
Lime plaster is composed of sand, water, and lime, usually non-hydraulic hydrated lime, also known as slaked lime, high calcium or air lime. Ancient lime plaster often contained horse hair for reinforcement and pozzolan additives to reduce the working time.
If you have cracks internally or externally – slightly open up the crack, and you can use casein filler. The surfaces should be clean and grease-free. Water-soluble old coats of distempers or lime paints must be removed. Any loose material should be brushed off.
Non-hydraulic lime plaster requires moisture to set and can be prevented from drying for several days. Unfortunately, the number of qualified tradespeople capable of plastering with lime is in decline due to the widespread adoption of drywall and gypsum veneer plaster.
Lime plastering requires patience and a little know-how to achieve a beautiful, functional and long-lasting lime plaster finish.
This coat is applied in a coat of approximately 10mm thickness. It can be applied using a steel trowel or thrown onto the wall by using a harling trowel and then flattened in by the steel trowel.