The groundbreaking mixture of cement, gypsum, sand, and water known as plaster has many applications beyond the building and repair industries.
Since there are so many varieties of plaster, each with its own unique purposes and mixing techniques, plastering a wall is an expert do-it-yourself project.
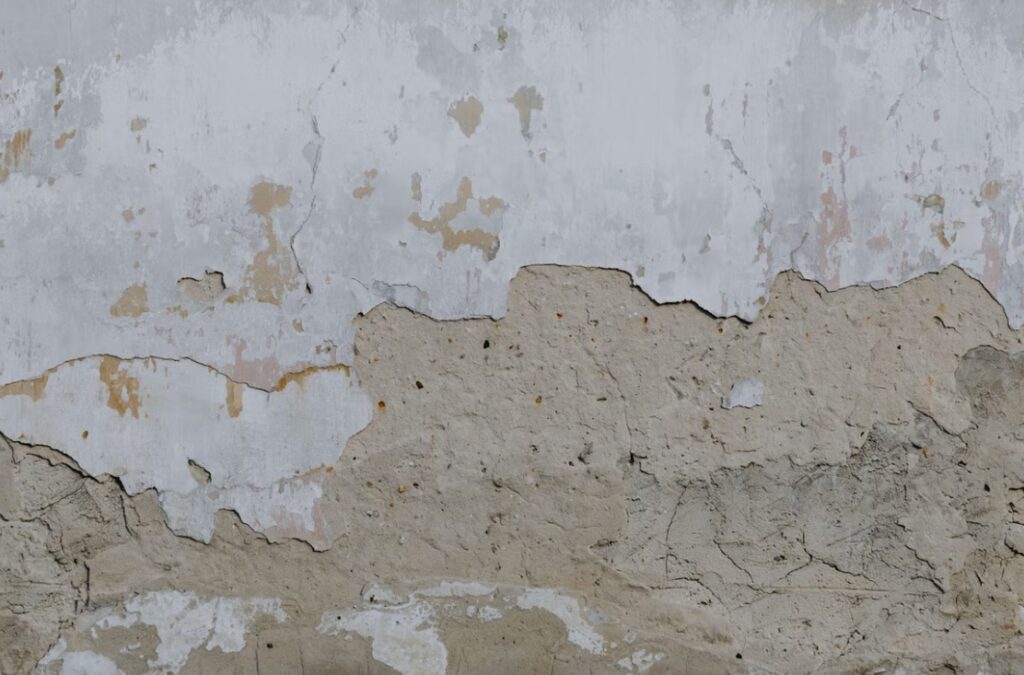
Plastering a concrete wall may make it seem better, smooth it out, make it more water resistant, and open up a tonne of options for textured ornamentation. However, it takes a long time to plaster a concrete wall.
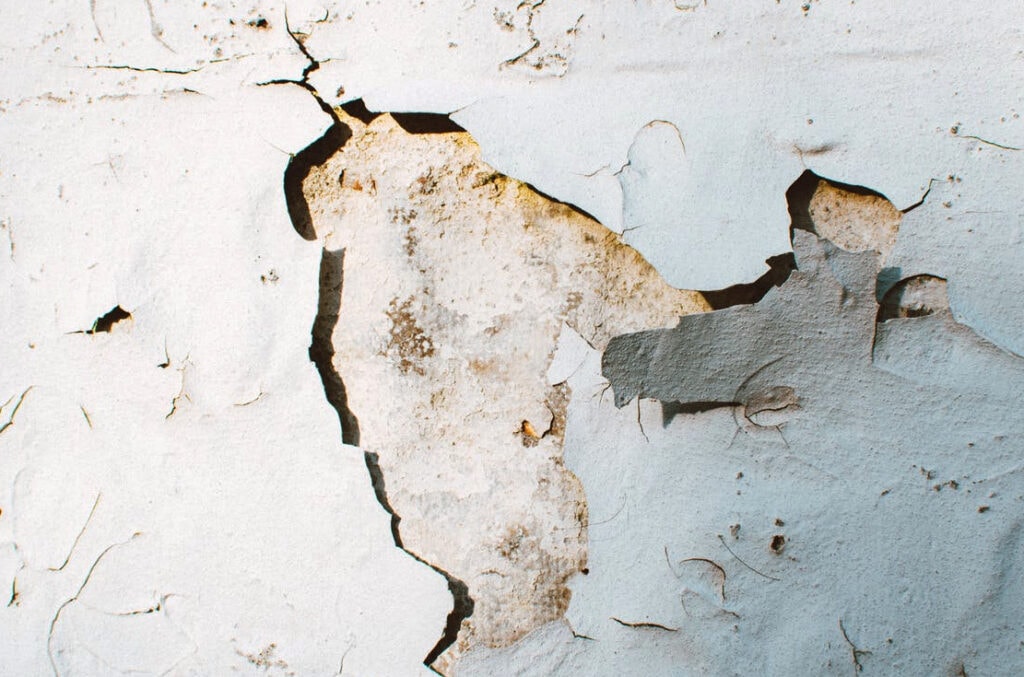
Priming the wall and letting each coat of plaster dry and cure before applying the next is required. Plaster will crack, slump, and eventually fall off a wall if the surface is not properly prepared. Problems are made much worse by factors such as unclean walls and mould and mildew that have formed over old paint.
When it comes to plastering, most people will hire experts.
However, if you put in the time and effort necessary and follow a tried and tested method, you can plaster a wall. After you're done, the wall will be smooth and ready for paint or wallpaper.
While most people would rather have a professional take care of this for them, it is possible for any homeowner to do it themselves by following a few basic guidelines. It's true that plastering takes patience, skill, and practise, but you needn't panic!
To begin, if this is your first-time plastering, it is not recommended that you do it alone. The quality of the wall's final appearance after painting relies heavily on the quality of the plastering process.
That wraps up this primer on plastering like a pro.
Plastering, both inside and out, is described in great depth. Instructions for skim plastering a wall and a list of necessary equipment are provided.
How to Plaster a Wall Like a Pro
You can save yourself time and aggravation and boost your satisfaction with the finished product if you plaster the wall properly.
Will you be doing your own plastering on that wall? It's not uncommon for homeowners to DIY minor plaster repairs, as it's usually not cost-effective to hire a professional for jobs of this size.
In light of this, we have prepared some plastering tips in the event that you are considering doing the job on your own.
It is essential to follow the six phases of plastering in the proper order, to keep your tools clean, and to have the right equipment on hand if you want a flawless wall that won't bother you for years.
This all-inclusive guide will show you exactly what to do to master the skill of putting the perfect coat of plaster on your walls. Integrated along the way!
Exactly how does one go about plastering a wall?
Plastering a wall is a learned talent, but like any other, it takes time and effort to master.
An inexperienced individual can do anything, but the gap between their work and that of an expert will always be striking.
As was previously said, the quality of the plaster determines the quality of the paint job.
If you plan on selling your home, for example, you may want to consider hiring a professional plasterer to avoid ruining the walls and ceilings. Alternatively, you might pay extra attention to the painting stage if you're trying to save money.
Supplies Required
In order to avoid having to pause in the middle of plastering a wall to go get materials or locate a missing tool, it's important to make sure you have everything you need before you start. A trowel and bucket trowel, a stepladder or stilts, a hawk board, a corner trowel, two buckets, a mixing stick or a paddle, PVA, dust sheets, sandpaper, fine plaster, clean water, and dust mask are all suggested tools for this task.
The five essentials are:
- When shopping for a trowel, it's best to find one that is stainless steel, well-balanced, and has an ergonomic handle. You should not buy a cheap model even if you don't want to spend the money. There won't be any positive results.
- Plasterers need a hawk board to keep their plaster dry and organised between uses. Without one of these, you'd have to merely fling the goods against the walls. This is necessary to hold the plaster in place. You can use either a plastic or wooden hawk board; plastic is lighter and easier to transport. However, a wooden hawk board will last much longer. A foam or plastic hawk is what you should be looking for. This is strongly suggested over the alternatives. The key consideration is their astonishingly low weight. You can save money by going with a foam or plastic hawk; but they won't last as long. They serve well as a springboard for further exploration but can't sustain sustained attention.
- The use of a bucket trowel is optional. Its main use is moving plaster from the bucket to the hawk (or hand board). No matter how well-known the brand is, it makes no difference to me which one you choose to buy. The purpose of this helpful tool is to facilitate the movement of plaster from the bucket to the hawk board. You can get a bucket trowel on Amazon for less than 10 pounds. It's great to splash around but save it for clearing off plaster from buckets and the like.
- Do you recall the days when a spade and a hammer were your only options? The development of the power mixer has put an end to those practises. The saying "the times they are a changing" is very accurate. We have long since left the Stone Age behind us. We can get almost anything done with the help of modern technologies. While mixing plaster by hand is possible, a power mixer makes short work of the process. It's perfect for making a lot of plaster quickly and efficiently, so you can use it right away.
- A top-notch painting tool - A high-quality water brush is essential when it comes to plastering equipment. This is required so that water can be applied to the plaster and the edges may be kept neat. Cleaning tools necessitate the use of a separate object, such as a brush. The slots between your mixer's paddles are usually tiny enough for a good hand brush to fit in. Always clean your tools before using them, because if you do, they will take care of you.
That sums up the primary tools necessary to begin working with plaster. This is obviously not enough money, but it is the minimal minimum you should have on hand.
A competent DIYer can plaster a variety of surfaces with ease
- A stud wall, ceiling, or wood frame, as well as screws, nails, or an adhesive, are needed to install plasterboard.
- Skim coating and re-skim coating of drywall and walls.
- Using a bare brick and a skim coat to fix the damaged plaster.
- Plasterboard is installed on already built solid walls using a plasterboard-specific glue (sometimes known as "dot and dab" or "dry lining").
If the plaster isn't finished evenly, the cost of repairs could end up being higher than the price of employing a professional plasterer.
Plastering tools should be completely cleaned before being used again.
Get Your Office Ready
Because plastering can create a mess, a tidy work area is essential. Curtain rods, skirting boards, dado rails, and even radiators may need to be taken down, depending on the scope of the project. Tape should be used to seal any holes in the wall that could allow plaster to enter. If that's what you're after, then follow the instructions below.
- Plaster can fall on the floor, therefore it's important to cover the area in heavy dust blankets to prevent damage. To remove old plaster, you'll need two sheets. The former is necessary for removing the old plaster, while the latter is needed to apply the new.
- Give the wall a thorough cleaning to make sure it's pristine. Get rid of the dust and grease, as well as any loose drywall or plaster.
- When installing new plasterboard, be sure to seal the joints using plaster tape. After applying tape, you can trim off any excess with a knife. follow the instructions below.
Plasterboard wall integration
Step 1: Preparation
Since plastering is a dirty activity, it's important to have a clean, uncluttered work area. Take down any and all of the room's fixtures, including the curtain rods, dado rails, and radiators, if necessary, depending on the task at hand. Tape should be used to seal any holes in the wall that could allow plaster to enter.
- Put thick, protective coverings on the floor. To remove the old plaster, one set of sheets is utilised, while the other set is used to apply the new. Dust could collect on the new plaster and destroy it if we don't take precautions.
- Scrub the wall to remove oil and dust as well as any leftover wallpaper or loose plaster. To ensure effective plaster adhesion, clear the wall of any and all debris.
- Plaster tape should be used on all seams of newly placed plasterboard. Once you've applied the tape, you can cut it to a straight edge with a sharp knife.
Step 2: Wall PVA Application
PVA, like the glue used to close the pores in drywall, is formed of latex, so it can be put to the walls before plastering to speed up the drying time of each coat. PVA, however, needs to be diluted with water at a 1:4 ratio before it can be used (mix PVA 1 part with 4 parts).
Applying the PVA mixture to the wall is as easy as rolling it onto a brush. The initial coat of plaster can be put after the PVA adhesive has been applied to the wall.
Step 3: Mix Your Plaster In A 19-26L Bucket
To fill the clean bucket halfway, add cool, clean water. Simply shake a bag of plaster mix into the bucket until it reaches the top of the water.
Use a stirring rod or a plunger to begin incorporating the dry plaster particles. When working with gypsum plaster, speed is of the essence in order to avoid the development of weak spots.
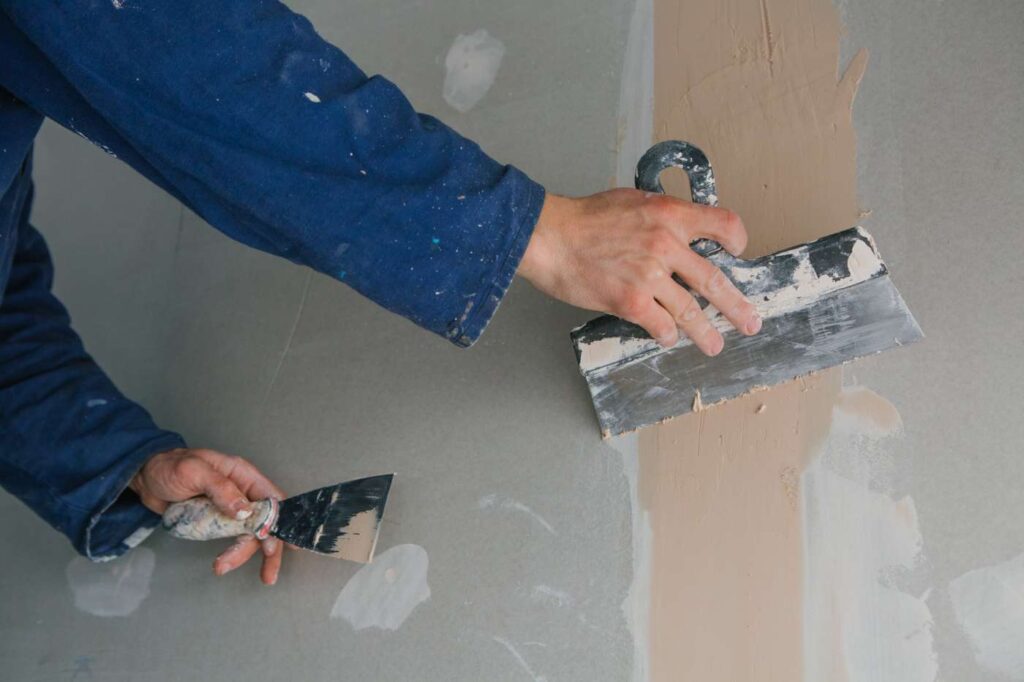
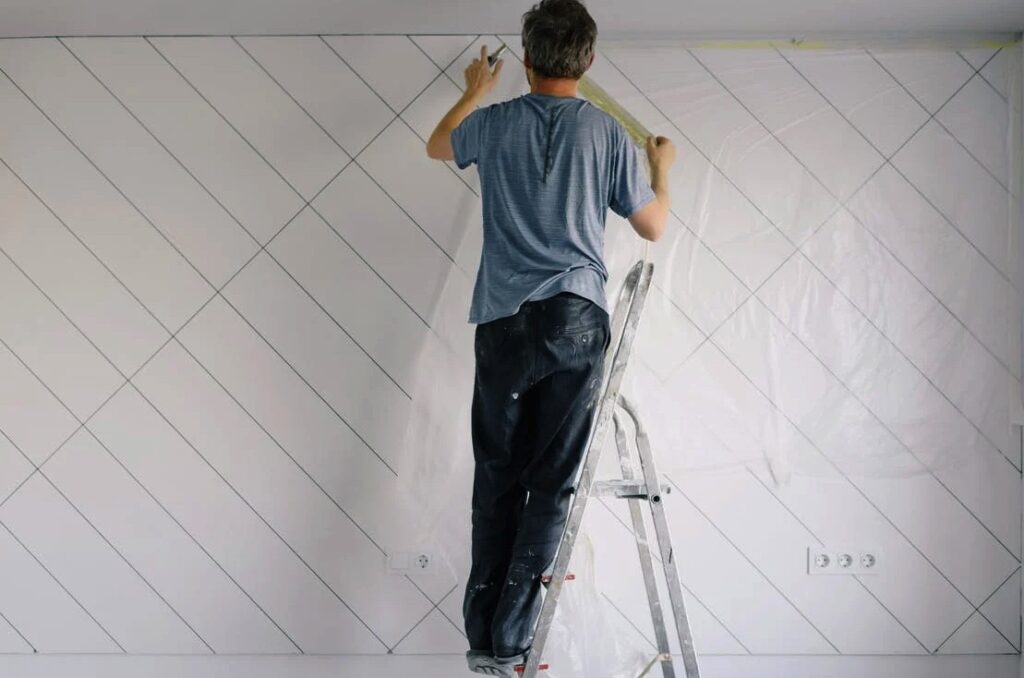
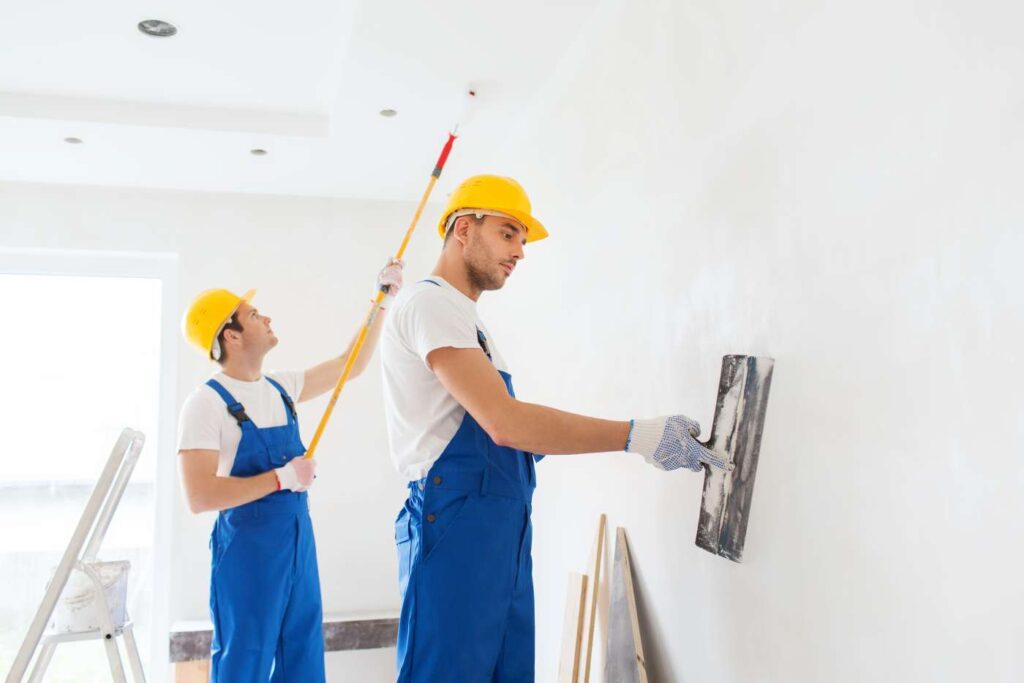
Step 4: Putting Plaster on the Walls
Once the wall is clean and the plaster mixture is ready, the first coat of plaster can be applied with the hawk board, trowels, and floating tool. In other words, before you use the plasterboard for anything essential, you should practise on a scrap piece.
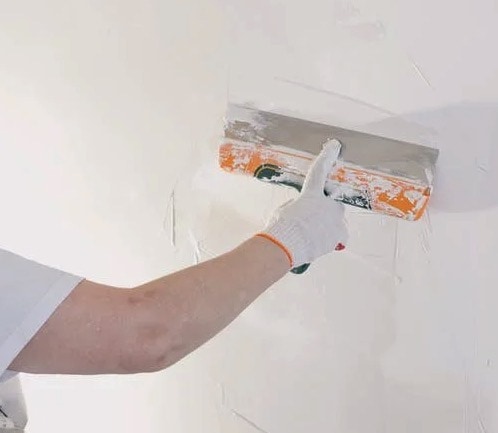
Apply the plaster to the hawk board with the trowel, and then smooth it onto the walls with the float. Be sure to level the float and distribute the plaster upwardly firmly after each pass.
Apply the plaster in one smooth motion, beginning in the bottom left corner and working your way up. You need to finish one section before going on to the next.
To get a smooth finish and keep the plaster from flaking off the wall, you need to use only a small amount of plaster and apply a lot of pressure with the float. Use this method to drywall the entire room.
The Wall Plaster Application Procedure:
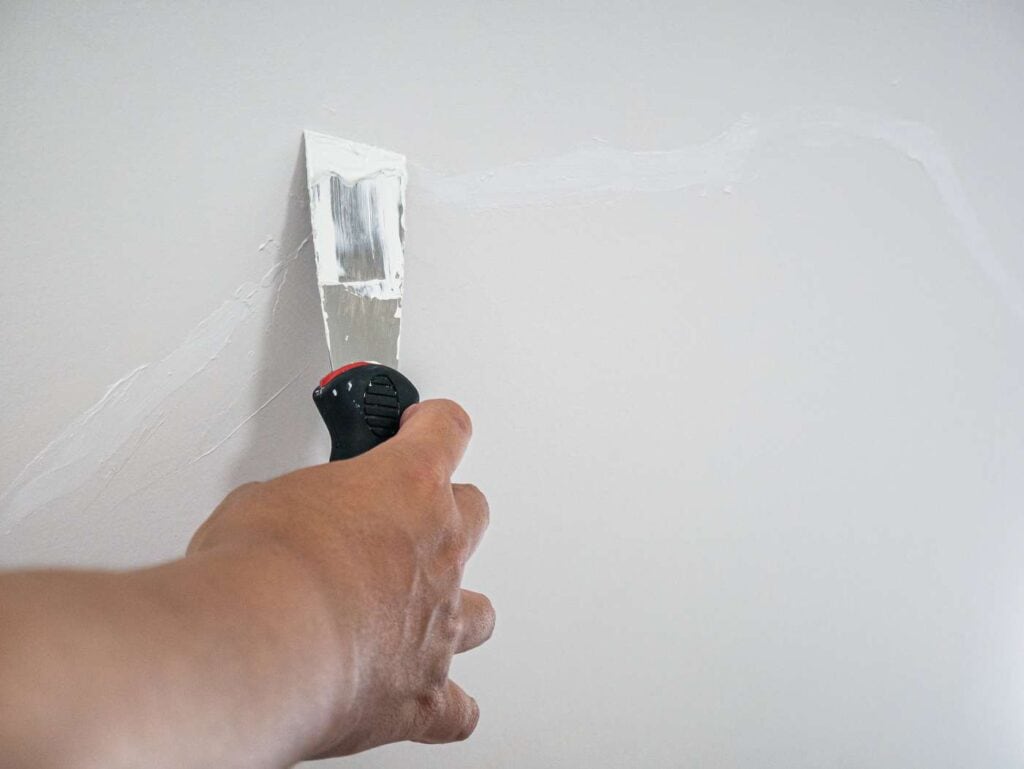
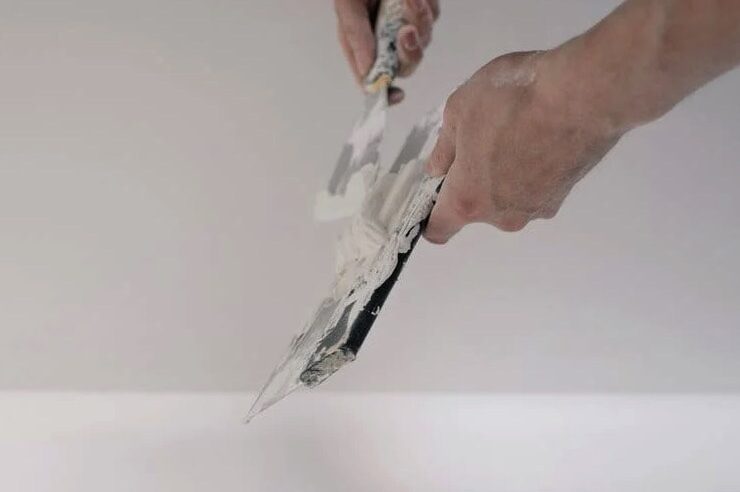
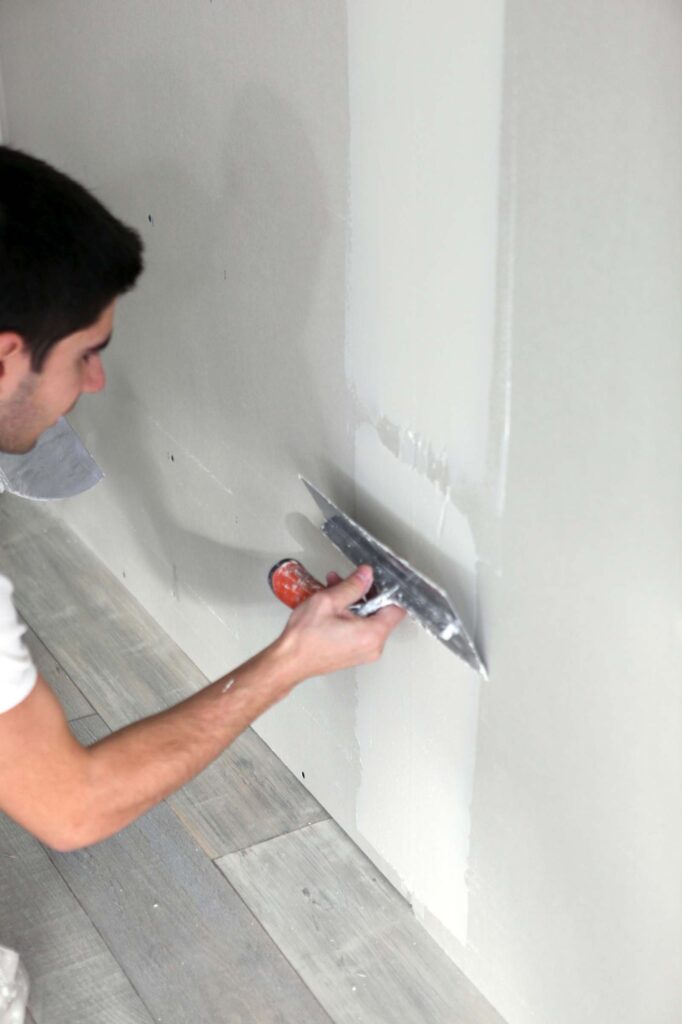
- The hawk board contains plaster, which can be removed by scooping it up with the trowel. Apply the plaster to the wall using a firm, upward stroke and a trowel held at a slight angle away from the wall.
- Plastering requires that you flatten the trowel at the end of each stroke for a seamless look.
- Plaster the wall, starting at the bottom left corner and working your way up and out.
- Start with shorter sweeps and work your way up to longer ones for a more uniform result.
- As soon as you've got the plaster spread out evenly along one portion of the wall, move on to the next.
Plaster Surface Maintenance: What to Do?
Keeping up with routine maintenance on your home's plaster walls will save you money on plaster repairs in the long run. Instead, you should fix any defects, replace any crumbling plaster, repaint, and keep up with routine maintenance to keep the surface looking great for years to come.
Methods for Thoroughly Scrubbing Plaster.
Plaster is porous and can be damaged by being submerged in water. If you follow these instructions, you can clean it without harm:
- Soak a soft towel in warm water and wring it out thoroughly.
- Put a small amount of mild soap on a cleaning cloth and work it into a few bubbles.
- Using the soapy cloth, rub the plaster wall in circular motions, beginning at the top and working your way down.
- Sprinkle some warm water on the cloth and wring it out once more.
- It is imperative that any soap residue be removed from the plaster before it is applied.
- Use dry, gentle rags to wipe off the wall thoroughly.
Finished by the finishing touches
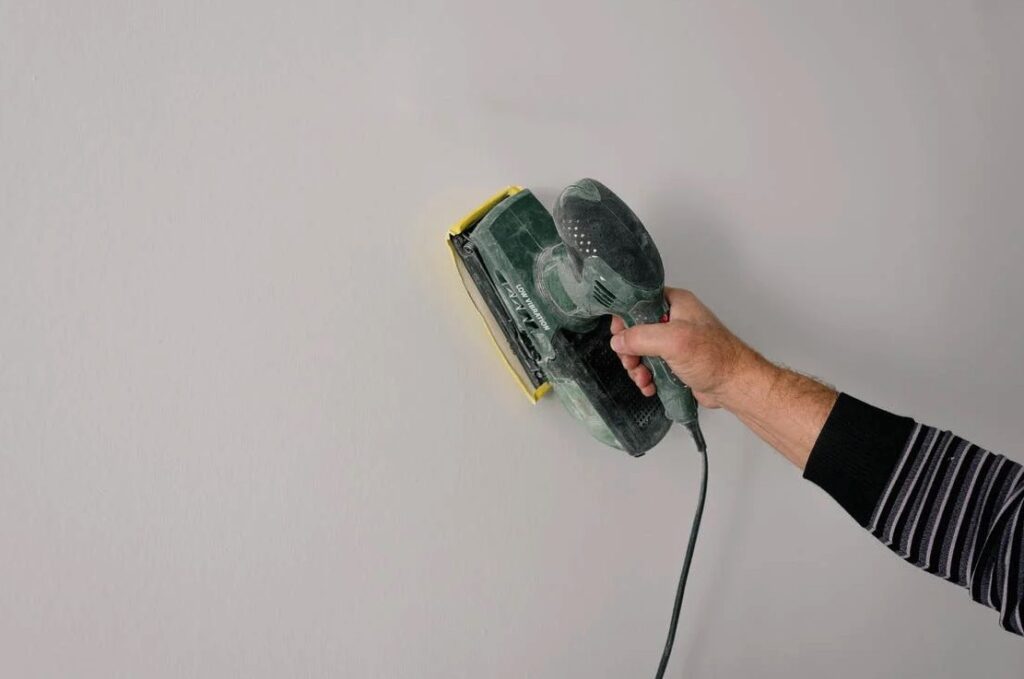
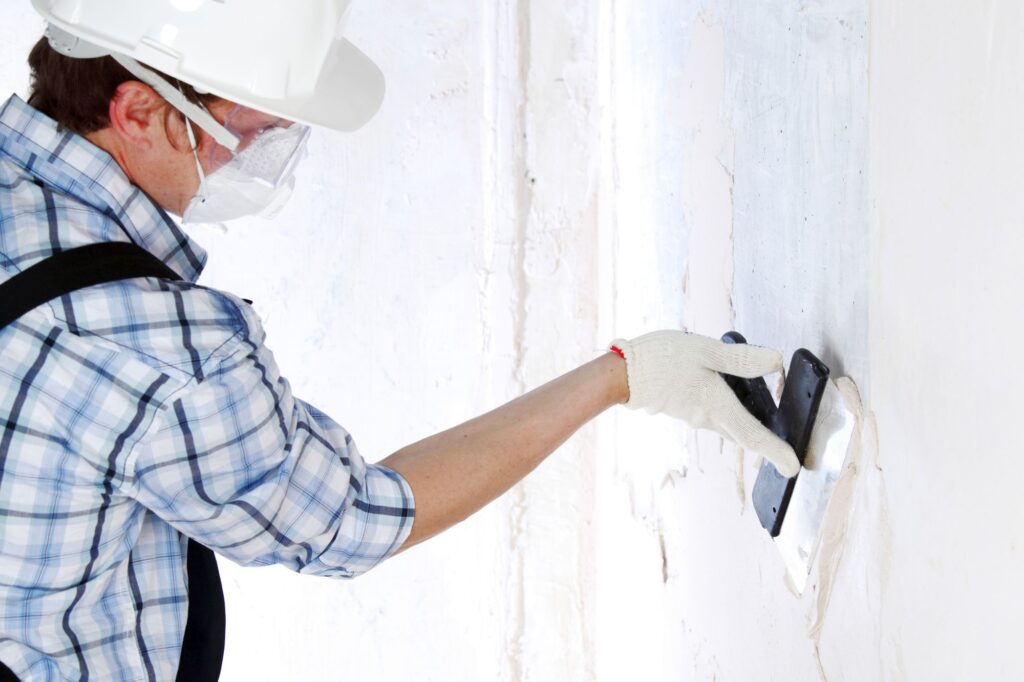
Fix any bumps or uneven spots in the plaster while it's still damp so that you may paint or wallpaper over it later. When the plaster has hardened, you can use sandpaper to fix any imperfections.
Plastering is seen as a specialised job best left to specialists; thus, most individuals would prefer not to do it themselves. If you're not very handy around the house but think you could handle plastering because you take your time and are thorough, this post is for you. Please let me know if you have any further questions after reading this post.
Conclusion
You must prime the wall and let the plaster dry between coats. The wall will be smooth and prepared for paint or wallpaper when you're done.
We provide you with the how-to on skim plastering a wall and the tools you'll need to do it. Plastering requires six distinct steps that must be completed in a specific order. For instance, if you want to sell your house, you should hire a plasterer.
You may learn how to apply plaster to walls like a pro with the help of this manual. If you need to rapidly make a lot of plaster, a power mixer is your best bet.
A high-quality water brush is required to apply water to the plaster and keep the edges tidy. If you take the time to clean your tools before using them, they will look after you.
You may need to pull down your curtain rods, skirting boards, dado rails, and even your radiators.
Any openings in the wall that could be compromised by plaster should be sealed with tape. If we don't take care, dust will settle on the fresh plaster and ruin it. Use the hawk board, trowels, and floating tool to apply the first layer of plaster.
It would be best if you used very little plaster and a lot of pressure with the float to get a smooth finish and prevent the plaster from flaking off the wall. Most people would rather not do their plastering since they believe it is a skilled task better left to professionals.
This post is for you if you aren't particularly handy around the house but feel confident that you could plaster a room if given enough time and attention to detail.
Content Summary
- Since there are such wide varieties of plaster, each with its unique purposes and mixing techniques, plastering a wall is an expert do-it-yourself project.
- However, it takes a long time to plaster a concrete wall.
- However, if you put in the time and effort necessary and follow a tried and tested method, you can plaster a wall.
- The quality of the wall's final appearance after painting relies heavily on the quality of the plastering process.
- Instructions for skim plastering a wall and a list of the necessary equipment are provided.
- You can save time and aggravation and boost your satisfaction with the finished product if you plaster the wall properly.
- It is essential to follow the six phases of plastering properly, keep your tools clean, and have the right equipment on hand if you want a flawless wall that won't bother you for years.
- This all-inclusive guide will show you exactly what to do to master the skill of putting the perfect coat of plaster on your walls.
- Integrated along the way! Plastering a wall is a learned talent, but like any other, it takes time and effort to master.
- As was previously said, the plaster's quality determines the paint job's quality.
- For example, consider hiring a professional plasterer to avoid ruining the walls and ceilings if you plan on selling your home.
- To avoid pausing in the middle of plastering a wall to get materials or locating a missing tool, it's important to ensure you have everything you need before you start.
- Plasterers need a hawk board to keep their plaster dry and organised between uses.
- Its main use is moving plaster from the bucket to the hawk (or hand board).
- You can get a bucket trowel on Amazon for less than 10 pounds.
- The development of the power mixer has put an end to those practices.
- While mixing plaster by hand is possible, a power mixer makes short work of the process.
- Always clean your tools before using them because if you do, they will take care of you.
- That sums up the primary tools necessary to begin working with plaster.
- Because plastering can create a mess, a tidy work area is essential.
- Plaster can fall on the floor. Therefore it's important to cover the area with heavy dust blankets to prevent damage.
- Give the wall a thorough cleaning to make sure it's pristine.
- When installing a new plasterboard, seal the joints using plaster tape.
- Since plastering is dirty, it's important to have a clean, uncluttered work area.
- Take down any of the room's fixtures, including the curtain rods, dado rails, and radiators, depending on the task at hand.
- Put thick, protective coverings on the floor.
- One set of sheets is used to remove the old plaster, while the other set is used to apply the new.
- Scrub the wall to remove oil, dust, and any leftover wallpaper or loose plaster.
- To ensure effective plaster adhesion, clear the wall of any debris.
- Applying the PVA mixture to the wall is as easy as rolling it onto a brush.
- The initial coat of plaster can be put in after the PVA adhesive has been applied to the wall.
- Once the wall is clean, and the plaster mixture is ready, the first coat of plaster can be applied with the hawk board, trowels, and floating tool.
- In other words, before you use the plasterboard for anything essential, you should practise on a scrap piece.
- Apply the plaster to the hawk board with the trowel, and then smooth it onto the walls with the float.
- Plaster is porous and can be damaged by being submerged in water.
- Following these instructions, you can clean it without harm: Soak a soft towel in warm water and wring it out thoroughly.
- Put a small amount of mild soap on a cleaning cloth and work it into a few bubbles.
- Using the soapy cloth, rub the plaster wall in circular motions, beginning at the top and working your way down.
- Use dry, gentle rags to wipe off the wall thoroughly.
- Fix any bumps or uneven spots in the plaster while it's still damp so that you may paint or wallpaper over it later.
- Plastering is seen as a specialised job best left to specialists. Thus most individuals would prefer not to do it themselves.
- If you're not very handy around the house but think you could handle plastering because you take your time and are thorough, this post is for you.
Frequently Asked Questions About Plaster
Anyone can plaster a wall (really, anyone), but you need to follow a formula. You can't just pick up a trowel and start throwing plaster on the walls.
Ginger Timmins Member. You want the diluted PVA to be sucked into the plaster to create a good bond between the plaster and whatever you're applying on top of the PVA. If your plaster is not completely dry, the PVA will sit as a layer on top of it. The only way it'll get sucked in is if the plaster is bone dry.
The final part of the six stages of plastering should leave you with a nice, even slightly polished surface. It begins when the plaster starts to darken as it dries. This is where you can run the trowel with a firm pressure over the entire wall to finish. And you're done!
If the plaster is very old and damaged, you will need to fix any cracks and holes before plastering over it. You can fill smaller holes and cracks in a wall using a sealant such as Caulk. Larger holes and cracks will have to be filled with plaster and mesh, which may be a job for a professional.
PVA for Bonding
Adding a coat of glue to your wall surface just before you start plastering helps bond the plaster to the wall. The PVA helps to stick the plaster in place in the same way it can bond two pieces of wood together.