Artex ceilings, known for their textured patterns, were popular in the 1970s and 1980s. However, their look has fallen out of favour.
Removing Artex can be difficult, especially if it contains asbestos. Plastering over Artex is a viable solution but requires preparation and care.
Let’s get straight to the point.
Plastering over Artex ceilings is a practical way to modernise them, especially if they contain asbestos. Preparation involves using PVA adhesive, bonding plaster, and multi-finish plaster, with careful attention to safety gear and step-by-step execution.
Avoid disturbing Artex, which might contain asbestos, as it can release harmful fibres. Alternatives like plasterboard overlay or dry lining can provide smooth surfaces without direct plastering.
Proper handling ensures a sleek finish while minimising asbestos risks, and hiring professionals is recommended if unsure.
Understanding Artex And Its Asbestos Risk

Before 1985, many Artex surfaces contained asbestos, a material linked to health risks. Artex asbestos is mostly white, which is less hazardous but requires caution.
Professional testing is advised if you are unsure whether your Artex contains asbestos. It’s always best to handle Artex with care, as disturbing it could release harmful fibres into the air.
Tools And Safety Gear Needed
Before you begin plastering over Artex, gather these essential tools and safety equipment:
- Protective gear: Gloves, face mask, and safety goggles
- PVA adhesive
- Bonding plaster
- Multi-finish plaster
- Mixing drill and paddle attachment
- Trowel and hawk
Steps To Plaster Over Artex
Plastering over Artex requires detailed steps to ensure a smooth and professional finish. Here’s a closer look at each phase of the process to help you achieve the best results:
1. Prepare The Area
Safety First: Before starting, wear the right protective gear. It is important to Equip yourself with gloves, a face mask, and safety goggles to guard against dust and potential asbestos fibres in older Artex ceilings.
Prime the Surface: The next step is to prime the Artex surface with a PVA adhesive solution. Start by applying a diluted mix of PVA (1 part water to 5 parts PVA) to the ceiling.
This initial coat acts as a sealant, reducing the surface’s absorbency and preparing it for the plaster layers. Once the first coat is dry, apply a second, thicker coat (5 parts PVA to 1 part water).
This second layer helps to enhance adhesion further, ensuring that the plaster sticks properly to the ceiling.
Allow to Dry: Let the PVA dry until it becomes tacky to the touch but not fully dry. This tackiness ensures the plaster bonds well to the Artex surface, providing a solid foundation for the following layers.
2. Apply The Bonding Plaster
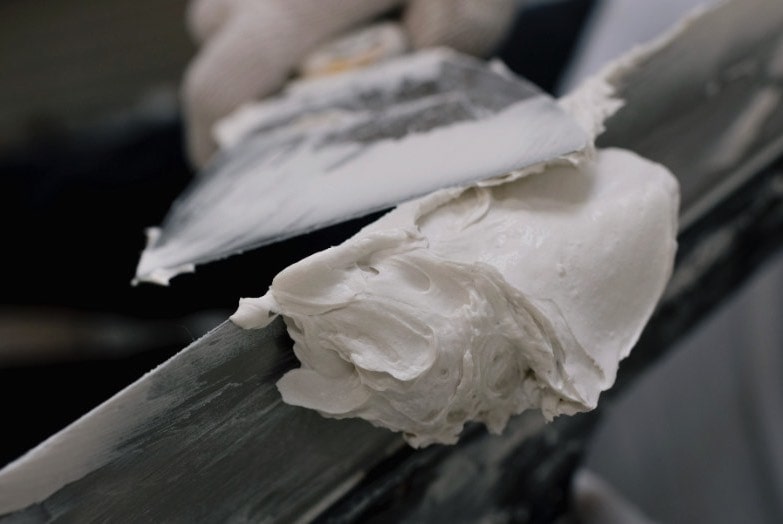
Mix the Bonding Plaster: Follow the manufacturer’s guidelines to prepare a thick, consistent mixture of bonding plaster. This type of plaster is specifically designed to cover uneven surfaces and provides an excellent base layer over textured Artex.
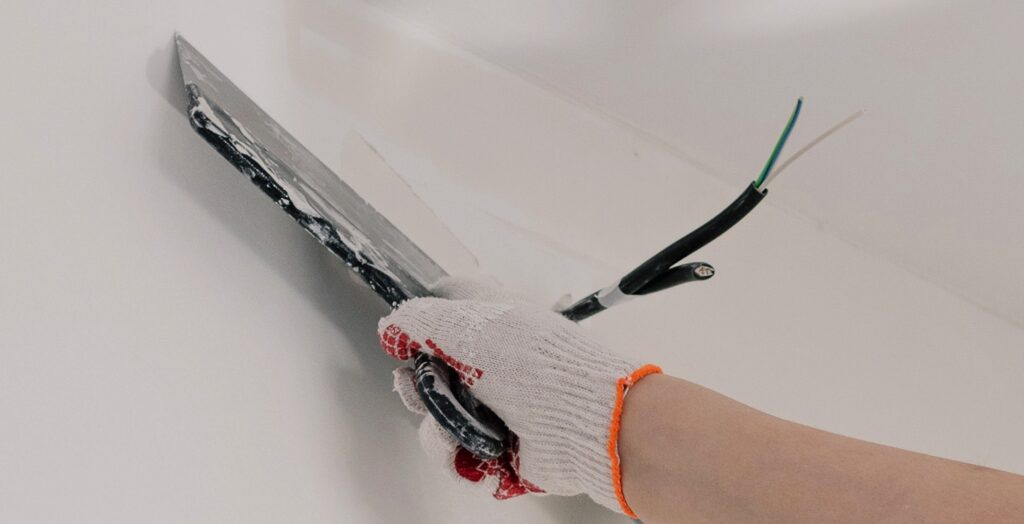
Apply the Bonding Coat: Spread a thin, even layer of bonding plaster across the Artex ceiling using a trowel. Smooth out any raised patterns or uneven areas.
This step is vital because it lays the groundwork for a level surface, making applying the finishing plaster layers easier.
Dry Completely: Allow the bonding plaster to dry completely before proceeding to the next step. Depending on the conditions in your space, this could take several hours to a full day.
Proper drying ensures the plaster won’t crack or shift when additional layers are applied.
3. Apply The First Layer Of Multi-Finish Plaster
Prepare the Multi-Finish Plaster: The next step is to mix a batch of multi-finish plaster. This plaster should be slightly thicker than usual to provide better coverage and a smoother finish over the bonding coat.
Coat the Ceiling: Spread the multi-finish plaster evenly across the ceiling, covering the entire surface with broad, even strokes. This first layer should be smooth and consistent to mask any remaining imperfections from the bonding coat.
As you work, use your trowel to blend the plaster evenly across the ceiling, ensuring a uniform thickness.
Drying Phase: Allow this initial coat of multi-finish plaster to dry partially before applying the final layer. This process typically takes a couple of hours, depending on room temperature and humidity.
Partial drying helps the plaster layer bond securely while remaining slightly pliable for adjustments.
4. Final Coat And Finishing Touches
Apply the Topcoat: Once the first layer is partially dry, mix a new batch of multi-finish plaster for the topcoat. This layer is important as it provides the final smooth finish to your ceiling.
Apply it in thin, even layers, using a steady hand to eliminate any ridges or inconsistencies.
Final Smoothing: As the plaster starts to set, use a wet trowel to go over the ceiling, smoothing out any minor bumps or ridges. The wet trowel technique helps refine the surface, creating a sleek and even finish that looks professional.
Keep the Plaster Workable: If the plaster begins to dry too quickly, lightly mist the surface with water. This helps maintain the plaster’s workability, giving you more time to achieve a smooth finish without rushing.
This step is particularly useful in warmer conditions where the plaster might dry faster than anticipated.
Additional Tips For Plastering Over Artex
- Maintain Consistency: When mixing plaster, ensure consistency remains uniform throughout the application process to avoid uneven patches.
- Work in Sections: Plaster small areas at a time to keep the material fresh and easy to manage, especially if you are new to plastering.
- Layer Control: Avoid applying overly thick layers of plaster, as this can lead to cracking. Instead, multiple thin coats will provide a more durable and smooth finish.
Why Does Following These Steps Matter?
Each step in plastering over Artex is designed to handle the unique challenges posed by this textured surface. Proper preparation with PVA, careful application of bonding plaster, and attention to the final multi-finish layers all yield flawless results.
Skipping steps or rushing through the process can result in uneven plastering, reduced adhesion, or visible imperfections. By following these detailed steps, you can transform an outdated Artex ceiling into a sleek, modern surface that enhances the appearance of any room.
Addressing Asbestos Concerns
If your Artex was installed before 1999, it may contain asbestos. When dealing with asbestos:
- Do not scrape or sand the surface: Disturbing the Artex can release asbestos fibres into the air.
- Cover with plasterboard: To avoid disturbing asbestos, consider going overboard with plasterboard instead of scraping or skimming.
Alternative Methods For Handling Artex
If plastering over Artex seems too complex or risky, consider these options:
- Removing Artex: Only attempt this if you’re certain the Artex does not contain asbestos.
- Plasterboard overlay: Cover the Artex with plasterboard to create a smooth surface without disturbing the material.
- Dry lining: This method involves fixing plasterboard over the Artex to provide a clean, paint-ready surface.
Why Plaster Over Artex?

Plastering over Artex provides several advantages:
- Smooth finish: Modern plaster techniques can give your ceiling a sleek, even surface.
- Avoid asbestos disturbance: Plastering over Artex containing asbestos keeps harmful fibres contained.
- Updated appearance: A smooth plastered ceiling aligns more with contemporary interior design preferences.
Challenges Of Plastering Over Artex
Artex was often used to cover up imperfections or damage in ceilings. When plastering over such surfaces, be aware of the following issues:
- Poor adhesion: The plaster may crack or flake if the original Artex needs to be well-bonded.
- Ceiling condition: Weak or damaged ceilings may not support the weight of additional plaster layers.
- Old lath and plaster ceilings can suffer from cracking or bulging when additional plaster is applied.
Common Mistakes To Avoid
- Skipping the PVA application can lead to plaster drying too fast and not adhering properly.
- Working on damp plaster: Allow each layer to dry properly to avoid blisters and peeling.
- Overloading the ceiling: Too much plaster can cause structural issues, especially with older ceilings.
Safety Precautions When Dealing With Artex
Always treat Artex with care, especially if you suspect it contains asbestos. To ensure safety:
- Hire professionals: For asbestos testing and removal, always use licensed professionals.
- Contain dust: Avoid any actions that might create airborne particles.
- Use proper PPE: Wear the appropriate protective gear at all times.
Conclusion
Plastering over Artex can transform outdated ceilings into sleek, modern surfaces. While it requires careful preparation and execution, it’s a practical way to manage the potential risks of asbestos without disturbing it.
Whether you opt for plastering directly, dry lining, or plasterboarding, the result will be a cleaner, more contemporary finish.
If you need more confidence in your plastering skills or are concerned about asbestos, seeking professional assistance is always the safest route.
Handling Artex correctly ensures a safe and beautiful outcome for your home.
Frequently Asked Questions About Plaster
Why Should You Choose a Professional When Plastering Over an Artex Ceiling?
Although Artex ceilings were popular in the past, times have changed. As a result, many of these designs have become outdated, and as a result, you might be considering a slight renovation. Plastering over Artex is one of the most common methods, and there are a handful of suggestions to keep in mind if you hope to avoid any headaches during the process.
Can I Skim Plaster Over Artex?
Plastering Over Artex That Contains Asbestos If you find that your Artex contains Asbestos, there are still options for dealing with it, but they are more limited: Skimming Over Artex. If you have patterned Artex, it’s possible to coat it with PVA to achieve a flat surface and then skim it.
Can You Plaster Over Textured Ceilings?
With painted texture, some pros scrape as best they can and then ‘skim coat’ the entire ceiling with a thin layer of joint compound. Scraping dry texture is dusty, and skim coating requires some practice. Remove any loose or sagging plaster before covering the ceiling.
Can Artex Be Plastered Over?
Artex is often considered outdated, and removing it can be not easy. Another option is to plaster over the Artex. However, plastering over the Artex is much harder than plastering over a normal surface such as plasterboard or a surface that has previously been plastered.
What Can I Use to Cover the Artex Ceiling?
Take a scraper and sander to your wall or ceiling, so the surface is as smooth as possible, then dilute a PVA adhesive (this can be purchased from a DIY shop) with water to a 50/50 ratio and cover the area with two coats of the mixture.

