So, you've made up your mind to patch that crack in the wall. However, before you get started, you need to learn the ins and outs of plastering, a task that some expert builders are reluctant to take on.
Don't worry; with the help of our expert DIY plastering instructions, you'll be able to get the job done right the first time. The readership for this essay consists of DIY newbies who are looking to either learn the basics or hone their existing skills.
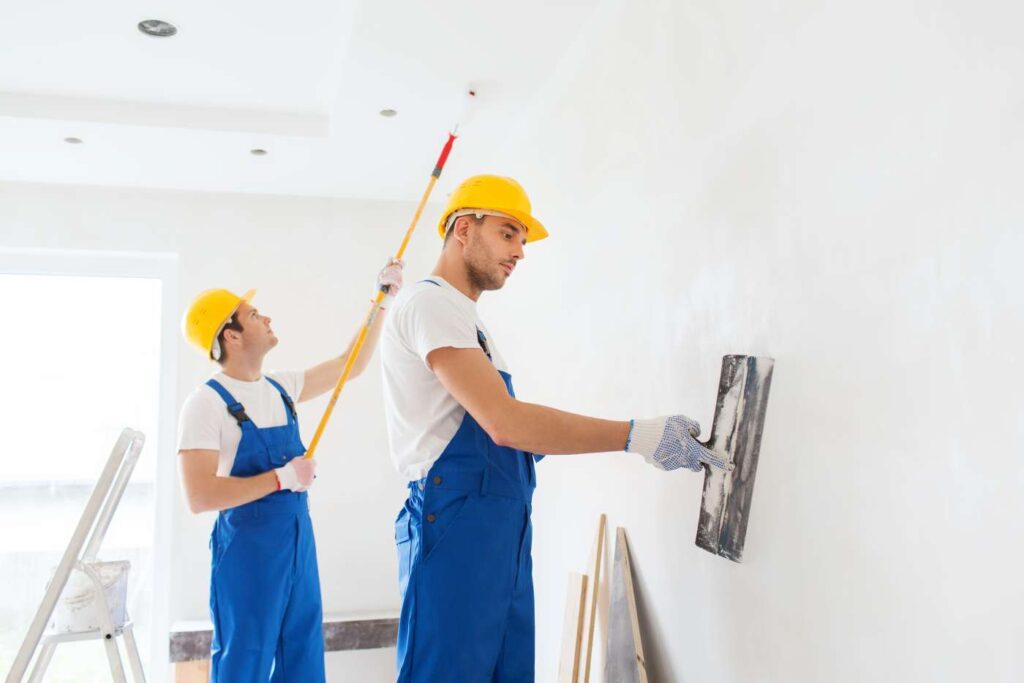
The precision and expertise required to successfully complete plastering projects have earned the trade the status of an art form.
Licensed Melbourne plasterers have the requisite knowledge and abilities because of their extensive background working with Plaster.
This list of four plastering tips can help you get up to speed and become more adept with all plastering operations, starting small and building on a foundation of basic knowledge.
Repairing minor cosmetic concerns and repainting walls and ceilings are common tasks for homeowners. The plastering procedure may take a long period.
Therefore, it is crucial to know the ins and outs of how it functions and what supplies you should have on hand, but this knowledge may not be readily available to newbies.
This article will examine some common methods for plastering a wall, appropriate for amateurs and do-it-yourself types.
If you don't have any experience with plastering, it is highly recommended that you engage a professional. Because fixing mistakes caused by following the wrong process can be very expensive.
With any luck, the information in this piece about wall plastering will be useful to you.
So, how does one go about plastering a wall properly?
Put simply, plaster is a revolutionary substance with applications ranging from the built environment to the arts to even medicine. Cement, gypsum, sand, and water are the basic ingredients.
However, due to the large variety of plaster available and its similarly wide range of applications and mixing procedures, learning how to plaster a wall and figuring out which sort of plaster you need for your home project may be considered as an advanced DIY endeavour.
Most people would prefer pay a professional to do it, but if you're good at doing it yourself and know how to be thorough, systematic, and neat, you're probably right.
If you follow these plastering instructions carefully, your finished wall should look like it was done by a pro.
The first step is to gather the required resources.
You should know that plastering is an inherently skilled endeavour. Anyone, with enough time and effort, is capable of becoming proficient in any skill.
Materials and equipment needed
Plastering walls requires certain equipment, which is why it's best to prepare for the job in advance to avoid having to run out and grab it in the middle of the job.
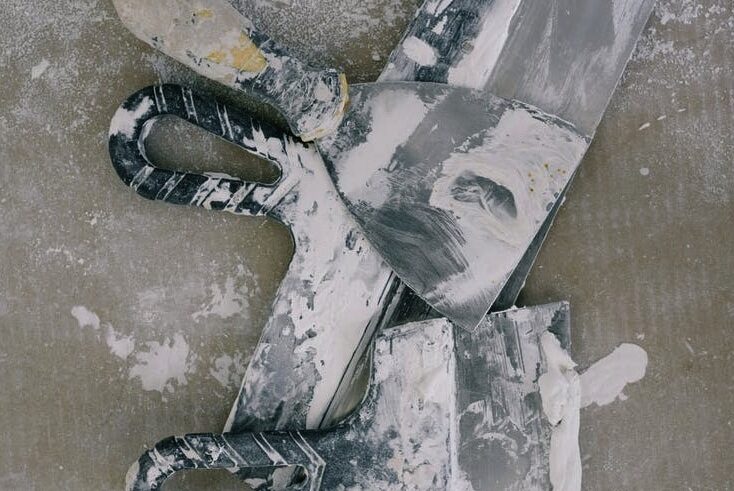
Tools including trowels, bucket trowels, corner trowels, hawk boards, mixing sticks or paddles, fine Plaster, clean water, two buckets, sandpaper, PVA, dustsheets, a stepladder or stilts, and a dust mask will be needed to complete the task.
Suction
Before commencing any plastering project, it is crucial to have a firm grasp of the concept of "suction" and its importance. A wall's "suction," or its capacity to absorb water, is a term commonly used by plasterers.
A large amount of water can be quickly absorbed by a wall with "high suction." It is therefore necessary to dampen high suction walls prior to plastering.
Plaster dries and crumbles before the plasterer has a chance to smooth it out if it is applied straight to a wall with strong suction. Plasterers have a toolkit full of strategies for minimising wall adhesion.
Based on the wall's permeability, more or less saturation may be required. There are times when a sponge is all that's needed to dampen a wall, but there are also times when a hose is necessary.
High-suction walls present a different set of challenges than do low suction ones. Walls that don't provide enough suction will necessitate the application of a bonding agent to ensure that the plaster stays put.
Remove Your Wallcoverings
Get rid of the wallpaper first, because that's the only way to start. Wallpaper absorbs fresh Plaster when it becomes wet and begins to peel away from the wall during the plastering process.
Make sure that you have taken out all of the paper.
Problems in the future due to tree dust are the last thing you want.
You can get the best results by soaking your wallpaper for 10 minutes in water.
The paper absorbs the moisture and it's easy to scrape off afterwards.
However, heating it can blow the Plaster and give you more effort.
Plastering the Walls
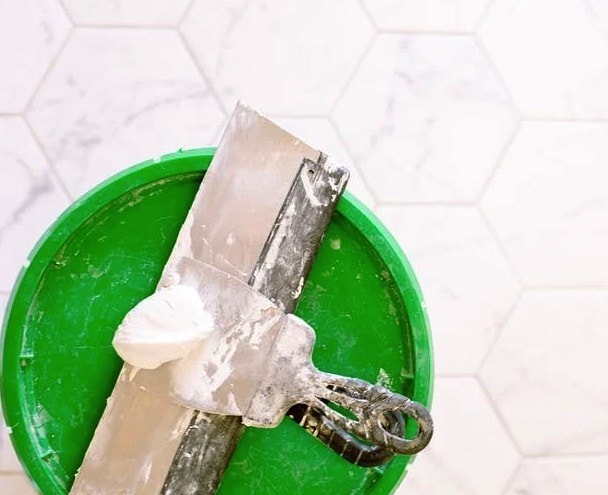
Add the powder to the water gradually to prevent lumps from forming at the bottom of the bucket.
The recommended amount of water for Thistle Multi finish is between 12.5 and 13 litres, however, you can play around with the exact amount to get the right consistency for your project.
The sides where your paddle mixer was should not collapse in on themselves after you remove the paddle if your Plaster is thick and smooth enough.
The mixture for the second coat should be slightly more watery than the first. It will continue to function, but with some sagging.
There are three steps to mixing the Plaster.
Get started with clean water; never drink or use water that is even slightly tainted.
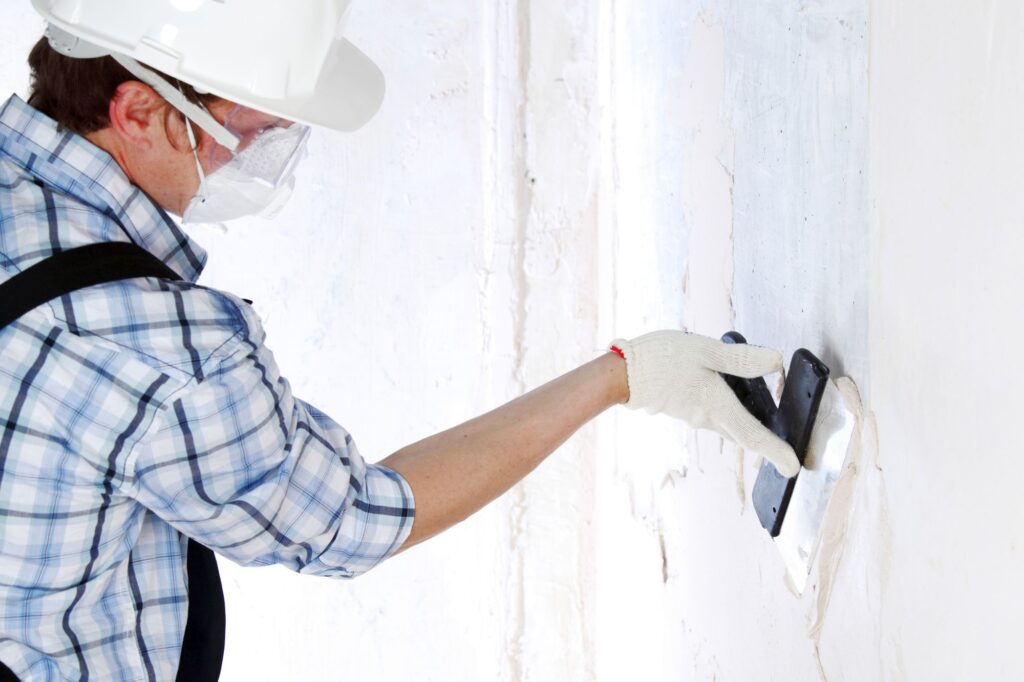
Plaster dust can cause serious health problems, thus it's also important to wear a mask.
Put on enough plaster to make the water's surface opaque.
Using a paddle mixer on a low speed can help you achieve a smooth fusion of flavours. Put the powder back into the bucket after you've cleaned it with the trowel.
Spade Trowel
Not nearly as important here. Its principal use is to transfer Plaster from the bucket to your hawk or hand board.
Whether you succeed in obtaining a good brand is irrelevant.
You can get a bucket trowel on Amazon for under ten pounds; they're not expensive and you'll need one.
It's great to play with, but its real purpose is to clean buckets and scoop Plaster.
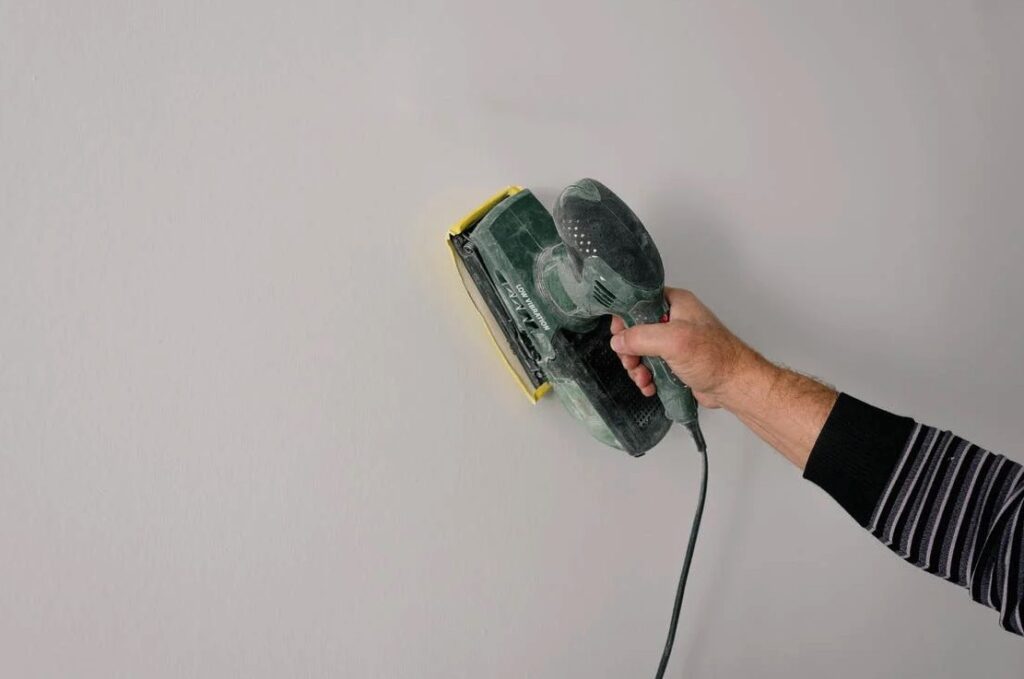
Scrape
While scraping isn't strictly necessary, it is recommended for optimal adhesion of the second coat of Plaster.
The quickest and most straightforward method of wall scraping is with a devilling float, a device designed for the job.
If you don't have a wall scraper, a dull fork from the kitchen will do in a pinch.
If this is skipped, the second coat should be applied while the first is still wet.
Starting with the Basics
With the primer's help, the wall's suction may be effectively removed, allowing the Plaster to cure as intended.
If a primer is not applied, the wall will soak up all of the water in the plaster mixture.
Because of this, the Plaster will eventually dry and crumble, a phenomenon known as "blown" Plaster.
Numerous primers suitable for the task can be found at any hardware shop. Some primers, in addition to the standard ones, are formulated to improve the adhesion of drywall or wallpaper.
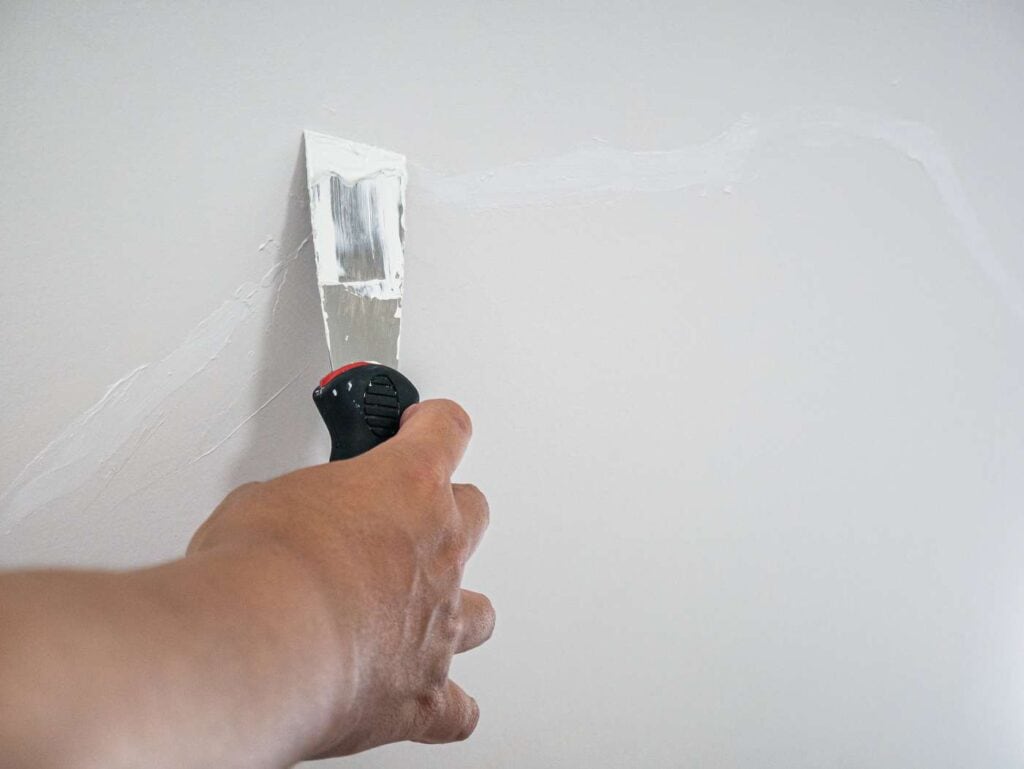
Put on Two Layers
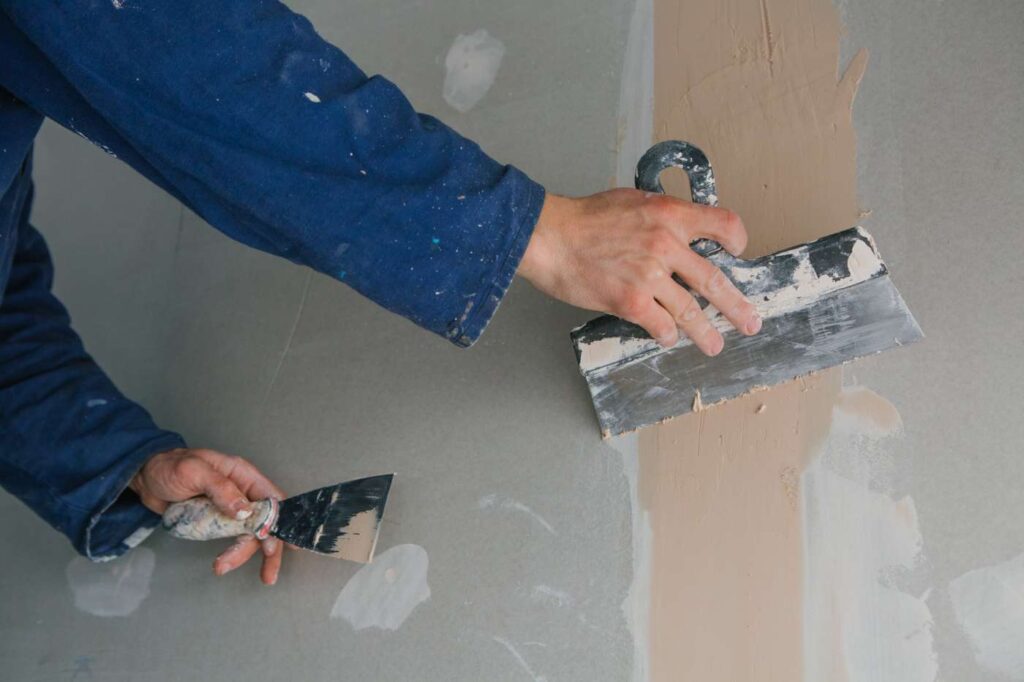
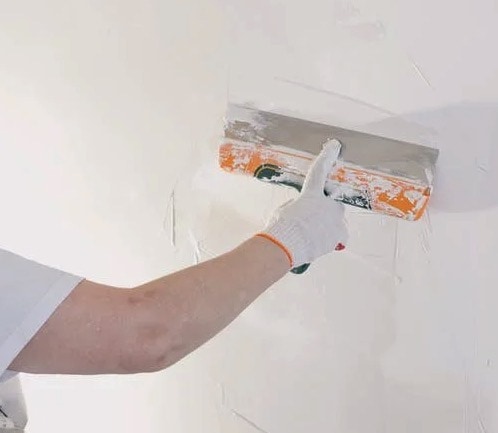
It's best to start with a thin layer and press forcefully into the wall to drive the coating deep, since this will ensure good adhesion.
This will keep it in place so you can apply the second coat evenly and with the proper amount of pressure for the desired thickness and levelness.
It will be difficult to pay close attention to the details if you have to use a lot of force to get the Plaster to stick to the wall.
Apply a second thin coat while the first is still damp and pliable, and you may be surprised at how little force is required.
Applying the first layer before the second or regulating the suction can help prevent drying too quickly.
The second layer can be applied as thickly as you desire; just remember to use less pressure so that the surface remains smooth.
When the first coat is dry enough to be worked like putty, who should apply the second? Plaster allows one to leave an impression by pressing into it, but the mark will not come off the wall.
If it comes loose from the wall or your finger, give it some more time to harden before trying to reattach it.
Repeat steps one through three to create a second layer.
Nonetheless, the first layer shouldn't require as much as the second because it's just a foundation.
The second is where things start to heat up. It is expected that the second layer will be smoother and fill in any defects. The original is too thick for my taste, so I would make it runnier.
As the saying goes, "patience is a virtue."
Expecting perfect results on the first try is a common mistake among novice plasterers.
After each pass with the trowel, the consistency of the Plaster is evaluated to determine how smoothly it was applied.
Practice makes perfect, especially when working with a new plaster mixture.
Instead of trying to get everything perfectly even with just one coat, smooth it out after each layer.
With each stroke, a primer activates its bonding effect, creating a more durable, quicker-drying coating.
You can be proud of your plastering work once it is finished if you take your time and do a thorough job.
Sponge Bath
In order to do a good job plastering, you need to have access to a good water brush.
Maintaining a pristine edge allows you to use water as a finishing touch on your Plaster, and it also makes for a more aesthetically pleasing final product.
Of course, you could use a standard brush, but I believe it is worthwhile to invest in a bit more expensive one.
Cleaning up the bristles left on the wall after using a cheap brush is more trouble than it's worth.
This is why a real decorator's brush like this one is worth the investment in my opinion.
Put in a Little Water
Use clean water and a bucket, brush, or spray bottle to even out our flat Plaster. Scrub the wall with a damp brush, then trowel it with even pressure. If water is seeping down, scoop it out.
Smooth walls are the result of a "Fat," which is the leftover creamy plaster on the trowel. Keep it hanging; it will hide the imperfections well. Focus on the nooks and crannies; sharp corners and perfectly even beads will elevate your work to the next level.

Cleanliness
Maintaining a tidy environment is a necessary.
The place needs to be spotless!
A hawk or some clumps on the board will ruin your recipe.
The grime on your trowel will prevent you from getting a clean finish.
Take everything outside and give it a good soaking if you have a garden and a hose.
In fact, if you have clay soil, adding gypsum could improve its quality. It's helpful to have a hose on hand for washing down tools and equipment after usage.
PVA
It is standard practise to use PVA on your walls. This may look strange to a novice, but it is actually a brilliant innovation in the field of plastering. The rate at which a given wall suctions in moisture is known as its suction rate.
The suction rate of brick, for example, is extremely high. If you throw water against brick, it will evaporate in two minutes. Throwing the same volume of water against an old wall has almost little effect.
Plastering over masonry with normal finish plaster will cause the mixture to harden and crack very soon. Because the brick had soaked up all the Plaster's moisture, the thistle had withered and died.
Plastering is simplified by the use of PVA since it slows the rate of suction.
Plaster cures very rapidly without PVA, so you won't have much time to create a good finish if you start plastering a wall without it.
Plaster's ability to adhere to the walls is improved by the use of PVA, which is another perk.
The Art of Plastering a Hawk
Next up on the agenda is a plastering hawk. It's a square sheet that's held by a stick. Hawks are used by plasterers to hold the material while they work. It's not necessary, but you won't find a professional plasterer working without one.
Like any other do-it-yourself endeavour, mastering the use of a hawk and trowel takes time and effort.
So, to start, check out some video examples of how the pros have succeeded in the past.
The next step is to perfect your method on a plywood mockup until you feel confident enough to test it in your actual home.
Hawks used for plastering can be purchased in a wide range of materials. To start, I recommend a foam hawk. If you are not used to strenuous physical labour, foam hawks are a great tool to have (plastering can take its toll on your arm muscles). Replacement foam hawks are cheap and easy to find when they start to show wear.
Scratching
Although metal 'combs' designed specifically for this purpose are available, they are probably unneeded for the area you would be scratching (a novice shouldn't try to scratch more than 4 m2 at a time).
Scratches can be removed by gently stroking the wall with your plastic float.
The last layer can be applied to the wall now.
You can estimate how much Plaster you'll need by remembering that 25 kilogrammes of browning, bonding, or one coat plaster (scratch or base coat plasters) will cover somewhat more than 3 square metres at 12 millimetres thickness (about 12 an inch).
A 25-kilogram bag of skim or topcoat Plaster should be sufficient for covering 13 square metres at a thickness of 3 millimetres.
Avoid buying in bulk and waiting too long to use what you acquire. Plaster of any kind doesn't survive very long at all.
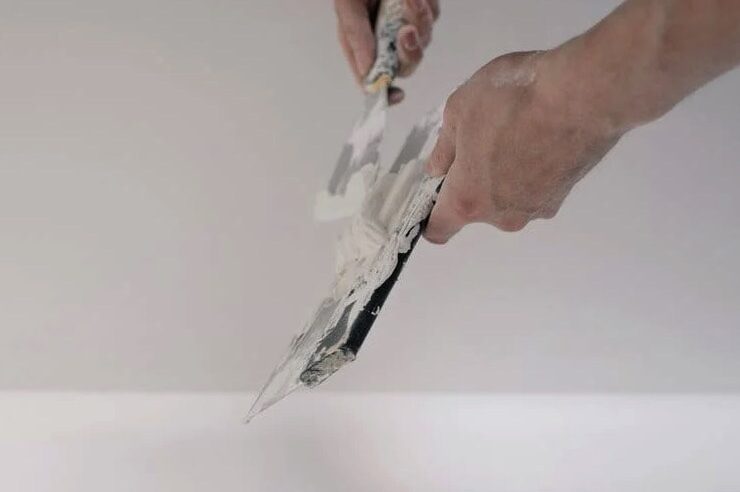
From a flat surface with no obstructions to holes bored and finished with trowel markings
As long as you carry with this instruction, you can relax. The most immediately apparent advantage of flatness is that your trowel can lay flat against the wall.
Finally, press the holes shut or fill them with more Plaster and smooth them out with pressure before the Plaster cures entirely.
After the Plaster has dried, any trowel marks or ridges can be easily smoothed off if you worked carefully to keep the Plaster flat and your trowel was sitting flat on the wall.
Conclusion
Plasterers in Melbourne have the necessary expertise because of their long history working with the material. Plastering a wall requires only a few simple materials: cement, gypsum, sand, and water.
It is highly advised that you hire a professional if you lack plastering knowledge.
Plasterers frequently talk about the "suction" of a wall, which is the wall's ability to absorb water.
In contrast to low-suction walls, those with high-suction levels bring their unique difficulties.
Wall adhesion can be reduced using any number of techniques available to plasterers.
For the Thistle Multi finish, you must use between 12.5 and 13 litres of water.
When combining flavours, a paddle mixer on a low speed is your best bet for a seamless fusion.
A dull kitchen fork can be used as a makeshift wall scraper if you don't have anything handy.
If you want your coating to stick to the wall, apply a thin layer and push firmly into it.
You can apply the second coat as thickly as possible; ease the pressure a little to keep the surface even.
You can use water as a final touch on your Plaster if you keep the area clean. In addition to improving the overall quality, this also improves the finished product's visual appeal. Use a wet brush to scrub the wall, and then trowel it with uniform pressure.
Water seepage calls for a scoop to remove the pooling liquid.
PVA helps streamline the plastering process by reducing the suction speed. Plasterers rely on hawks to hold the material for them. Using a trowel is optional, but no self-respecting plasterer would show up on the job without one.
You can rest easy as long as you follow this directive. A smooth surface means your trowel can rest flush against the wall, which is an obvious benefit. You can expect to cover 13 square metres using a 25-kilogram bag of skim or topcoat Plaster.
Content Summary
- However, before you start, you need to learn the ins and outs of plastering, a task that some expert builders would prefer to take on.
- Don't worry; with the help of our expert DIY plastering instructions, you'll be able to get the job done right the first time.
- The readership for this essay consists of DIY newbies looking to learn the basics or hone their existing skills.
- Licensed Melbourne plasterers have the requisite knowledge and abilities because of their extensive background working with Plaster.
- This list of four plastering tips can help you get up to speed and become more adept with all plastering operations, starting small and building on a foundation of basic knowledge.
- Therefore, knowing how it functions and what supplies you should have is crucial, but this knowledge may be limited to newbies.
- This article will examine common methods for plastering a wall, appropriate for amateurs and do-it-yourself types.
- If you don't have any experience with plastering, it is highly recommended that you engage a professional.
- The information in this piece about wall plastering will be useful to you.
- However, due to the large variety of Plaster available and its similarly wide range of applications and mixing procedures, learning how to plaster a wall and figuring out which sort of Plaster you need for your home project may be considered an advanced DIY endeavour.
- Before commencing any plastering project, it is crucial to have a firm grasp of the concept of "suction" and its importance.
- It is, therefore, necessary to dampen high-suction walls before plastering.
- Get rid of the wallpaper first because that's the only way to start.
- Plaster in a bag The recommended amount of water for Thistle Multi finish is between 12.5 and 13 litres. However, you can play around with the exact amount to get the right consistency for your project.
- The mixture for the second coat should be slightly more watery than the first.
- Put the powder back into the bucket after you've cleaned it with the trowel.
- While scraping isn't strictly necessary, it is recommended for optimal adhesion of the second coat of Plaster.
- The quickest and most straightforward method of wall scraping is with a devilling float, a device designed for the job.
- If a primer is not applied, the wall will soak up all the water in the plaster mixture.
- It's best to start with a thin layer and press forcefully into the wall to drive the coating deep since this will ensure good adhesion.
- This will keep it in place so you can apply the second coat evenly and with the proper pressure for the desired thickness and level.
- It will be difficult to pay close attention to the details if you have to use a lot of force to get the Plaster to stick to the wall.
- Apply a second thin coat while the first is still damp and pliable, and you may be surprised at how little force is required.
- Applying the first layer before the second or regulating the suction can help prevent drying too quickly.
- The second layer is expected to be smoother and fill in any defects.
- After each pass with the trowel, the consistency of the Plaster is evaluated to determine how smoothly it was applied.
- Instead of trying to get everything perfectly, even with just one coat, smooth it out after each layer.
- Maintaining a pristine edge allows you to use water as a finishing touch on your Plaster and makes for a more aesthetically pleasing final product.
- Use clean water and a bucket, brush, or spray bottle to even out our flat Plaster.
- Scrub the wall with a damp brush, then trowel it with even pressure.
- Maintaining a tidy environment is necessary.
- It is standard practice to use PVA on your walls.
- Plastering over masonry with normal finish plaster will cause the mixture to harden and crack very soon.
- Plaster's ability to adhere to the walls is improved by the use of PVA, which is another perk.
- It's unnecessary, but you will only find a professional plasterer working with one.
- Mastering a hawk and trowel takes time and effort, like any other do-it-yourself endeavour.
- Hawks used for plastering can be purchased in a wide range of materials.
- Replacement foam hawks are cheap and easy to find when they start to show wear.
- A 25-kilogram bag of skim or topcoat Plaster should be sufficient for covering 13 square metres at 3 millimetres.
- The most immediately apparent advantage of flatness is that your trowel can lay flat against the wall.
- After the Plaster has dried, any trowel marks or ridges can be easily smoothed off if you worked carefully to keep the Plaster flat and your trowel was sitting flat on the wall.
Frequently Asked Questions About Plaster
It is a skill, and it takes practice, care, precision and a lot of experience to get it 100% right. That is, however, not to say you can’t DIY plastering. Of course, you can, but you should know it’s going to take some time to learn the process and get to know what you’re doing.
Plastering isn’t difficult, but like most trades, it is difficult to do it to a high standard until you’ve done it a lot.
Plaster dust (bagged material). It can irritate the respiratory system, which in some cases may lead to occupational asthma. The long term health effects of regularly inhaling plaster specks of dust during mixing are unclear but likely to include chronic obstructive pulmonary disease.
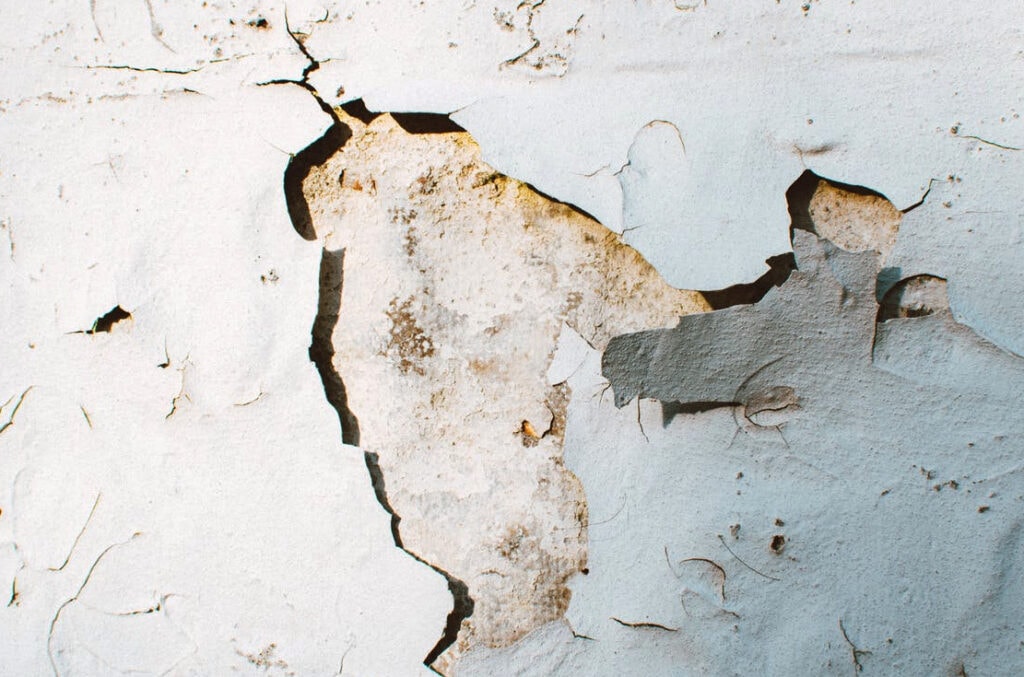
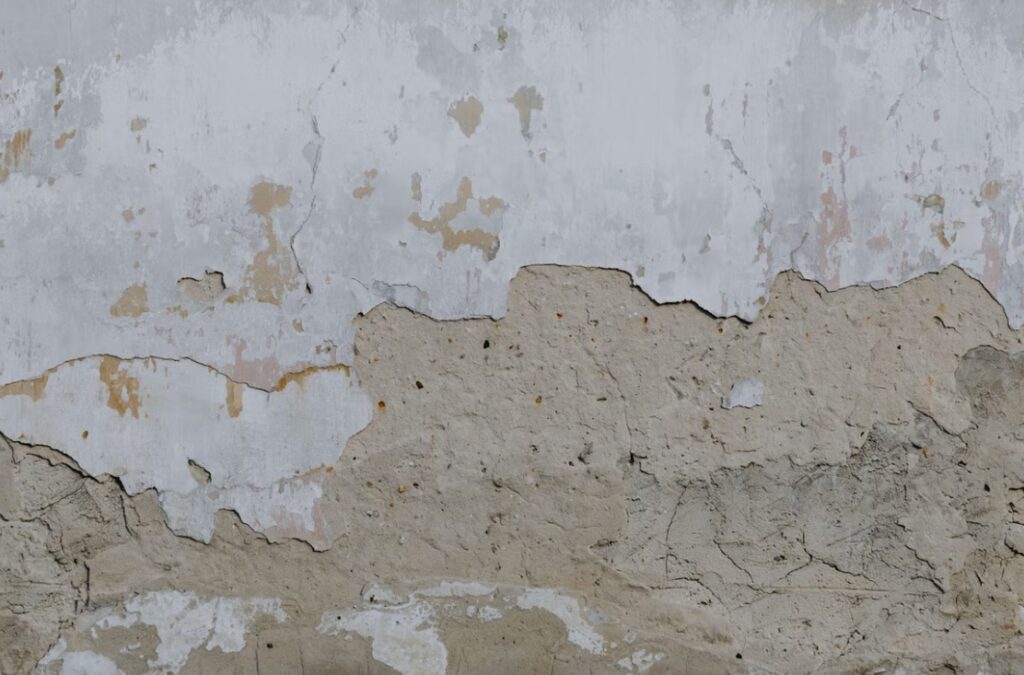
If the Plaster is very old and damaged, you will need to fix any cracks and holes before plastering over it. You can fill smaller holes and cracks in a wall using a sealant such as Caulk. Larger holes and cracks will have to be filled with Plaster and mesh, which may be a job for a professional.
- Required Plastering Area = 10 x 10 = 100 m2 or Square Metre.
- Plastering thickness = 12 mm.
- Cement Mortar Ratio = 1:3 (1 Part Cement : 3 Part Sand)