Plaster walls are a staple in many older homes, offering both timeless appeal and impressive durability. However, maintaining these walls requires more than just a fresh coat of paint every few years. Over time, plaster can suffer from cracks, water damage, and the natural settling of a building. While minor damage can often be handled with a bit of DIY know-how, more significant issues—such as water infiltration, structural shifts, or ornamental plasterwork—require professional attention. In this section, we’ll look at when it’s time to call in the experts and explore plaster wall damage prevention strategies to ensure your walls stay strong and beautiful for years to come.
Key Maintenance Tips for Preventing Plaster Wall Damage
Keeping plaster walls in good shape isn’t just about fixing cracks when they appear. It’s about proactive, regular maintenance to prevent damage from building up. I’ve seen too many homes where a bit of neglect leads to bigger issues down the track. Take it from someone who’s been elbow-deep in plaster repairs—prevention really is the best medicine.
Dusting
Dusting your plaster walls regularly is the first and easiest step in preserving them. I’m talking about that fine, sticky dust that builds up over time, especially in areas with heating or air conditioning. I had a client in Elwood who had a lovely Edwardian home with high ceilings. The dust in the corners of the walls started to settle, making the plaster look dull and grey. After a quick dusting with a microfiber cloth, those walls looked brand new again. It’s easy to do and keeps the surface clean, preventing dirt from building up and causing wear over time. A light dusting every few weeks goes a long way.
Spot Cleaning
Stains or marks on your plaster are inevitable, but the key is to tackle them before they set in. For minor stains, use a damp sponge with a mild soap solution. I remember working on a place in Richmond where the kids’ playroom had several marks from toys and little hands all over the walls. I was able to clean the plaster easily with a damp sponge, but I always make sure to tell homeowners to avoid harsh chemicals or abrasive cleaners. They can strip the surface of plaster, leaving it more vulnerable to future damage. For the stubborn stains, a dry sponge can work wonders too, especially if it’s a bit of dirt or dust stuck to the wall.
Humidity and Moisture Control: Protecting Plaster from Water Damage
One of the most common culprits for plaster wall damage is excess moisture. As we all know, Melbourne’s weather can be a bit of a rollercoaster, especially during winter when we see a lot of rain. Over time, moisture can creep into your plaster, causing it to soften and swell. I had a project in Brunswick last year where the bathroom had significant water damage due to poor ventilation and moisture build-up. The homeowner hadn’t realised that the plaster had absorbed water from the shower steam over time, and it caused the paint to peel and the plaster to weaken.
Control Moisture
The first rule of thumb is to keep moisture in check. If you live in a humid environment, investing in a dehumidifier can make a huge difference. I had one client in St Kilda who installed a dehumidifier in their basement to deal with moisture from the surrounding soil. The difference in their plaster walls was noticeable—no more mold stains or watermarks on the ceilings.
Ventilation
Proper ventilation is crucial in every room, especially those that generate moisture like kitchens and bathrooms. I can’t tell you how many times I’ve walked into a property and found plaster walls damp because of poor airflow. Ventilation is key to preventing excess moisture. Make sure you’re using exhaust fans in bathrooms and kitchens, and don’t be afraid to open a window when the weather permits.
Stable Temperatures
Plaster can be a bit temperamental when it comes to temperature fluctuations. Rapid changes in temperature cause plaster to expand and contract, which can lead to cracks. So, maintaining a stable indoor temperature goes a long way in preserving the integrity of your plaster. I worked on an old terrace house in Collingwood that had no insulation. The walls would crack every summer when the temperature spiked. Adding insulation to those walls made a significant improvement, reducing both cracks and the energy bill!
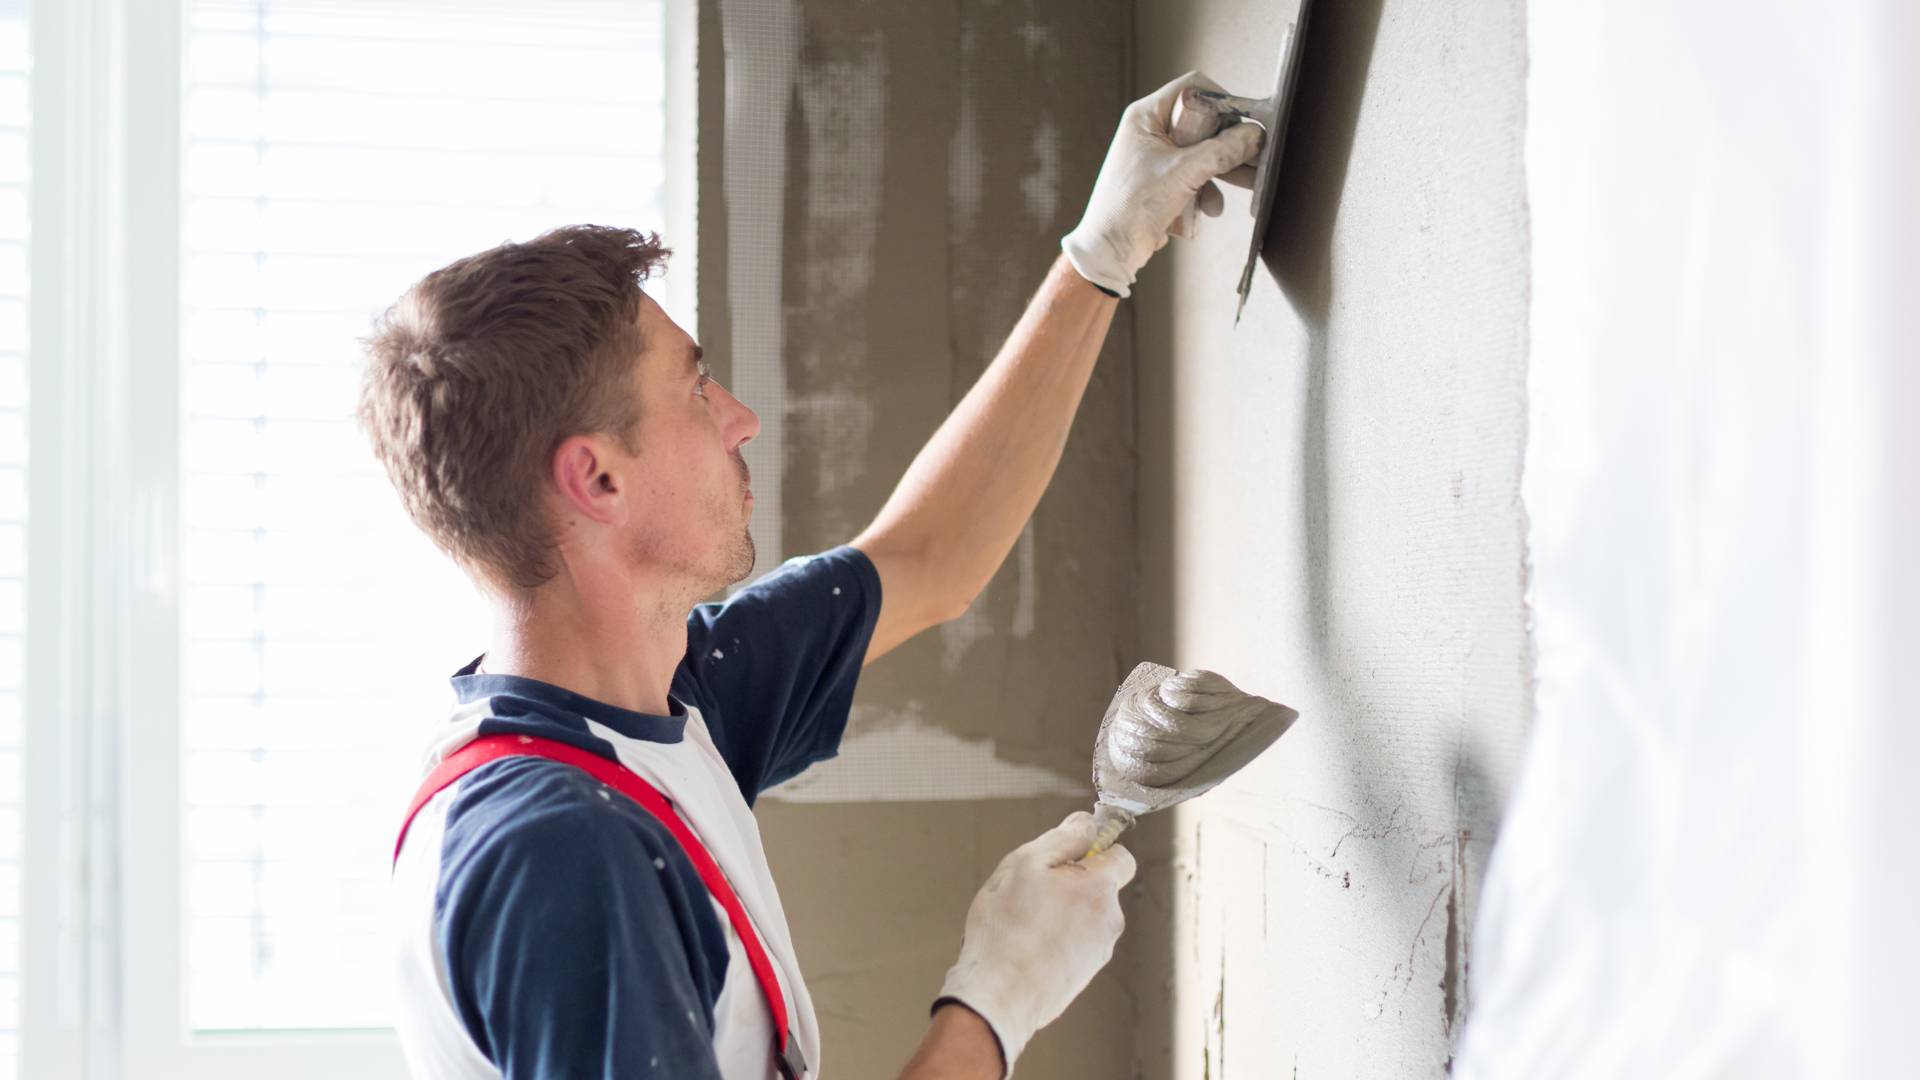
Regular Inspections: Catching Early Signs of Damage
Early detection of plaster issues can save you a lot of hassle. I’ve been called into homes where the damage was already extensive, and the repairs were far more costly than they would have been if they’d noticed the signs early. It’s all about staying vigilant.
Look for Cracks
Small hairline cracks are often the first sign that your plaster is under stress. I once worked on a beautiful period home in Hawthorn where hairline cracks started showing up around the windows. They didn’t seem like much at first, but by the time I was called in, the cracks had spread across entire sections of the wall. Catching those early could’ve made a huge difference in terms of time and cost for repairs.
Discoloration and Bulging
Keep an eye on your walls for any discolouration, especially near window sills or doorways. This can be a sign of moisture seeping in. Bulging areas in plaster are also a red flag—this happens when the plaster gets wet and starts to lose its bond with the wall behind it. The earlier you catch these problems, the easier (and cheaper) the repairs will be. I was once called into a property in Richmond, and there was a noticeable bulge near the ceiling. Turned out, a roof leak had been slowly affecting the plaster for months. We caught it early, but if it had been left longer, the plaster would’ve had to be replaced entirely.
Preventive Measures to Extend the Life of Plaster Walls
One of the most common mistakes I see when it comes to plaster wall maintenance is skipping the prep work before painting. Now, you might think, “It’s just a coat of paint, what difference does it make?” But let me tell you—proper preparation is crucial to ensuring the longevity of your plaster. I’ve worked on countless homes where the paint started peeling or bubbling not long after the job was done. The main culprit? Poor surface prep.
Cleaning the Surface
Before you even think about grabbing that paintbrush, take a few minutes to clean the surface. Dust, grease, or any other contaminants can make it difficult for the paint to adhere properly to the plaster. I worked on a historic home in South Melbourne a few years ago where we had to spend a full day just cleaning the walls before painting. Once the walls were spotless, the paint adhered perfectly, and the finish was smooth and long-lasting.
Filling Cracks and Holes
I can’t stress enough how important it is to address cracks and holes before painting. A coat of paint won’t magically fix them. In fact, if you don’t properly fill those cracks, they’ll show through the new paint almost immediately. I had a client in Brighton who skipped this step, thinking the paint would cover up a few minor cracks. By the time we came back for a follow-up visit, the cracks had become even more prominent! Always fill and smooth any imperfections before painting—trust me, your walls will thank you later.
Choosing the Right Primer
If you’re working with older plaster, it’s essential to use a good primer that’s designed for this material. A good primer seals the plaster, reduces moisture absorption, and ensures the paint sticks. For lime-based plaster, I recommend a breathable primer, such as one made specifically for lime or gypsum. I’ve seen too many people use the wrong kind of primer on lime-based plaster, which results in peeling paint and moisture damage down the line. A coat of primer isn’t just a step—it’s a vital barrier between your plaster and the elements.

Choosing the Right Paint: Not All Paints Are Created Equal
When it comes to painting plaster, not just any paint will do. Plaster is a different beast than drywall, and the wrong paint can cause more problems than it solves. Over the years, I’ve had a lot of clients ask me whether they can just use any old paint on their plaster walls. While some modern paints can work, traditional plaster demands more attention to detail, especially when it comes to choosing the right type of paint.
For Lime-Based Plaster
If you’re working with lime-based plaster (which, let’s face it, a lot of heritage homes in Melbourne have), it’s essential to choose a breathable paint like limewash or clay paint. These paints allow the plaster to “breathe,” meaning they absorb moisture without causing bubbling or peeling. In my experience, limewash is a great option, especially for historic properties. I once worked on a restoration project in Fitzroy, and we used a natural limewash to paint the walls. The finish was stunning, and the breathable quality of the limewash prevented moisture from being trapped in the plaster, keeping it in great shape for years to come.
For High-Humidity Areas
Bathrooms and kitchens are notorious for being high-moisture areas, and your plaster walls will suffer if you don’t use the right paint. For these spaces, I recommend using a semi-gloss or satin finish. These paints provide better resistance to moisture and can be wiped clean more easily. I worked on a project in Richmond where the homeowner wanted to renovate their old bathroom. We opted for a high-quality semi-gloss finish, and it made all the difference. The paint helped protect the plaster from the humidity, and it was easy to clean when the walls got a little splash of water.
Safe Hanging and Drilling Practices: Protecting Plaster from Unnecessary Damage
Anyone who’s ever hung a picture on plaster knows that it can be a bit of a delicate operation. I can’t tell you how many times I’ve walked into a home and found large cracks or chunks of plaster missing around nails and hooks. It’s frustrating for homeowners, and it’s something that can easily be avoided with the right technique.
Using Picture Rail Molding
One of my best pieces of advice to homeowners is to install picture rail molding around the upper perimeter of the room. It might sound old-fashioned, but it’s a lifesaver when it comes to preserving your plaster walls. You can hang pictures with hooks and wire, and it avoids putting any holes or stress on the plaster itself. I did this for a lovely client in Prahran, and they were thrilled with the result. Not only does it protect the plaster, but it also adds a classic touch to any room.
Pilot Holes and Angled Hooks
If you absolutely must hang something directly on plaster, make sure to use pilot holes and hang the hooks at the correct angle. I always use a 1/16-inch drill bit to create a small pilot hole before I hang anything. This reduces the pressure on the plaster and helps prevent large cracks. I had a client in Carlton who made the mistake of hanging a heavy mirror directly on the plaster without using a pilot hole. The result? A massive crack along the wall. A little preparation goes a long way in avoiding that kind of damage.
Anchors for Heavy Items
For anything heavier than a few kilos, you’ll want to use anchors and screws to avoid damaging the plaster. Molly bolts or toggle bolts work wonders on plaster walls. I’ve used these for years in Melbourne’s older homes, especially when installing things like large mirrors, shelves, or artwork. Always pre-drill holes, and use an anchor that’s appropriate for the weight of the item. A job well done means no cracks or holes later on!
Common Causes of Plaster Wall Damage
Now, you might be thinking, “Plaster is tough. Why does it need special care?” Well, like anything else, it can deteriorate if it’s not looked after properly.
Physical Impact
Let me tell you, I’ve seen my fair share of cracks and chips from people who aren’t careful with furniture placement. One time, I worked on a lovely old home in Carlton that had some beautiful original plasterwork. The homeowners were moving a heavy couch, and BAM—straight into the corner of a wall. That bump was all it took for a significant crack to form. The rigid nature of plaster makes it vulnerable to physical impacts. Unlike drywall, which has a bit of give, plaster cracks or chips on impact. And once it’s damaged, repairing it isn’t a simple patch job. It requires proper technique to ensure the repair blends seamlessly.
Water Exposure
Water is plaster’s worst enemy. Whether it’s a roof leak, a broken pipe, or even condensation from poor ventilation, moisture seeps into the plaster, softens it, and causes it to swell and crumble. I worked on a property in Richmond last year where a leaking roof caused significant water damage to the plaster ceiling. The water wasn’t spotted early enough, and by the time we got there, the damage was so bad we had to replace large sections of the plaster. It’s always best to catch water damage early—like when you notice a small stain or peeling paint—before it turns into a bigger, more expensive fix.
Temperature and Humidity Fluctuations
Melbourne’s weather can be unpredictable, with heatwaves in summer and chilly, damp winters. Plaster expands and contracts with temperature changes. If you’ve ever noticed cracks appearing in your walls around the change of seasons, this is why. When you combine fluctuating temperatures with Melbourne’s high humidity, plaster can crack or even peel, especially in areas that are poorly ventilated. I’ve had clients in North Melbourne who lived in an older property without much airflow, and during the winter months, the humidity caused their plaster walls to develop hairline cracks.
Structural Shifts
Finally, there’s the issue of the house settling. This is a natural part of any building’s life cycle. As the foundations shift over time, you’ll notice stress cracks, particularly near doors, windows, and corners. It’s something I’ve had to deal with in almost every job. For instance, a property I worked on in South Yarra had cracks near the window frames because the house had settled slightly over the years. These kinds of cracks are usually easy to repair, but it’s important to address them before they become a bigger problem.