Plaster walls and ceilings are common in many homes due to their durability and aesthetic appeal. However, they can suffer from wear and tear, cracks, water damage, or sagging.
Repairing these issues might seem challenging, but with the right approach, it’s entirely manageable. This guide covers the essential steps for identifying and repairing damaged plaster walls and ceilings in your home.
Let’s get straight to the point.
To repair damaged plaster walls and ceilings, first identify the cause of the damage—common issues include water leaks, cracks, wear and tear, humidity changes, and pest infestations.
A joint compound can fix minor cracks, while mesh tape and multiple compound layers may be required for larger cracks. For sagging ceilings, you should reattach or replace plaster or lath.
Water-damaged plaster should be dried, treated, and patched unless the damage is severe enough to warrant replacement. To prevent future damage, prioritise safety, address leaks promptly, and maintain consistent indoor conditions.
Safety Precautions Before Starting Repairs
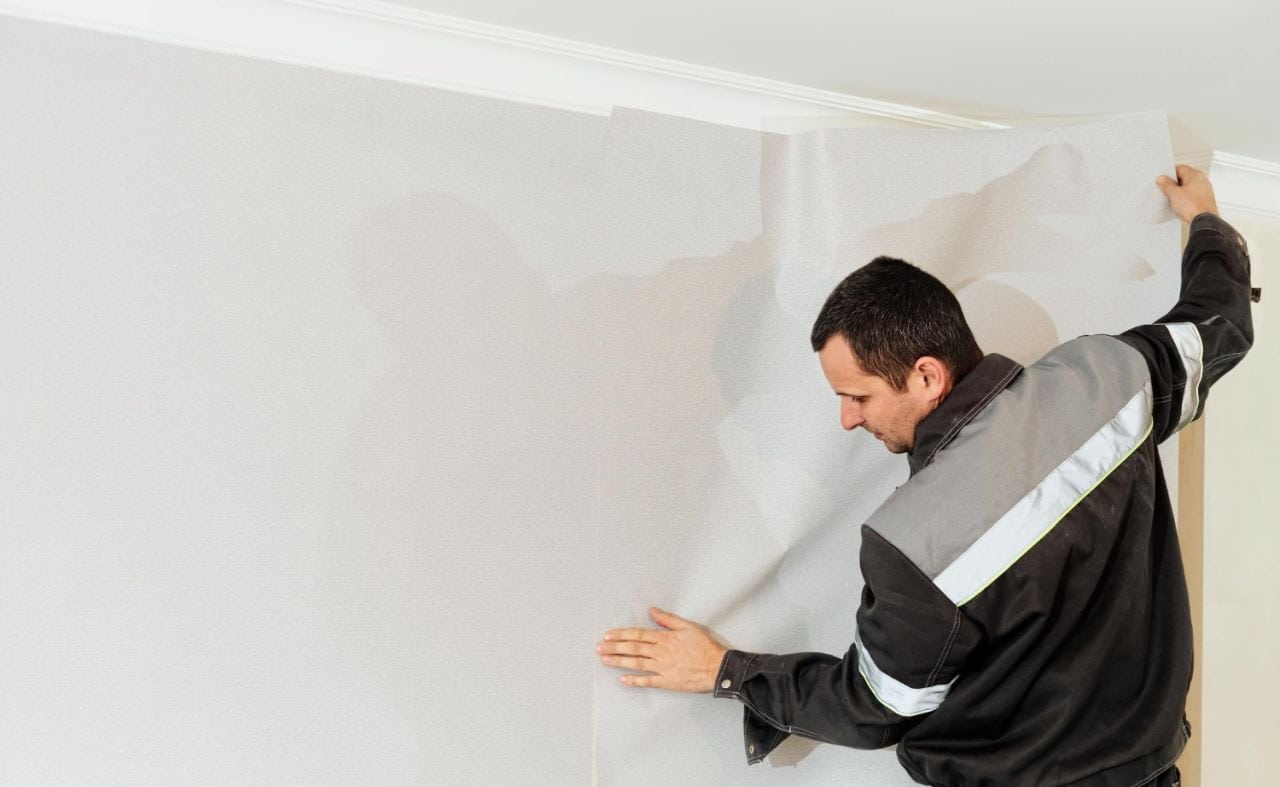
Take some safety measures before repairing your plaster walls or ceilings. Old plaster can be hazardous due to the dust and particles it releases.
Safety Tips
- Wear Protective Gear: To protect yourself from dust and debris, always wear a face mask, goggles, and gloves.
- Cover the Work Area: Use drop cloths and plastic sheets to cover floors and furniture, minimising mess and damage to your surroundings.
Repairing Cracks In Plaster Walls And Ceilings
Cracks in plaster walls and ceilings are common, especially in older homes. Depending on the severity, they can be repaired straightforwardly.
Step-By-Step Repair Process For Minor Cracks
- Widen the Crack: Gently use a putty knife to widen the crack. This allows the filler to adhere more effectively, creating a stronger bond.
- Clean the Area: Brush away any loose debris and dust from the crack to ensure a clean surface for the filler.
- Apply Joint Compound: Use a putty knife to apply joint compound or filler into the crack, smoothing it over the surface.
- Sand the Surface: Once the filler has dried, sand it to create a smooth finish that blends with the plaster.
- Prime and Paint: After sanding, apply primer and paint to match the existing wall colour.
Repairing Larger Cracks
Use mesh or fibreglass tape before applying the joint compound for larger cracks.
This additional step provides extra support and prevents the crack from reappearing.
- Apply the Tape: Cover the crack with mesh or fibreglass tape to reinforce the area.
- Layer with Compound: Apply multiple thin layers of joint compound over the tape, allowing each layer to dry before adding the next.
- Sand and Finish: Once the final layer is dry, sand it down smoothly and finish with primer and paint.
Repairing Sagging Plaster Ceilings
Sagging plaster ceilings often indicate a more severe problem where the plaster has detached from its support, usually the lath. This damage may require a more involved repair process or professional help.
Step-By-Step Process For Sagging Ceilings
- Secure the Area: Ensure the floor below is protected, as the plaster may fall during the repair process.
- Use Support Bracing: Build T-shaped supports with 2x4s to hold a sheet of plywood against the ceiling. This helps prevent the ceiling from collapsing while you work.
- Remove Loose Plaster: Gently chip away at the edges of the sagging plaster with a hammer and cold chisel to see the lath and framing underneath.
- Reattach Lath to Framing: If the lath is still in good condition but has come loose, reattach it to the ceiling joists with drywall screws.
- Refinish the Ceiling: Once the lath is secured, apply new plaster or drywall over the repaired area to restore the ceiling’s smooth finish.
Dealing With Water-Damaged Plaster
Water damage can be a major issue for plaster ceilings and walls. It often leads to stains, mould growth, and weakened plaster that may eventually collapse if not properly treated.
Steps For Minor Water Damage
- Dry the Area: Fans or dehumidifiers completely dry out the affected area.
- Remove Damaged Plaster: Scrape away any soft or crumbling plaster.
- Apply Bonding Agent: Use a plaster bonding agent to help the new plaster adhere to the existing surface.
- Patch with Joint Compound: Fill the damaged area with a joint compound or spackle, smoothing it to match the surrounding surface.
- Sand, Prime, and Paint: After the patch has dried, sand it smooth, then prime and paint the area.
When To Replace Water-Damaged Plaster?
If the water damage is extensive or has compromised the structural integrity of the wall or ceiling, it may be necessary to replace the damaged plaster entirely. Removing the old plaster and installing new drywall may be the best solution.
Identifying The Cause Of Damage
Before beginning any repair work, it is vital to identify the root cause of the damage to your plaster wall or ceiling. This step is important because your chosen method will depend largely on the problem’s source.
Common Causes Of Plaster Damage
- Water Damage: Leaks from pipes, roofs, or even natural disasters can cause water damage. Water weakens plaster, causing it to crack, deform, or collapse.
Addressing water sources immediately to prevent further damage is essential.
- Cracks and Holes: Buildings settle and shift over time, leading to cracks or holes in plaster. Heavy impacts, vibrations, or pressure can also cause plaster to crack, making it more vulnerable to further damage.
- Wear and Tear: Everyday use, like moving furniture or cleaning, can cause minor dents, scratches, and scuffs in plaster walls and ceilings.
- Humidity and Temperature Changes: Fluctuations in temperature and humidity can cause plaster to expand or contract, leading to cracks or warping.
- Pest Infestations: Termites, ants, and rodents can damage plaster walls by creating holes and cracks.
- Improper Installation or Maintenance: Poor construction or a lack of maintenance can lead to long-term issues with plaster, making it more prone to damage.
Understanding the cause of the damage will help in choosing the right repair method, ensuring the plaster’s durability and longevity.
Preventing Future Damage
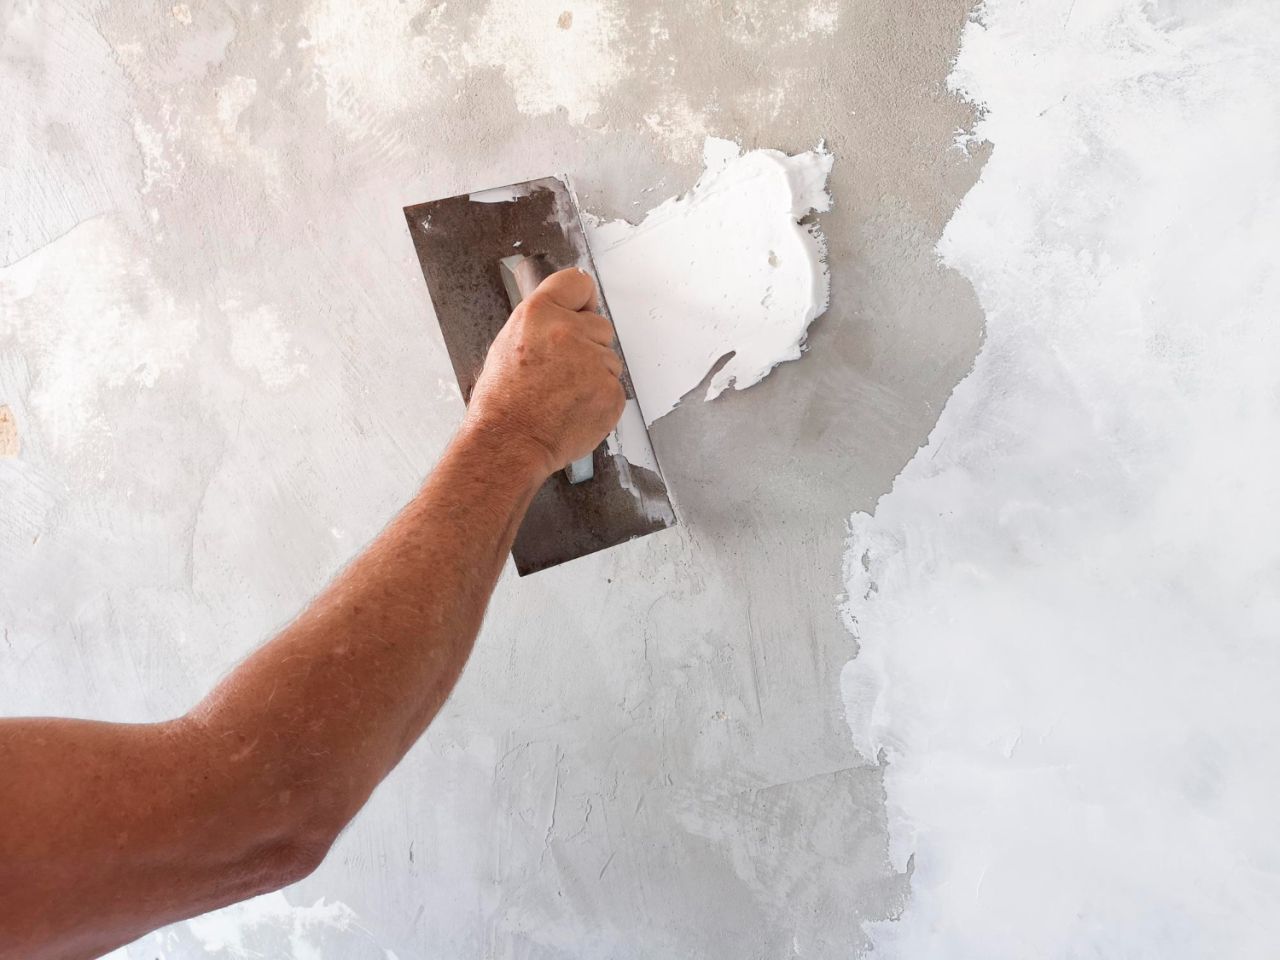
Regular maintenance and prompt repairs can prevent further damage to plaster walls and ceilings. Here are some tips to keep your plaster in good condition:
- Inspect Regularly: Check for signs of water damage, cracks, and other issues at least once a year.
- Control Humidity: Maintain a stable indoor climate to reduce humidity and temperature fluctuations.
- Address Leaks Immediately: To prevent water damage, fix any plumbing or roof leaks as soon as they are detected.
- Pest Control: Keep pests like rodents and insects at bay to avoid damage to the plaster.
Conclusion
Repairing plaster walls and ceilings may seem daunting, but it can be done effectively with the right approach. Start by identifying the cause of the damage, using the appropriate repair techniques for cracks or sagging, and always prioritising safety during the process.
While minor repairs can often be handled with basic tools, severe damage may require the expertise of a professional.
When issues arise, regular maintenance and quick action will help prolong the life of your plaster walls and ceilings, keeping them looking their best for years to come.
Frequently Asked Questions About Plasterer
Is plaster a costly material?
Plaster is more expensive than gypsum. Cement and cement lime plaster are cheaper alternatives. The substance used is chlorine, which is highly toxic in its pure form.
Is white cement the same as plaster?
White cement is not the same as plaster; it has a different consistency. The former, made of gypsum, is used to make casts for medical purposes (such as when repairing a fracture), while the latter is put on walls to make them shine.
Is plaster dangerous to one’s health?
Many people fear working with plaster because of its inherent dangers. Though it is not dangerous in the right hands, the substance is generally considered safe for everyday use. Anything embedded in the plaster runs the risk of being trapped and subjected to extreme heat.
Is plaster suitable to use on walls?
Plaster is the best option for repairing gaps in plaster walls because its properties are more likely to match the wall material. Plaster isn’t often used to repair drywall, but it does a great job of reinforcing interior walls.
Is plaster easy to maintain?
When you want to clean your Venetian plaster walls, all you have to do is wipe them down. In order to lengthen the life of walls, routine maintenance such as cleaning and sealing is recommended.