What’s the Best Moulding Material for Repaired Plaster?
There’s no one-size-fits-all when it comes to moulding material. You’ve got to weigh up the condition of the wall, moisture levels in the room, the look you’re chasing, and—let’s be honest—how deep your pockets go.
I’ve worked on everything from bluestone homes in Kew with traditional plaster cornices to budget-conscious units in Dandenong using MDF skirting. The trick is picking the material that suits both your wall and your lifestyle.
Weighing Up Your Material Choices
Here’s a side-by-side breakdown of the common moulding materials and how they stack up for use on repaired plaster walls:
|
Material Type |
Pros |
Cons |
Best For… |
|
Timber (Solid Wood) |
Classic look, strong, easy to repaint or stain |
Expensive, heavy, can warp in humidity |
Period restorations, visible trims in dry rooms |
|
MDF |
Budget-friendly, smooth surface, easy to cut/paint |
Can swell if exposed to moisture, prone to dents |
Modern interiors, budget renovations |
|
Polyurethane |
Lightweight, flexible, resists moisture and warping |
Can dent if knocked hard, pricier than MDF |
Bathrooms, kitchens, uneven surfaces |
|
PVC |
Cheap, water-resistant, flexible |
Not as refined in appearance, tough to paint |
Laundry rooms, outdoor trims |
|
Polystyrene Foam |
Ultra-light, easy to install, paint-ready |
Easily damaged, not suitable in high-traffic areas |
Temporary or low-touch feature areas |
|
Plaster |
Authentic heritage detail, intricate profiles available |
Heavy, brittle, expensive to install and repair |
Victorian/Edwardian homes, heritage ceilings |
|
Peel & Stick |
No tools required, fast install, cheapest option |
Temporary, can lift over time, looks plastic |
Quick DIY makeovers, rentals |
Why Decorative Moulding Completes a Plaster Wall Repair Job
Repaired plaster walls are a bit like patched jeans—strong again, but you still see the scars. Decorative moulding’s your way of turning that repair into a feature, not an eyesore.
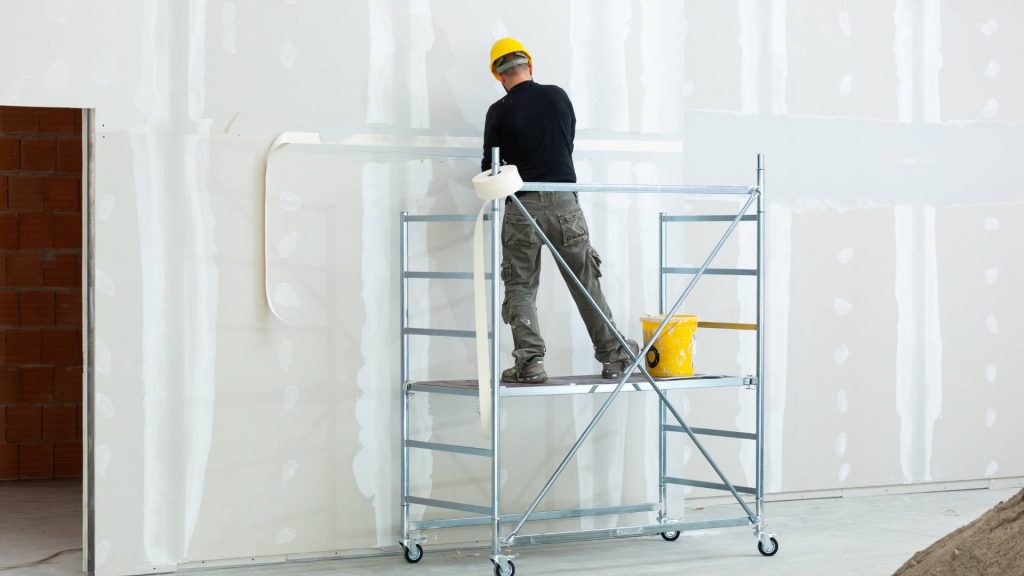
I’ve been in dozens of Melbourne homes where the plaster’s copped it—cracks from settling, ceiling sag after a leak, or just decades of knocks and wear. Once patched, it’s structurally sound, but the repair lines still catch your eye, especially under paint in the wrong light. That’s where moulding earns its keep.
A chair rail, for example, can run right over the old join in a hallway wall. Picture rails? Great for covering cracked transitions near the ceiling line. Even a simple baseboard can hide rough patchwork where plaster meets new floating floors. You’re not just hiding the past—you’re upgrading the whole look.
And don’t think it’s just for Toorak terraces or heritage restorations. I’ve installed basic shadowline skirtings in new units in Footscray—same idea, modern finish.
Adds Instant Character and Architectural Interest
You can always tell when a room’s been given that extra 10%. Moulding does that. It adds depth, draws the eye, and gives a plain boxy wall some proper character.
Think of a simple lounge in Coburg North—once just painted gyprock and patched plaster. Add some wall panel moulding with clean symmetry, suddenly it feels like a space you’d see in a magazine. That’s the beauty of trim: it creates deliberate detail, not fuss.
Crown moulding’s a go-to for older homes in Fitzroy and East Melbourne—especially where you’ve got tall ceilings and want to highlight them. One job I did in a Victorian terrace involved replacing broken cornice with new plaster profiles that matched original egg-and-dart details. The owner was gobsmacked. “It looks like it’s always been there,” she said. That’s the goal.
Even simple skirting boards with a bevelled edge lift a rental reno in Brunswick. You don’t need ornate profiles to make a big difference.
Types of Mouldings That Work Well on Plaster Walls
When it comes to dressing up a plaster wall, not all mouldings are created equal. Some are functional, some are all flair, and some do both. Here’s a quick guide to the trims we most often install in Melbourne homes—whether you’re in a Victorian in Carlton or a beachside weatherboard in Sandringham.
|
Moulding Type |
Typical Location |
What It Does Best |
|
Crown Moulding |
Top of walls, where ceiling meets |
Adds elegance, softens ceiling transitions |
|
Chair Rail |
Horizontally, mid-height on wall |
Protects plaster from chairs, divides colour zones |
|
Baseboards (Skirting) |
Bottom of wall |
Hides floor/wall join, protects against mops and vacuums |
|
Picture Rail |
High on wall, near ceiling |
Lets you hang artwork without damaging plaster |
|
Panel Moulding |
On flat walls (as frames) |
Adds visual depth—great for dining rooms, entries |
|
Casing |
Around doors and windows |
Frames out openings, hides gaps between plaster and frame |
These aren’t just pretty bits. They help hide joins and transitions, cover up messy repair seams, and protect high-traffic spots. Take a hallway in Preston—kids charging down the corridor all day. Chair rails keep plaster dings to a minimum and make repainting a breeze.
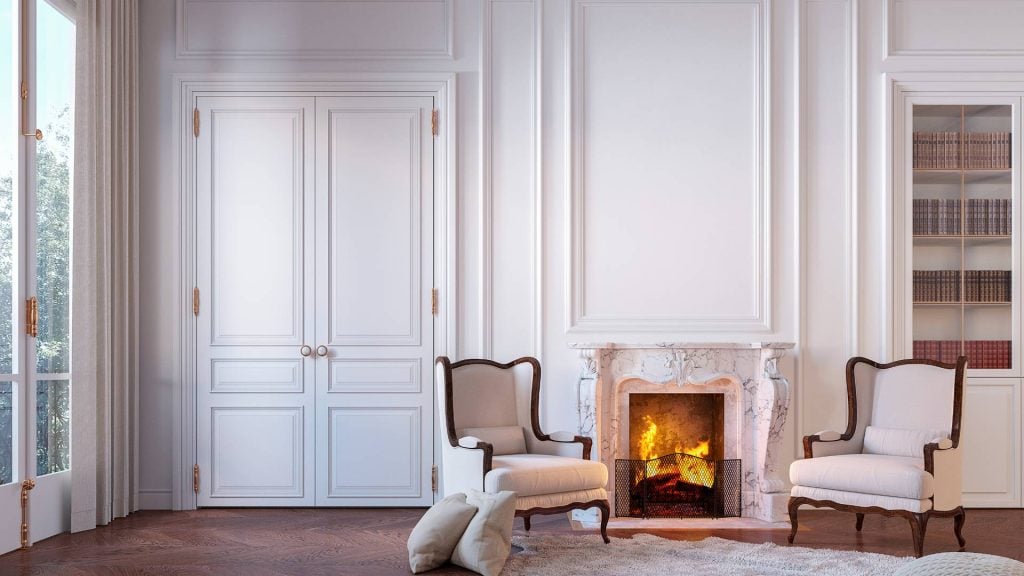
And if you’re going for that Hamptons or Federation-style interior, wall panelling with picture rails and baseboards is the secret sauce. The visual hierarchy it creates instantly makes a room feel more “finished.”
How to Install Decorative Moulding on Plaster Walls
You’ve repaired the wall, sorted your levels, picked your moulding—now it’s time to get it on the wall. This is where things can go real smooth… or real sideways if you rush it.
Take it from me—I’ve had jobs in Ascot Vale where the prep was perfect, but someone rushed the mitres, and we spent the next two hours filling gaps we shouldn’t have had in the first place. Measure twice. Cut once. Always.
Tools and Materials
Before you start, don’t be scrambling around the garage for missing gear. Here’s what you’ll need:
Essential Tools:
- Measuring tape
- Spirit level or laser line
- Mitre saw (preferably 80-tooth or higher blade)
- Coping saw (for inside corners)
- Nail gun or hammer and finishing nails
- Caulking gun
- Utility knife
- Sandpaper (120 and 220 grit)
- Drop cloths
- Dust mask and safety goggles
Materials:
- Moulding of choice (cut slightly longer—trim to fit)
- Construction adhesive (Loctite Power Grab, TidyUp®, Liquid Nails)
- Wood filler or putty
- Caulk (paintable, flexible)
- Primer and paint (if not pre-finished)
- Backing rod and M.S. Polymer sealant (for expansion joints)
Step-by-Step Process (That Actually Works)
1. Measure and Cut the Moulding
- Measure the wall sections precisely.
- Add a few extra mm to each cut—you can always shave it back.
- Use a mitre saw for angled cuts—especially corners (usually 45°).
- Inside corners? Cope one end to hug the profile snugly.
Ivan’s Tip: Spray your saw blade with a touch of furniture polish. It cuts cleaner, especially on soft MDF and foam profiles.
2. Dry Fit Everything
Lay the moulding against the wall before you glue or nail. You’re checking:
- Fit at the joins and corners
- Whether it hugs the wall properly (watch for bulges)
- That your lines stay true across the room
3. Apply Adhesive and Nail in Place
- Apply a 5mm bead of adhesive to the back of the moulding, about 15mm from the edges.
- Press firmly onto the wall—wiggle slightly to spread the adhesive and create suction.
- Secure with nails every 300–400mm—go into studs where possible.
- For light moulding over old plaster, use a combo of adhesive and small fixings. Stainless nails are ideal if you’re working in damp areas like bathrooms or coastal spots like Mornington.
If the wall’s block or masonry behind plaster: Use appropriate plugs or adhesive-only if nailing isn’t an option.
4. Fill Gaps and Nail Holes
Even with the best fit, you’ll get tiny gaps. That’s where caulk comes in.
- Cut your caulk tube at a 30° angle for better control.
- Run a smooth bead along the top and bottom edges.
- Use a wet finger or caulking tool to smooth it in.
- Fill nail holes and joins with putty, let it dry, then sand flush.
For external or movement-prone areas, use a backing rod and M.S. Polymer Sealant—this allows the joint to flex without cracking.
5. Sand and Paint
Now for the finishing touch.
- Sand everything smooth once filler and caulk dry.
- Use 120-grit for any ridges, then 220-grit for finishing.
- Wipe down with a damp rag to remove dust.
- Prime if needed (especially for raw timber or MDF).
- Apply two coats of paint—letting each coat dry properly.
