Finding a stud in plaster walls can be more challenging than in modern drywall. Older homes often feature plaster walls built over a lath substrate, a technique common before the 1950s.
Standard stud finders usually don’t work with this type of wall, as the uneven density of plaster and lath interferes with the device’s ability to locate studs.
Here, we’ll guide you through effective methods to locate studs behind plaster walls using tools and techniques that don’t require special devices.
Let’s get straight to the point.
Traditional stud finders can struggle with plaster walls because of the wall’s uneven density, making it harder to detect studs accurately. There are effective methods to help with this. One is knocking on the wall to listen for a solid sound, indicating a stud.
Another method involves using a strong magnet to detect nails in the lath. You can also check near electrical outlets and baseboards, where studs are often attached.
Try using tools like wire scanners, coat hanger probes, or metal detectors for more precision. Remember that patience is crucial, as studs are generally spaced 16 to 24 inches apart, and some methods may give false readings due to old wiring or pipes.
Understanding Plaster Wall Construction
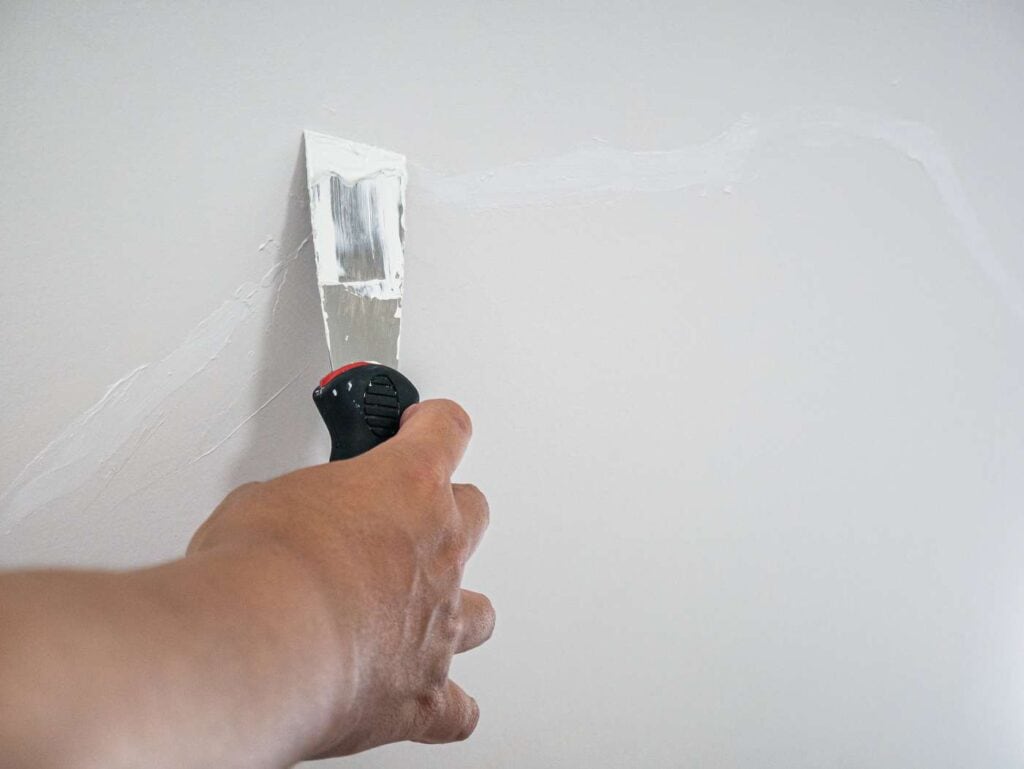
Before finding a stud, it’s essential to understand how plaster walls are constructed. Typically, plaster is applied over wood lath strips, which are attached horizontally to vertical studs.
The studs are typically 16 or 24 inches apart, like in modern drywall constructions.
The thick and dense nature of plaster makes it difficult for electronic stud finders to work properly.
The lath can be made from wood or metal, further complicating matters for standard stud finders that rely on density changes to detect studs.
Common Tools And Methods For Finding Studs In Plaster Walls
Several effective methods exist to locate studs in plaster walls, many of which don’t require purchasing an electronic stud finder. These methods range from simple knocking techniques to more advanced tools like magnetic stud locators and wire scanning devices.
1. Knocking Method
Knocking is a traditional technique used to find studs behind plaster walls. To use this approach:
- Tap along the wall with your knuckles, listening for changes in sound.
- A hollow sound indicates a space, while a solid sound signifies the presence of a stud.
This method requires patience and practice. Once you’ve located a stud using this technique, measure 16 or 24 inches from that point to find additional studs.
2. Using A Strong Magnet
A strong magnet is a simple and affordable tool for finding studs behind plaster walls. This method works because nails or screws are used to fasten the lath to the studs.
Here’s how to do it:
- Attach a strong magnet to a string or dental floss.
- Slowly move it across the wall horizontally.
- When the magnet sticks, you’ve likely found a nail in the lath, which indicates the presence of a stud.
This method works best with strong magnets, such as neodymium magnets. Regular fridge magnets won’t work effectively for this purpose.
3. Locating Studs Near Electrical Outlets
Electrical outlets and light switches are typically mounted on one side of a stud. To find a stud near these areas:
- Remove the cover plate from an outlet or switch box.
- Look for which side the stud is on by observing the box’s fastened direction.
- Measure 16 or 24 inches from that point to locate other studs.
Ensure that the power is turned off at the circuit breaker before handling any electrical outlets to avoid the risk of electrocution.
4. Wire Scanning Device
Wire scanning devices can be a useful tool when trying to locate studs in plaster walls. These devices detect the electrical wires that run along or near the studs.
To use a wire scanner:
- Run the scanner horizontally across the wall.
- When it detects a wire, it will usually beep or light up.
Remember that the scanner may also detect other metal objects, such as pipes or old wiring, so this method requires careful interpretation of the signals.
5. Using A Coat Hanger Probe
This is another low-cost solution for finding studs behind plaster walls. To use this method:
- Cut the hook off a metal coat hanger and bend the wire into an “L” shape.
- Drill a small hole into the wall where you want to check for a stud.
- Insert the coat hanger into the hole and rotate it. If the hanger hits something solid, you’ve found a stud.
Be sure to drill the hole in an inconspicuous place or where it will be covered by whatever you plan to hang.
6. Check Baseboards And Moulding
Studs are often attached behind baseboards, and crown moulding is done with nails. To find studs using this method:
- Look for tiny nail holes in the baseboards or moulding.
- These nails are usually driven into the studs.
You can use these points to indicate where studs are located and measure from them to find others.
7. Try A Metal Detector
A metal detector is another useful tool for locating studs in plaster walls, especially if you need a stud finder. Metal detectors can pick up the nails or screws that hold the lath to the studs.
Here’s how to use it:
- Please turn on the metal detector and move it across the wall horizontally.
- When it beeps or flashes, it detects metal, such as the nails used to attach the lath to the studs.
While metal detectors can be effective, they may also pick up other metal objects in the wall, such as pipes or old wiring, so use caution.
Additional Tips For Finding Studs In Plaster Walls
Finding studs in plaster walls can be time-consuming, but these tips can help make the process smoother:
- Stud Spacing: Most studs are spaced 16 or 24 inches apart, so once you’ve located one, measure to find the others.
- Live AC Voltage Testing: If you’re worried about hitting electrical wires, some stud finders come with live AC voltage detection, helping you avoid potential hazards.
- Thick Plaster Issues: In some older homes, the plaster can be too thick for even high-end stud finders, making manual methods like knocking and using magnets more reliable.
- Use a Deep Scan Feature: If you have an electronic stud finder with a deep scan feature, try using it. While plaster is only sometimes reliable, it may give better results if thick enough.
Stud Finder Limitations
While electronic stud finders are a go-to tool for modern drywall, they struggle with plaster walls for a couple of reasons:
- The thickness of Plaster: Plaster is often too thick for regular stud finders to penetrate.
- Density Variations: The uneven density of plaster and wood lath can confuse a stud finder.
- False Readings: Metal lath or old nails can trigger incorrect readings, leading to frustration.
If you use a stud finder, ensure it is in “deep scan” mode. Even then, results may vary.
Conclusion
While finding studs in plaster walls is more challenging than in modern drywall, it is not impossible. There are various ways to locate studs, from traditional methods like knocking and using magnets to more technical approaches like wire scanning devices.
Whichever method you choose, the key is patience and precision. Avoid electrical wiring and plumbing when drilling into walls, especially in older homes.
Following these techniques, you can safely hang heavy items, such as large mirrors or TVs, on plaster walls without damaging them.
FAQs About Plaster Wall
What do I need to know about plaster walls?
Plaster is harder and thicker than drywall, and because of that and its chemical makeup, it is better at sound attenuation. It goes without saying that a wall that is twice as thick should have at least twice as good sound-blocking abilities. This is great for privacy but bad for eavesdropping.
What is the purpose of plaster in walls?
Plastering smooths the rough surfaces of walls during construction. It covers rough edges and uneven surfaces, thus increasing durability and strengthening walls. Plastering also gives the walls of your house a good finish, which will make your home look appealing.
Are plaster walls strong?
If properly mixed and applied, a plaster coating creates a stronger and more durable wall finish than drywall. The walls become stronger due to the chemical reaction when water escapes the plaster mixture. Plaster is more resistant to knocks and dents in most cases.
How long do plaster walls last?
First off, if well maintained, plaster can last longer than drywall. The Gypsum Association cites a 50-year lifespan for drywall, whereas plaster has been known to last 100 years or longer.
How do you maintain plaster walls?
Put a small bead of mild soap on your cloth and work it up into a few small patches of suds. Rub the plaster wall with the soapy cloth using circular motions and working from top to bottom. Thoroughly rinse the cloth in warm water and ring dry again. Wipe the soapy residue off the plaster just as you did before.

