Plastering in masonry might look like a simple coat of mud, but it’s the craft that turns rough brickwork into clean, paint-ready walls. I’ve spent decades on Melbourne sites where a wall’s fate was sealed by the plasterer’s hand — get it right and you’ll have a finish that lasts for decades, get it wrong, and you’ll be patching cracks before the first winter’s over. From lime plaster still holding strong in century-old Fitzroy terraces to quick-set gypsum in modern Docklands apartments, the choice of plaster and the way it’s applied makes all the difference.
Why Plastering Matters in Masonry Construction
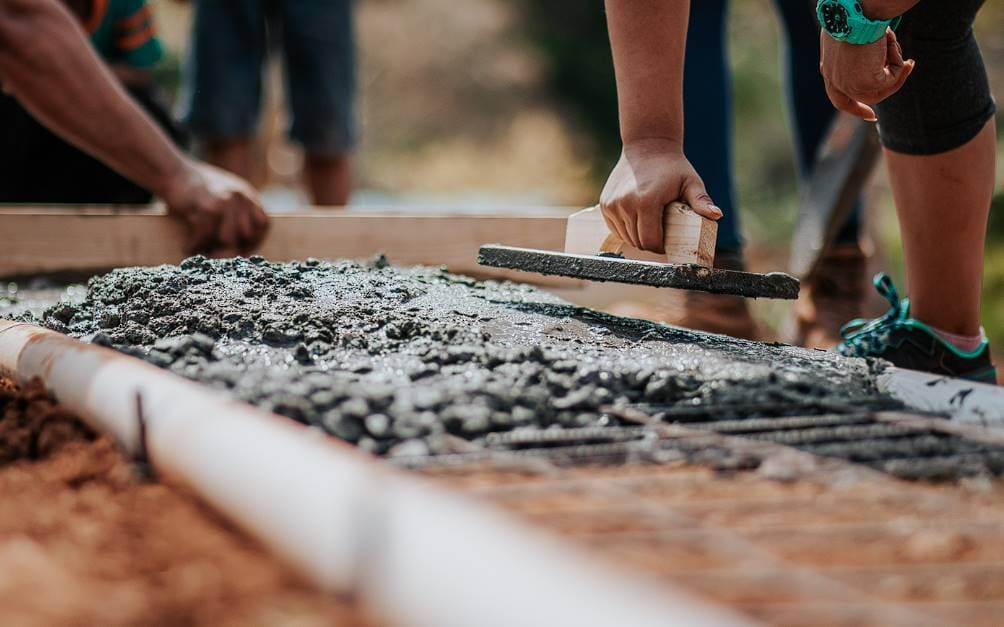
Plastering isn’t just about making walls pretty. It’s the shield that stands between your brickwork and Melbourne’s unpredictable weather. In summer, walls cop with weeks of dry heat, then a southerly change rolls in with heavy rain that can seep into porous masonry. In winter, you’re dealing with cold, damp air that loves to creep into cracks. A proper plaster coat protects against all that — it stops water ingress, keeps out UV damage, and saves you from mould headaches down the track.
On top of that, it gives you a blank canvas. Whether you want Dulux paint, wallpaper, or just a neat render, plastering levels out all the imperfections in brick or blockwork. Think of it like smoothing the cricket pitch before the game — without that prep, everything that follows is rough and patchy.
How Plastering Extends the Life of Masonry Walls
I’ve seen plenty of brick walls crumble earlier than they should, simply because they were left bare or the plaster job was rushed. In Footscray, I once pulled back chunks of failed cement plaster that hadn’t been cured properly — the moisture had chewed right through to the mortar joints. With the right plaster mix and curing, though, a wall can easily last decades without major repairs.
Here’s a quick way plastering extends a wall’s lifespan:
- Stops surface erosion – wind and rain can’t chew away at the mortar.
- Prevents cracking spread – small hairline cracks in masonry get bridged and sealed.
- Adds strength – acts almost like an extra skin holding everything firm.
- Cuts down maintenance costs – you’re not paying for patch-ups every couple of years.
For commercial builds in Melbourne’s CBD, durability is everything. Developers don’t want maintenance headaches on new apartments five years in. That’s why cement-based exterior plaster is the go-to — it can handle exposure without flaking off like cheaper mixes.
Different Types of Plastering Materials and Their Best Uses
Not all plasters are made equal. Each mix has its own strengths, weaknesses, and quirks. Over the years, I’ve used everything from old-school lime putty on heritage terraces in Carlton to modern acrylics on high-rise apartments in Southbank. The trick is knowing which plaster to use for the job at hand — because the wrong choice will come back to bite you.
Cement Plaster – Strong and Reliable for Exteriors
Cement plaster is the workhorse of modern plastering. It’s a simple mix of cement, sand, and water, usually applied in one or two coats. Around Melbourne, you’ll see it mostly on exterior walls because it’s tough enough to handle rain, wind, and direct sun.
But here’s the catch — if you don’t cure it properly, it cracks. I’ve lost count of the times I’ve been called to patch a wall in Werribee or Craigieburn where the builder skipped the curing stage to save a few days. Within weeks, spider-web cracks showed up all over the surface. The fix was far more costly than doing it right the first time.
Typical Ratios:
- Internal walls: 1 part cement to 6 parts sand
- External walls: 1 part cement to 4 parts sand
Lime Plaster – Flexible, Breathable, and Ideal for Heritage Homes
If you’ve ever walked through Fitzroy or East Melbourne, you’ve seen terrace houses with lime plaster still hanging on after more than a century. Lime plaster breathes — which means moisture trapped in old brickwork can escape instead of rotting the wall from the inside out.
I once restored a Victorian-era townhouse in Carlton where the owners had slapped cement render straight over 19th-century handmade bricks. Within a couple of years, the walls were weeping moisture and showing salt stains (efflorescence). We stripped it back and reapplied traditional lime plaster. The difference was night and day — the walls dried out naturally, and the damp problem vanished.
Key Advantages:
- Breathable, flexible, and eco-friendly
- Natural resistance to mould and bacteria
- Perfect for heritage restoration
Gypsum Plaster – Smooth, Quick-Drying Interior Choice
Gypsum plaster (often called Plaster of Paris or POP) is my go-to for interiors where you want a crisp, polished look. It sets fast, doesn’t need curing, and leaves walls as smooth as glass. Great for apartments, offices, or anywhere you’re running tight deadlines.
But don’t make the mistake of using it in wet areas. A builder I worked with in Port Melbourne once used gypsum plaster in bathrooms — within a year, the walls turned soft and crumbly from moisture. Lesson learnt.
Mud and Clay Plaster – Traditional and Eco-Friendly Options
Believe it or not, mud plaster is making a comeback. Not in high-rise towers, of course, but in eco-homes around outer Melbourne and country Victoria. It’s basically clay soil mixed with straw, cow dung, or other fibres. Sounds rough, but it gives a rustic, breathable finish and brilliant natural insulation.
I worked on a sustainable home build in Daylesford, where the owners insisted on clay plaster. On a freezing winter morning, their walls held the warmth better than many cement-rendered houses. That’s the beauty of traditional methods done right.
Modern Alternatives – Acrylic, Polymer, and Ready-Mix Plasters
Times have changed, and not everyone wants to be mixing bags of cement and lime onsite. That’s where modern options step in:
- Acrylic Plaster: Comes with resins that add flexibility and prevent cracking. Good for both interiors and exteriors, available in colours and textures.
- Polymer Plaster: Extra tough — perfect for high-traffic areas like schools or commercial corridors.
- Ready-Mix Plaster: A lifesaver for small jobs or renos. Just add water and go. I’ve used pre-mixed bags in townhouse refurbs where clients wanted walls turned around fast without compromising on quality.
The Step-by-Step Plastering Process for Masonry Walls
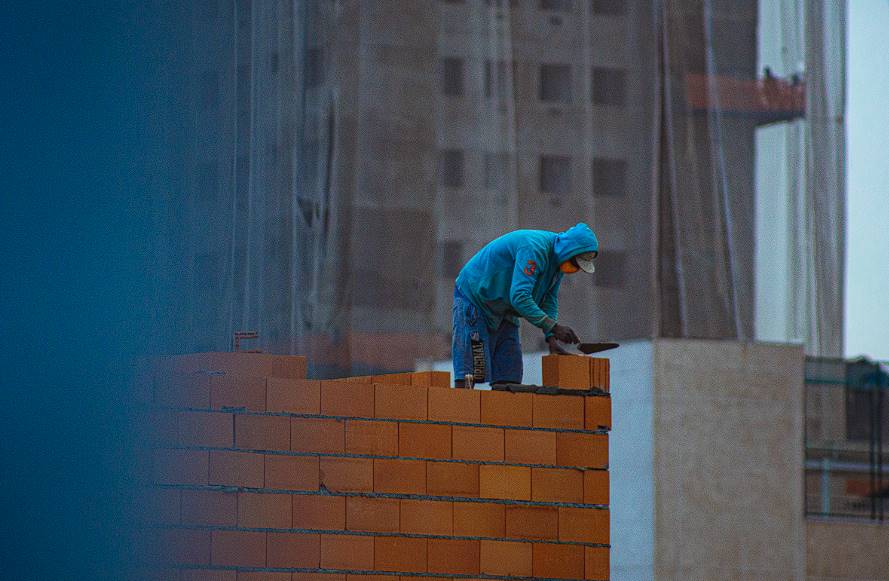
Plastering isn’t just about slapping mud on a wall. It’s a process, and if you skip or rush any stage, the finish won’t last. I’ve seen plenty of walls in Melbourne renos where cracks and hollowness came back to haunt the owner — nine times out of ten, the prep or curing was the culprit.
Surface Preparation – Getting the Wall Ready
Before you even think about mixing plaster, the surface has to be prepped. That means:
- Cleaning: Remove dust, grease, or loose mortar.
- Roughening: On brick walls, rake out the joints about 12mm deep for grip. On smooth concrete, hacking or applying a bonding agent is a must.
- Moistening: I always tell apprentices, “A dry wall will suck your plaster dry before you can blink.” Wetting the surface 6–7 hours beforehand helps avoid shrinkage cracks.
Real Example: A builder in Glen Iris once skipped moistening before cement plastering. Within a week, the coat had crazed into a spider-web pattern. We had to hack it off and redo it — an expensive shortcut.
Groundwork with Dots and Screeds – Ensuring Level Finish
This step separates pros from cowboys.
- Small plaster “dots” (15mm x 15mm patches) are fixed on the wall at 2m intervals.
- A plumb-bob checks vertical alignment.
- Between these dots, plaster screeds are run vertically to act as guides for thickness.
Think of them as tracks that keep your plaster flat and level. Skip them, and you’ll end up with wavy walls. I once fixed a new townhouse in Point Cook where the living room walls leaned like the Tower of Pisa — no screeds were used.
Mixing the Plaster – Ratios and Tools That Work Best
The right mix is half the battle.
- Cement plaster ratios: 1:3 to 1:6 depending on wall type.
- Mixing method: Mechanical mixers or paddle drills give lump-free plaster.
- Batch sizes: Mix small, because most plasters stiffen within 30–40 minutes.
Applying the Base Coat (Scratch/Undercoat)
This first coat is where you build thickness and fill uneven spots.
- Typical thickness: 12mm on brick masonry, 9–15mm on concrete.
- Level with a straight edge or wooden float.
- Scratch the surface lightly with a keying tool while still green — this gives grip for the finish coat.
I tell my apprentices: “If you don’t key the first coat, you’re setting yourself up for a divorce between layers.”
Applying the Finishing Coat for Smooth Surfaces
Once the base coat has firmed up, the finishing coat goes on.
- Thin coat, usually 2–3mm.
- Work top to bottom in one go to avoid visible join marks.
- For interiors, this is where gypsum shines — it sets fast and gives a glass-like finish.
In Brighton, I once did a luxury reno where the owners wanted a polished Venetian-style finish. That final skim coat made the room pop — it’s what people see and judge your whole job on.
Curing and Drying – Why Rushing Causes Cracks
This is the most ignored step. Cement plaster needs curing to hydrate and gain strength.
- Start curing 24 hours after application.
- Keep surfaces damp for at least 7 days.
- Cover walls with wet hessian or spray them regularly to stop rapid drying.
Skip this, and you’ll get cracks, hollowness, or powdery finishes. I’ve fixed walls where the owners thought curing was “just old-school overkill” — their repair bills said otherwise.
Finishing Touches Before Painting or Decorating
Once the plaster is fully dry (anywhere from 7 days to 4 weeks, depending on thickness and weather):
- Sand lightly to remove imperfections.
- Apply a primer coat to stop paint from soaking in.
- Then paint, wallpaper, or decorate as planned.