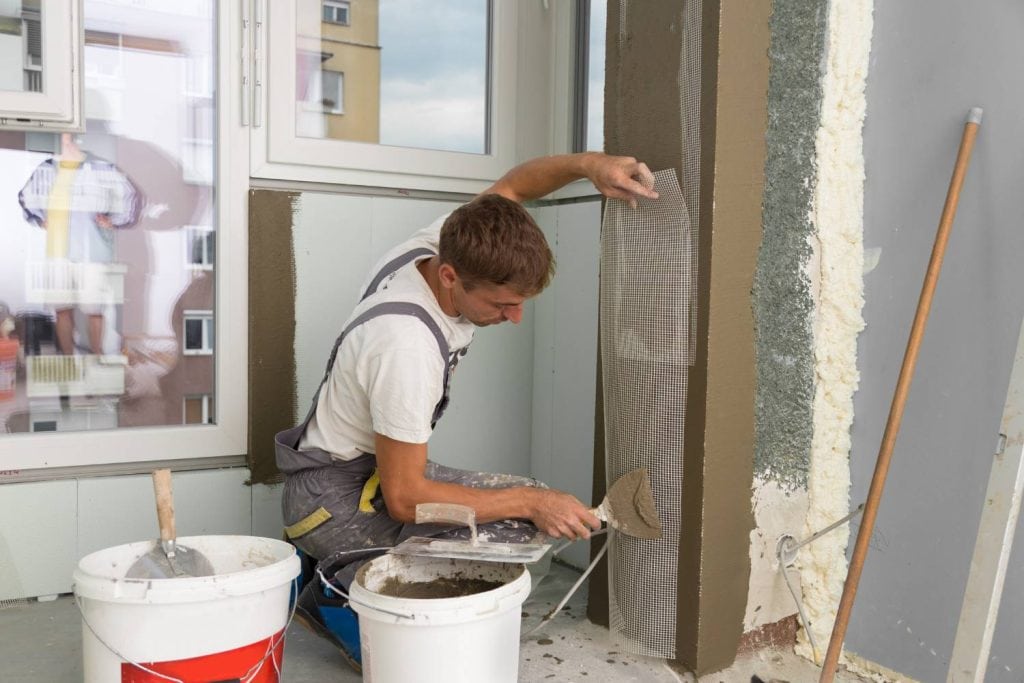
Choosing the right plaster repair material for a job isn’t just about grabbing what’s on the shelf — it’s about understanding the surface you’re working with, the conditions around it, and what the original builders used. Over the years, I’ve seen plenty of patch-ups go wrong because someone used the wrong material, like slapping gypsum over lime or cement on old timber lath. Melbourne’s mix of heritage homes and newer builds means you’ve got to know your stuff. Whether you’re patching a crack in a 1920s weatherboard in Northcote or redoing a water-damaged ceiling in a Southbank apartment, the plaster you pick can mean the difference between a clean, lasting fix and a job that needs redoing next season.
Picking the Right Type for the Job
Not all plaster is created equal — and if you’ve ever tried patching a lime wall with gypsum or slapping cement over an old Victorian cornice, you’ll know exactly what I’m on about. Choosing the right plaster isn’t just about grabbing whatever’s on special at Bunnings. It’s about knowing your surface, your environment, and what you’re trying to achieve — short-term patch or long-term fix.
I’ve been called out to dozens of jobs across Melbourne — from slick Toorak renos to weathered weatherboard homes in Coburg — where the wrong plaster choice led to more cracks, damp patches, or bubbling than the original problem. One bloke tried using joint compound to patch a lime-rendered ceiling in an 1880s terrace in Fitzroy. Looked alright at first — then the humidity hit, and the whole patch curled off like a dried orange peel.
So before you crack open that premixed bucket, here’s what you need to know.
Why Plaster Type Matters in Repairs
The type of plaster you choose can make or break your repair job — literally. Use the wrong one, and you’re signing up for rework, paint failure, or worse — structural moisture problems. That’s because different plasters behave differently. They expand, contract, absorb moisture, and cure in their own way.
Quick example:
Gypsum plaster is great for fast indoor fixes — but try it on a damp exterior wall, and it’ll suck up moisture like a sponge. Next thing you know, you’ve got bubbling paint, a chalky surface, and potential mould issues.
Lime plaster, on the other hand, breathes with the building. Perfect for older homes and heritage projects — but if you’re in a rush, forget it. It can take weeks to cure properly.
Cement plaster? Bulletproof outdoors, tough as nails — but too rigid for delicate interior finishes or period features. It doesn’t give, so when a wall moves (as they do), cracks follow.
Point is: know your material. And more importantly, know your wall.
Breakdown of Common Plaster Types
Here’s a table I use with clients when quoting repairs — simple, visual, and straight to the point.
|
Plaster Type |
Best For |
Key Benefit |
Watch Out For |
|
Gypsum (Plaster of Paris) |
Small indoor repairs, modern homes |
Fast drying, smooth finish |
Not for wet areas; cracks under humidity |
|
Lime Plaster |
Heritage homes, damp interiors |
Breathable, flexible |
Slow to cure, needs skilled hands |
|
Cement Plaster (Stucco) |
Exterior walls, hardy surfaces |
Durable, weatherproof |
Rigid; can trap moisture in older structures |
|
Clay Plaster |
Eco-friendly builds, dry interiors |
Natural, textured look |
Soft, not water-resistant |
|
Synthetic Plaster |
Decorative walls, modern features |
Lightweight, flexible |
Can look “plasticky” if overdone |
|
Venetian / Marmorino |
Feature walls, high-end finishes |
Polished, luxury aesthetic |
High cost; needs finesse |
|
Plaster Skim (Veneer) |
Blueboard, overlay on old surfaces |
Thin layer, quick topcoat |
Rare in Australia; hard to find tradies |
Cracks, Holes, and Blisters: Matching Material to Damage
Some walls wear their history like a badge of honour — old cracks, patched holes, layers of paint from decades past. Others just look tired and damaged. The trick is knowing what you’re dealing with before picking up a trowel. I’ve walked into jobs where someone filled deep cracks with spackle meant for tiny dents, or worse — used joint compound on a crumbling lime render. It never ends well. Matching the right plaster material to the type of damage saves you time, money, and headaches down the track.
The Best Materials for Each Repair Size
Whether you’re dealing with a small hairline or a chunk missing out of the wall, the size of the repair dictates your material.
Here’s a quick guide we use on-site:
|
Damage Type |
Recommended Material |
Why |
|
Hairline cracks (<2mm) |
Flexible filler (e.g. Selleys Rapid Gap) |
Moves with the wall, easy to sand, good for touch-ups |
|
Small holes (<10mm) |
Lightweight spackling or gypsum-based filler |
Quick to apply, dries fast, perfect for minor knocks |
|
Medium holes (10–50mm) |
CSR Gyprock Rapid Patch or setting-type compound |
Stronger bond and depth coverage |
|
Large holes (>50mm) |
Gyprock DIY Plaster Repair Kit with patch panel |
Provides backing support, long-term fix |
|
Deep structural cracks |
Resin + metal lath + plaster (lime or cement-based) |
Stops movement, reinforces wall structure |
Dealing with Moisture, Mold, and Blistering
Moisture is a silent plaster killer. Doesn’t matter how fancy your finish is — if there’s damp behind it, it’ll fail.
Here’s what we recommend, based on what’s causing the issue:
|
Problem |
Cause |
Fix With |
|
Blistering |
Trapped air/moisture under new coat |
Use breathable lime plaster or thin even coats |
|
Mould growth |
Lack of ventilation + gypsum in wet zone |
Remove all gypsum, replace with lime or Tadelakt |
|
Bubbling paint |
Plaster soaked from inside or roof leak |
Dry wall, use lime or cement plaster once resolved |
|
Delamination |
Poor surface prep, dusty walls, or wrong material mix |
Clean thoroughly, key surface, use bonding agent |
Environment and Surface Matter: Match Plaster to Conditions
You could have the best mix in the world, but if it’s slapped onto the wrong surface or exposed to the wrong conditions, it won’t last. I’ve seen patches pop off within weeks simply because someone didn’t think about the humidity, temperature, or what the wall was made of underneath. That’s especially important here in Melbourne, where you can get four seasons in a day — one minute it’s dry, the next your walls are sweating.
Matching your plaster to both the environment and the substrate is critical. Don’t just think about how it looks — think about how the wall breathes, how it moves, and how it reacts to moisture and heat.
Humid, Hot or Dry — It Changes What You Use
Different conditions demand different materials. There’s no one-size-fits-all.
|
Environment |
Recommended Plaster Type |
Why |
|
Bathrooms / Wet Areas |
Tadelakt, lime plaster, or cement render |
Water-resistant and breathable |
|
Kitchens / Laundries |
Lime plaster or cement render |
Handles steam and condensation better than gypsum |
|
Living Rooms / Bedrooms |
Gypsum plaster |
Smooth finish, fast setting, ideal for dry interiors |
|
External Walls |
Cement render, stucco, or hydraulic lime |
Durable against weather and UV |
|
Sun-exposed areas |
Lime-based products (more flexible) |
Handles thermal movement better than rigid gypsum |
|
Heritage zones |
Lime plaster only — sometimes even with fibres |
Breathes with old substrates, prevents moisture lock-in |
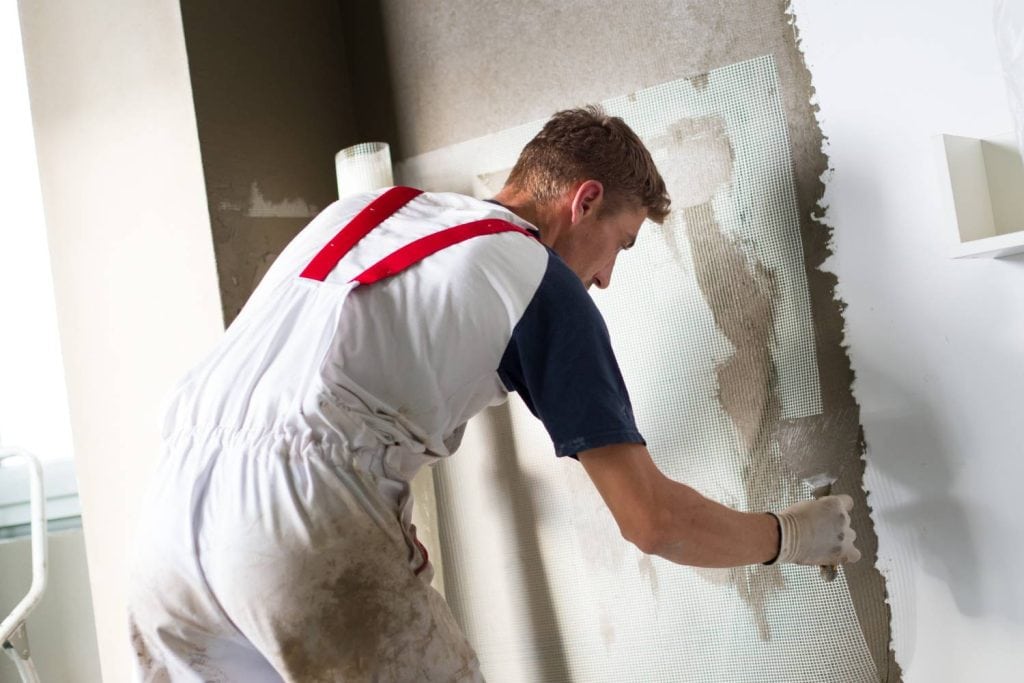
Surface Compatibility: Old Brick vs Blueboard
Different substrates need different approaches — and this is where a lot of jobs get stuffed.
Here’s what to watch for:
- Solid Brick Walls (especially older homes)
These need lime-based or cement plasters. If you apply gypsum directly over solid masonry, it won’t adhere well, and it’ll trap moisture — especially in homes without a proper damp course. - Plasterboard / Blueboard
Gypsum-based plaster is designed for these. For blueboard, plaster veneer (skim coat) gives a hard, clean finish. You can use bonding agents if you want to skim over painted surfaces — just don’t do it over glossy acrylic without sanding first. - Painted or Smooth Concrete
Use a plaster bonding agent (like Gripset or BondCrete) before applying anything. Without it, your plaster will peel off in sheets. - Previously Repaired Areas
If someone’s already had a go, check what they used. A mix of materials (like joint compound patched over cement) can make bonding a nightmare. You may need to chip back and start fresh.
