You've found the right place if you're trying to figure out how to mix plaster by hand, how to mix plaster for wall repair, or how to make plaster for walls. Plaster mixing is quite easy if you know what you're doing, but it's important to get it just right for the greatest results.
While it may be a lot of work, the sense of accomplishment I get from applying a flawless, creamy coat of plaster over a shabby-looking sub base more than makes up for the effort.
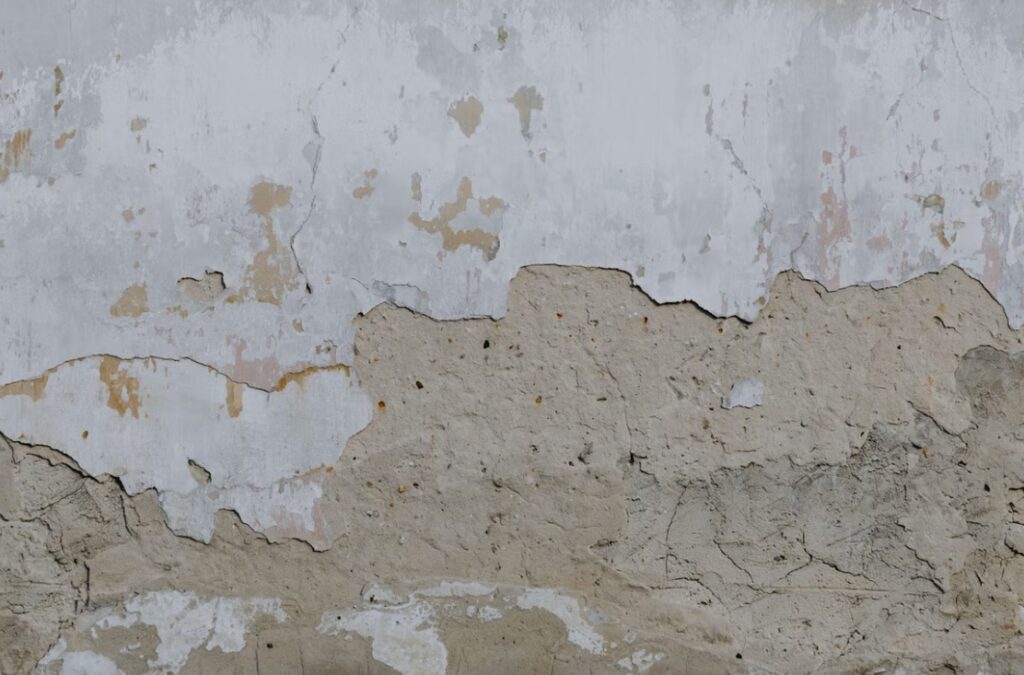
An improperly prepared sub-base surface is a common source of trouble when plastering, and the next critical stage is a well-balanced plaster mixture.
Prior to painting, walls are typically plastered to ensure a smooth and even surface. Plaster always needs to be dissolved in water before it can be applied to a surface.
Why? How much plaster you can make depends on how much water you use to begin with. If you are just starting out with mixing plaster, you probably shouldn't try to apply more than half a bag before it hardens.
Since plaster is inexpensive, it's preferable to mix up a little more than to run out in the middle of a project. If the plaster is overmixed, it will be difficult to maintain a consistent thickness and level.
Combine the plaster with clean water in a new bucket. When the bucket is full with water, you can add the plaster sand and powder. A hand drill and mixing paddle are needed to get the desired smooth and creamy consistency. Plaster should be the consistency of toothpaste or cake mix, and you should never add more water to it once it has set. Do not begin blending until you have read the instructions.
Getting the wall covered won't be hard if you follow these steps correctly, and you won't have to sand the plaster or remove it and start over. Let's disassemble this into its component parts and look at them closely.
When it comes to creating a flawless plaster surface, how do you go about mixing the plaster?
There is one talent essential to plastering, and that is the capacity to mix plaster. In other words, you need to get good at this right immediately because it's a crucial foundational talent.
Plaster is required to get walls flat, smooth, and ready to paint. In order to get the surface ready for the final coat, bond plaster is first placed. Plaster's ultimate appearance is determined by how effectively it was primed.
It is crucial to learn how to mix plaster properly whether or not you want to do any slip casting. Plaster can serve numerous purposes in the pottery workshop, from simple hump moulds to drying bats.
Plaster mixing can be difficult for newcomers, so we've decided to give you a crash course in the subject today. Everything you need to know about this essential tool in your pottery studio is now at your fingertips.
Make sure the plaster layer is very thin and as level as possible. The best results aren't guaranteed to come from a thick mixture, and sometimes a wonderful thin mix is the best option. If the plaster is excessively wet, you might not be able to use much force when shaping it.
Supplies & Equipment
- A large bucket or tub to hold the contents
- Using a paddle mixer as a drill: You can use a clean, smooth piece of wood for the paddle mixer attachment if you don't have one.
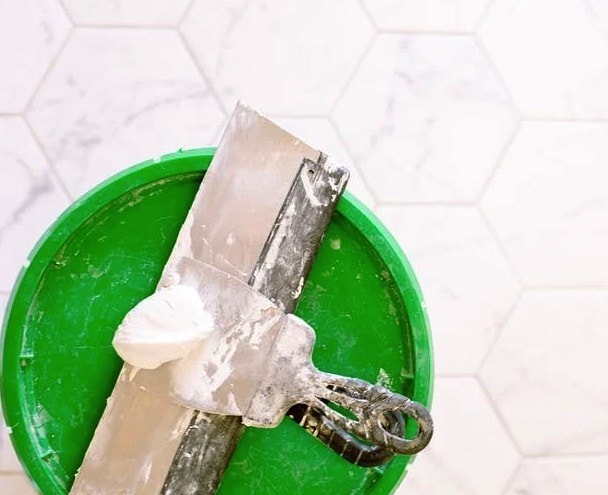
- The trowel is in the shape of a fork (to help clean your gear)
- paint in a can (as above)
- Supplies Dust sheets or tarps
- Clear, unpolluted water
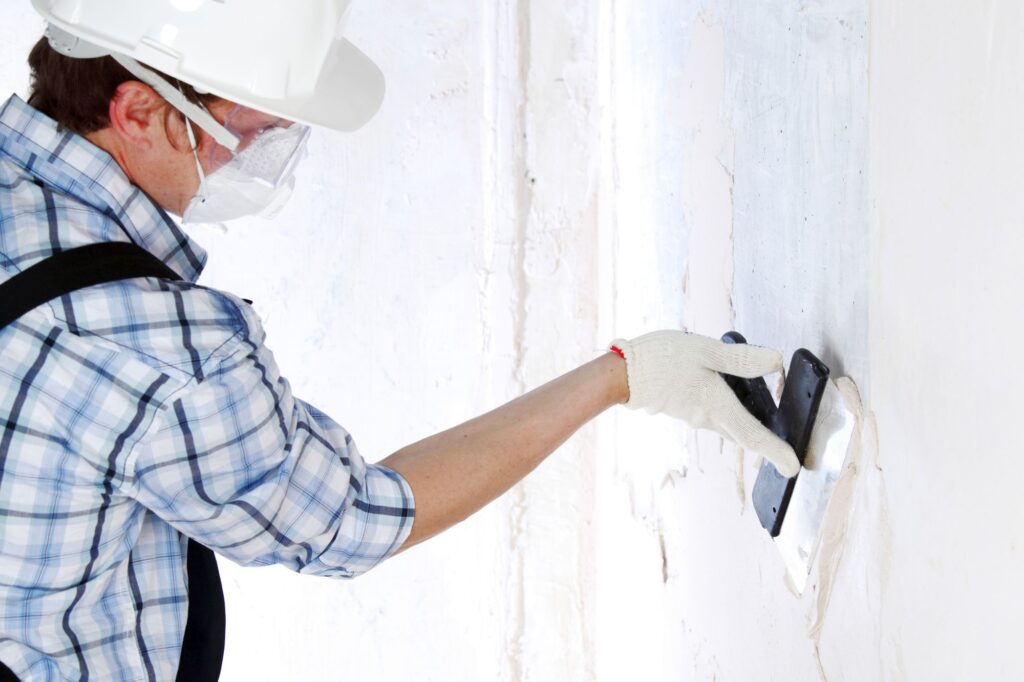
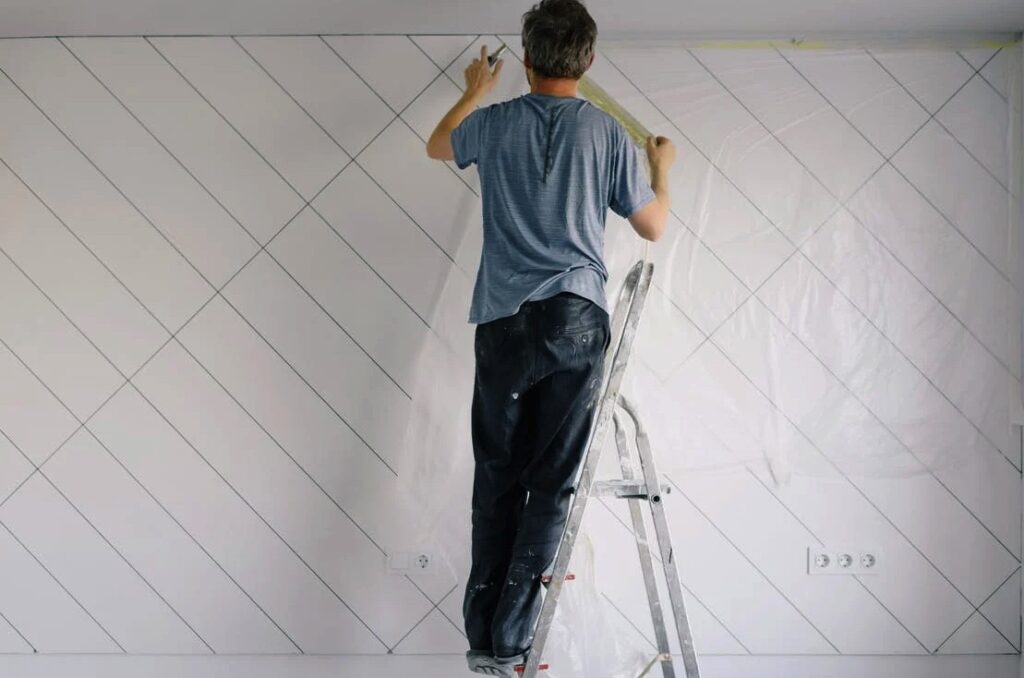
- Cover the walls with the last coat of plaster.
Getting Ready for Work

First, clean a space that won't get in the way when you need to skim the surface you'll be plastering.
Cover anything in sight with old sheets, newspapers, or plastic dust sheets before beginning the plaster mixing process. Make sure plaster doesn't get tracked inside by setting up a specific place where workers may clean their boots or remove them entirely before entering the rest of the house.
Keep a broom and dustpan close by, and prepare a bucket of clean water for washing your tools and hands after each use.
Remove any traces of the old plaster from your tools before using them with the new stuff, otherwise the quality of the new stuff could suffer.
When the job is done, cleaning the plastering equipment will be much simpler.
Keep Your Equipment Organized
Be sure that all of the equipment you'll be utilising is clean before you begin the mixing process. A bucket or tub, a mixer, and anything else you'll need to complete the task should be included. Any remnants of dirt, stones, or old plaster in the mixture will render the new batch useless.
Put some water into the bucket
First, you'll need to fill a clean, large bucket to the top with fresh water; the bucket's capacity should be sufficient to hold the entire mix with room to spare.
In what quantity should I take in water?
Approximately 11.5 litres of water are needed to properly mix 1 bag of multi-finish plaster. The perfect amount of water to plaster should result from adhering to this advice, if I may say so without seeming too apparent. Do you not think so?
However, there is one huge issue: this is just rubbish! The lack of water has made the mixture quite thick. To give you an idea, 12.5 litres is the norm I work with.
Including Plaster
Place plaster in the bowl by the handful. Plaster should be added continuously until a dry sample rises above the water's surface and refuses to sink. Due to its density, plaster tends to sink, so it's better to start with a modest amount and add more as needed to prevent a buildup on the water's surface. Put in about half the required amount of plaster at start.
Plastering It Together
Once it's been correctly mixed, plaster becomes more workable and less messy. Always check the bag's label for safety instructions before using it.
About four months is the average shelf life of plaster; after that point, the mixture may no longer be strong enough to hold properly, reducing the amount of time you have to work with it.
Plaster is commonly sold in bags weighing 50 pounds (25 kilogrammes) since its volume is easily measured. When mixing gypsum finishing plaster, the ratio of plaster to water should be 2:1.
To wash a regular 50-pound (25-kilogram) bag, you'll need around 3 gallons of water (11.5 litres). Use a clean bucket and divide by two if you need an even smaller measurement.
Don't ever manufacture more plaster than you can use in one session. Rather than wasting a lot, it's better to have a surplus of resources.
Adding water to the mixing bucket before adding the plaster can help reduce dust and keep unmixed plaster from collecting in a corner of the bucket.
Little bits of dry plaster are sprinkled into the water, mixed in until they dissolve, and then more plaster is added.
Even while you can mix plaster by hand, it's a time-consuming process that could interfere with your mud-building efforts.
When it comes to mixing, we prefer to use a small power drill, such as an 18V model, fitted with a mixing paddle or whisk. Be careful when you are working with plaster.
A combination that has already begun to set will be completely ruined if further water is added to it. The plaster will lose its strength and become extremely difficult to work with.
Making more plaster than you can use in 20 minutes is wasteful. Gaining familiarity with this process will allow you to make more accurate predictions.
-
- Boost the effectiveness of the mix by adding more Plaster.
- After the initial load has been well mixed, the plaster should be added slowly and gradually while stirring.
- To remove any leftover large lumps, maintain plunging the mixer drill.
- Keep doing this, but be careful not to overload the system.
Check for Uniformity in the Plastering.
Just before you stop mixing, you want the mixture to have a creamy, almost smooth, consistency. Simply add more plaster until the desired consistency is reached.
There is no such thing as "perfect" plaster consistency, but if you insert a little piece of wood into the mixture, it should be able to stand upright.
Then, add water or plaster if necessary, but try to avoid doing this more than necessary. It's only natural that it'll take some time to master this skill and do it flawlessly the first time around.
Ensure that your tools and machinery are clean before using them.
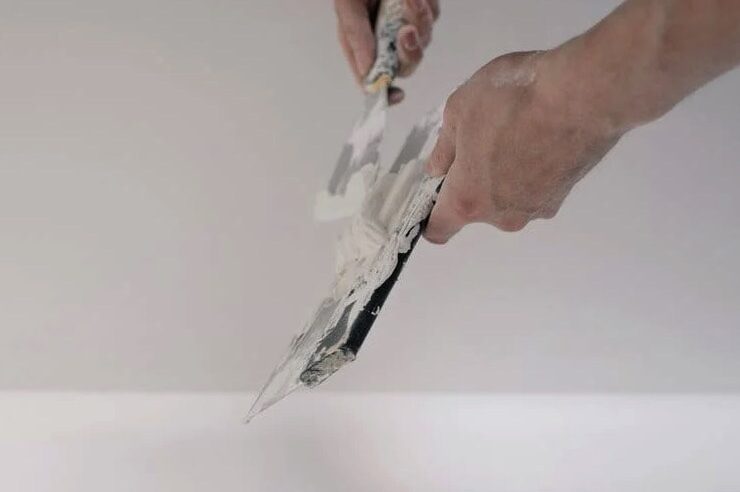
It is crucial to quickly clean the equipment after each use.
Potentially though it would be tempting to let the plaster dry on your tools at the end of a hard day of work, you shouldn't give in to that temptation because it could make removing the plaster a lot more difficult and even cause damage to your tools.
Freshly mixed plaster needs to be used immediately.
Before you start mixing, though, you need clean all of your tools thoroughly. If this isn't done right away, the remaining plaster will harden into an impenetrable wall.
A bucket or tools that still have old plaster on them will be worthless. More importantly, the quality of any future batches will be diminished by contact with the contaminated old plaster. Wet plaster is usually easily removed with a paintbrush and some hot water.
You have around 45 minutes to utilise the final plaster before it becomes worthless, depending on the temperature and humidity.
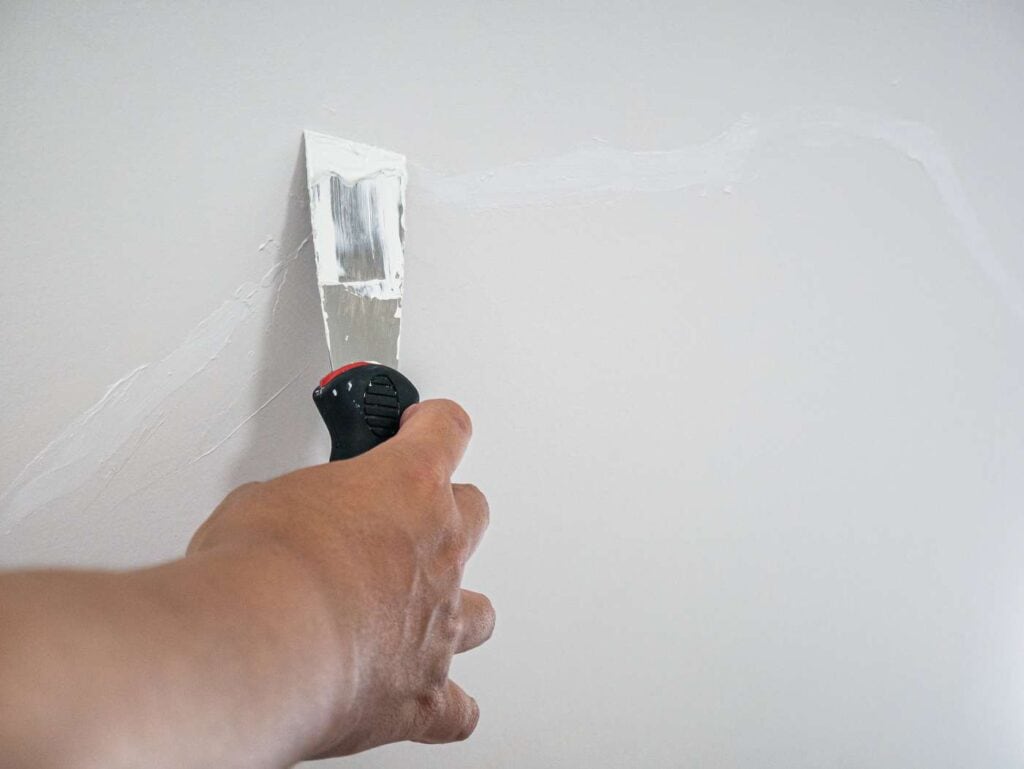
Filling in the Cracks
The flat mortarboard or plastic tray is ideal for mixing undercoat plasters.
Pre-mixed plaster can be blended in the same method as described above; however, plaster mixes containing various ingredients should be dry mixed before adding water.
To learn more about the various types of plaster and when to use them, check out our Plaster Types Guide.
Fold the gypsum and aggregate mixture with a shovel or small trowel, working from the outside in. Keep the mixture on the mortarboard.
Make a tiny crater in the centre of the mixing surface and mound the dry ingredients on top of it to make a cement mortar. Carefully add fresh water and refold the plaster into the hole.
Keep folding the outer inward with the shovel and, once the combination permits, chopping through the centre with the shovel blade held vertically to ensure the dry powders are well blended.
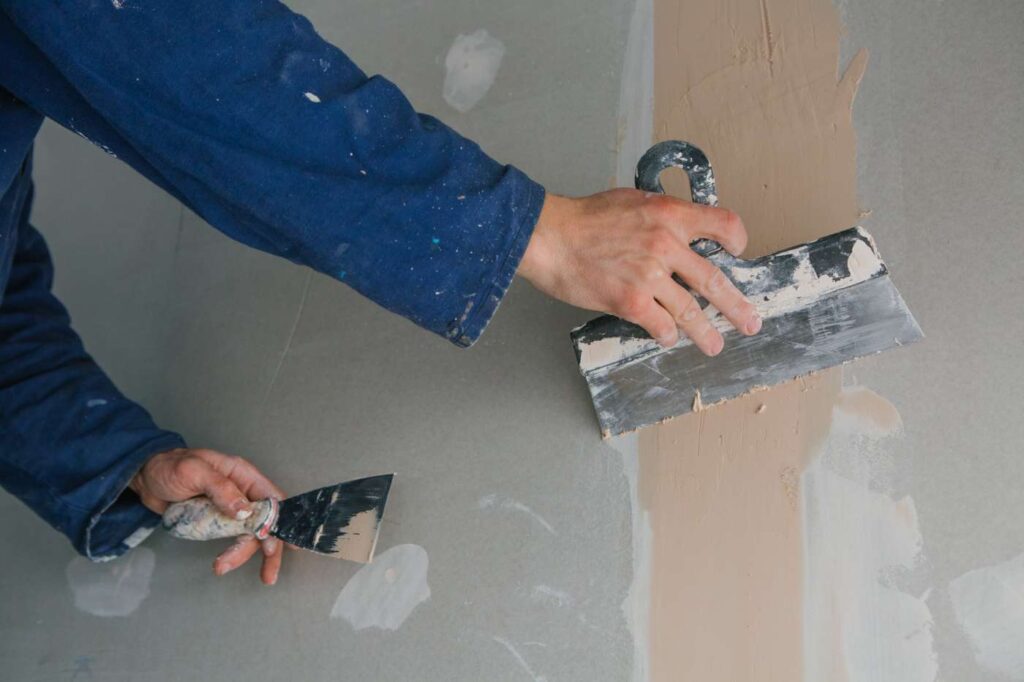
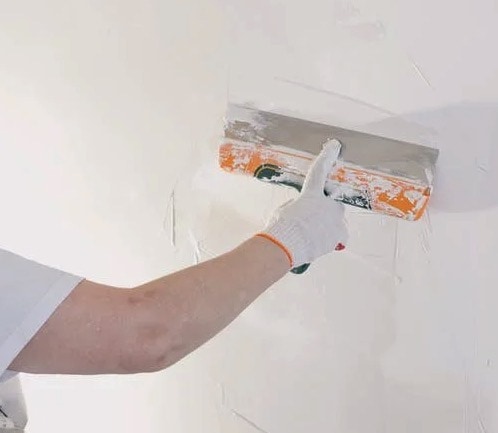
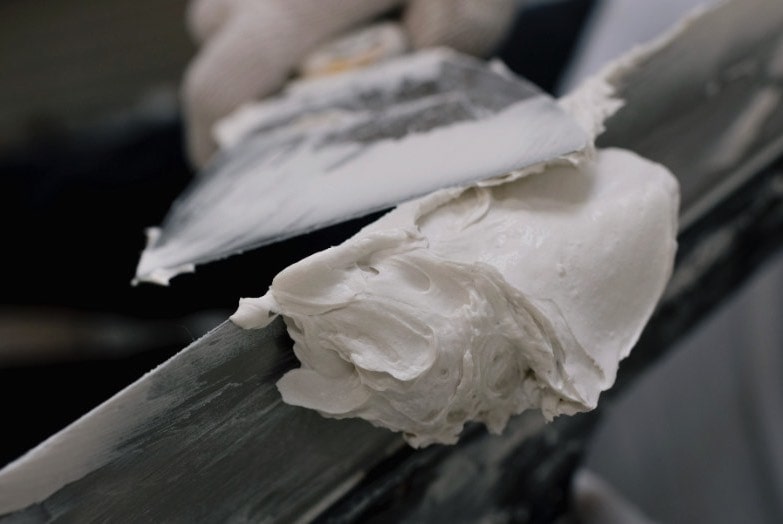
You need to blend the plaster until it's as smooth and creamy as toothpaste. When applying this to walls and ceilings, hawks are utilised as plasterers.
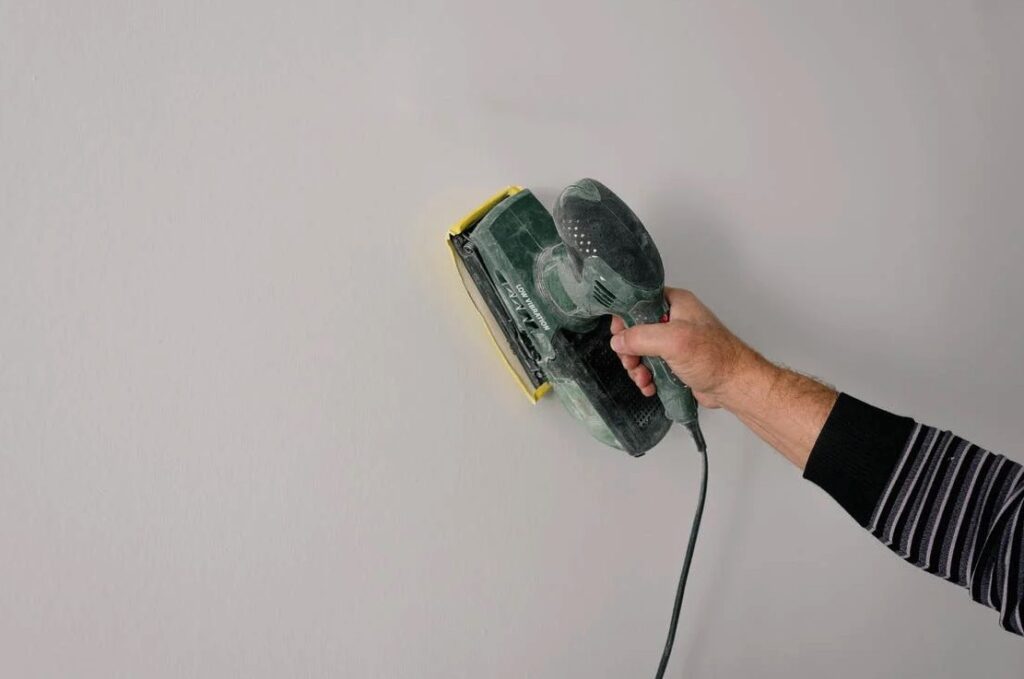
Make sure to thoroughly clean the mixing bed before the plaster dries.
How to Make Plaster
You should give some of these points significant consideration. First, always start with clean water and make sure the mixer has been well cleaned before and after each use.
This precaution ensures that no stones, dirt, or grit will enter the plaster mixture during the mixing process.
Trust me when I say that having dirt and stones stuck in your plaster is the worst conceivable thing that could happen to your home.
Plaster dust is everywhere, and you have to continually clean it up.
A reminder to always work with fresh water and thoroughly sterilise your tools.
Furthermore, the plaster's thickness can be adjusted to suit your tastes. Some people like a thicker consistency, but others choose something thinner.
With experience and time, you'll be able to find your optimal performance zone. You shouldn't be afraid to branch out and attempt something new because you are a unique individual.
You won't have to keep track of it as you get older; you'll just know.
Concocting Original Filling Materials
For minor fixes, cellulose filler is preferable to a big bag of gypsum plaster.
Filling should be mixed in a small tub or plate; I like to use mini plastic ice cream containers for this.
Using a filling knife or flat-bladed scraper, add a little amount of cellulose filler to the bowl and mix as you slowly add clean freshwater.
Fold the powder and water together, then whisk it until it's thick and creamy.
The powder filler can be added if the mixture becomes too thin after water has been added. In the case of deep cracks or holes, a slightly stiffer mix can be beneficial since it will better cling onto the crack; the layer can then be recovered with a looser batch once it has dried.
Conclusion
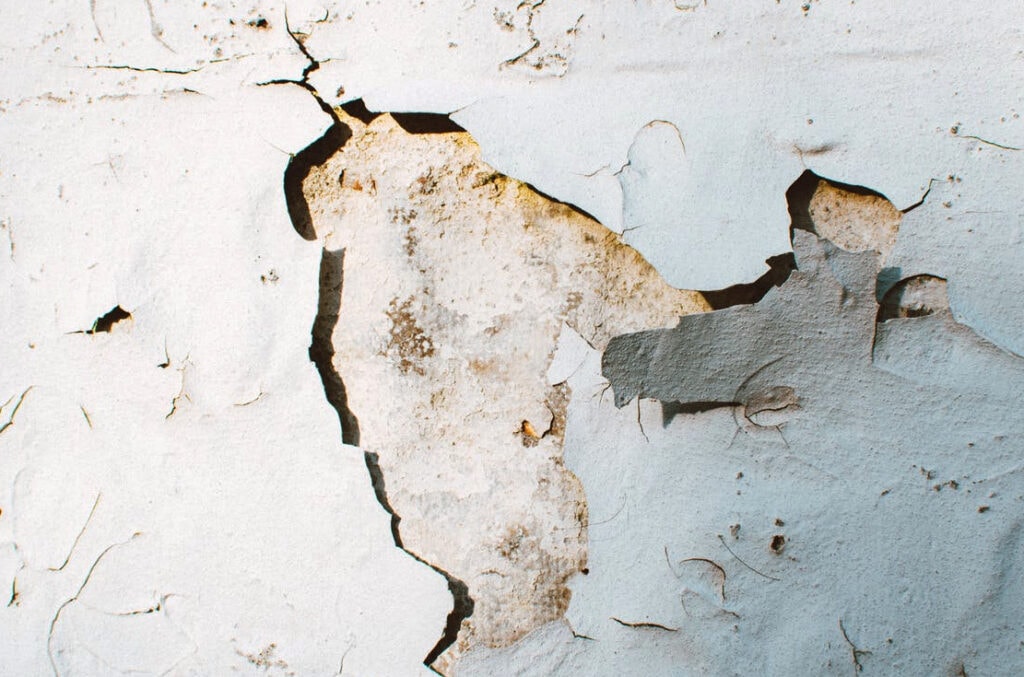
Problems due to a poorly prepared sub-base surface are usual when plastering.
A hand drill and mixing paddle are required to get the necessary silky, creamy texture. If you have experience, mixing plaster is a breeze, but you must get the consistency right.
We recognise that learning to mix plaster properly might be challenging, so we'll provide you with a brief introduction. Get the lowdown on this must-have item for any ceramic workshop.
A thin, uniform coat of plaster is essential.
Due to the ease with which its volume may be determined, plaster is typically packaged in bags weighing 50 pounds (25 kilogrammes).
When mixing, there should be a 2:1 ratio of gypsum finishing plaster to water. About 3 gallons of water are required to clean a standard 50-pound suitcase (11.5 litres). Plaster should be applied as soon as possible after it has been mixed.
Applying hot water and a paintbrush to wet plaster makes quick work of the removal process.
Depending on the temperature and humidity, you have around 45 minutes to use the last plaster before it loses effectiveness.
After each usage, the tools should be quickly disinfected and wiped down. The process mentioned above can also be used to mix pre-mixed plaster. However, dry mixing is required before adding water to plaster mixes that contain many components.
Undercoat plasters can be mixed easily on a flat mortarboard or plastic tray. Hawks are used as plasterers to apply this material to walls and ceilings.
When only a small amount of repair is needed, cellulose filler is better than a huge bag of gypsum plaster.
Regarding texture, some people prefer a thicker consistency, while others prefer something on the thinner side.
A slightly stiffer mix can be useful in the event of deep cracks or holes since it will better adhere to the fracture.
Content Summary
- You've found the right place if you're trying to figure out how to mix plaster by hand, mix plaster for wall repair, or make plaster for walls.
- Plaster mixing is quite easy if you know what you're doing, but it's important to get it right for the greatest results.
- An improperly prepared sub-base surface is a common source of trouble when plastering, and the next critical stage is a well-balanced plaster mixture.
- How much plaster you can make depends on how much water you use, to begin with.
- Combine the plaster with clean water in a new bucket.
- There is one talent essential to plastering, and that is the capacity to mix plaster.
- It is crucial to learn how to mix plaster properly whether or not you want to do any slip casting.
- Everything you need to know about this essential tool in your pottery studio is now at your fingertips.
- Using a paddle mixer as a drill: You can use a clean, smooth piece of wood for the attachment if you don't have one.
- Cover anything in sight with old sheets, newspapers, or plastic dust sheets before beginning the plaster mixing process.
- Cleaning the plastering equipment will be much simpler when the job is done.
- Ensure all the equipment you'll be utilising is clean before you begin the mixing process.
- Any remnants of dirt, stones, or old plaster in the mixture will render the new batch useless.
- Approximately 11.5 litres of water are needed to mix one bag of multi-finish plaster properly.
- When mixing gypsum finishing plaster, the ratio of plaster to water should be 2:1.To wash a regular 50-pound (25-kilogram) bag, you'll need around 3 gallons of water (11.5 litres).
- Adding water to the mixing bucket before adding the plaster can help reduce dust and keep unmixed plaster from collecting in the corner of the bucket.
- Little bits of dry plaster are sprinkled into the water, mixed in until they dissolve, and more plaster is added.
- Even while you can mix plaster by hand, it's a time-consuming process that could interfere with your mud-building efforts.
- When it comes to mixing, we prefer to use a small power drill, such as an 18V model, fitted with a mixing paddle or whisk.
- Be careful when you are working with plaster.
- To remove any large leftover lumps, maintain plunging the mixer drill.
- Before you stop mixing, you want the mixture to have a creamy, almost smooth consistency.
- Add more plaster until the desired consistency is reached.
- Though it would be tempting to let the plaster dry on your tools at the end of a hard day of work, you shouldn't give in to that temptation because it could make removing the plaster a lot more difficult and even cause damage to your tools.
- Freshly mixed plaster needs to be used immediately.
- Before you start mixing, though, you need clean all of your tools thoroughly.
- You have around 45 minutes to utilise the final plaster before it becomes worthless, depending on the temperature and humidity.
- The flat mortarboard or plastic tray is ideal for mixing undercoat plasters.
- Pre-mixed plaster can be blended in the same method described above; however, plaster mixes containing various ingredients should be dry mixed before adding water.
- Fold the gypsum and aggregate mixture with a shovel or small trowel, working from the outside.
- Make a tiny crater in the centre of the mixing surface and mound the dry ingredients on top of it to make a cement mortar.
- It would be best if you blended the plaster until it's as smooth and creamy as toothpaste.
- Make sure to clean the mixing bed before the plaster dries thoroughly.
- Trust me when they say that having dirt and stones stuck in your plaster is the worst possible thing to happen to your home.
- Plaster dust is everywhere, and you have to clean it up continually.
- Using a filling knife or flat-bladed scraper, add a little cellulose filler to the bowl and mix as you slowly add clean, fresh water.
- Fold the powder and water together, then whisk it until it's thick and creamy.
Frequently Asked Questions About Plaster
Generally, you'll want to use approximately a 1:1 ratio of plaster to water—in other words, half and half. However, you should add only about half of the plaster at this point, as more will be added later. Try not to take more than a couple of minutes to sift the plaster, or it will begin to set.
It works like a treat. It comes with a "normal chuck" for the mixing paddles you can buy and an SDS chuck. But most SDS drills should be capable of mixing plaster if you can find an SDS paddle.
Plaster shall be applied when the ambient temperature is higher than 40 degrees Fahrenheit (4.4 degrees Celsius) unless provisions are made to keep cement plasterwork above 40 degrees Fahrenheit (4.4 degrees Celsius) during application and 48 hours after that."
Cement mixed with water alone creates a grout that can be used for repairing any damage to concrete structures. This cement-based grout mix is also used when normal concrete won't work, such as underwater concreting. Concrete is used worldwide because it is durable, economical and versatile.
It provides the structure of plaster, and the quality of your sand can make the difference between success and failure. River sand is used for any plastering work. Generally, in any plastering work, plasterers are used natural sand, crushed stone sand or crushed gravel sand.