Plastering is an essential process for creating a uniform and aesthetically pleasing wall surface.
Even though it's probably better to hire a professional plasterer, some homeowners may try to save money by doing it themselves.
But the question still stands: can plastering be done on one's own? While it is possible for a competent do-it-yourselfer to get good results, there are many things to think about first.
We'll discuss the benefits and drawbacks of doing your own plastering, the materials you'll need, and how to get the job done right in this blog post.
What is Plastering?
Plastering is a method of finishing walls and ceilings to a uniform smoothness. Plaster, sand, and water are combined and applied to the surface, before being smoothed down with specialist tools.
Plastering is an important part of building because it smoothes out irregularities in the walls and ceilings and gets them ready for paint or wallpaper.
Achieving a flawless and uniform plaster finish can be difficult without the proper training and experience. Plastering can be tricky for beginners since it requires precise measurements, an even hand, and the right equipment.
Walls and ceilings that aren't level after a mistake in plastering must be sanded, re-plastered, or even torn down and rebuilt, which may be a laborious and costly process.
Plastering can be difficult, but with the correct tools, skills, and instruction, it is feasible to do it yourself.
Plastering takes a lot of time and effort and calls for careful attention to detail and a willingness to learn new skills.
Although doing the plastering yourself can save money on labour charges, a first-time plaster job may not have a professional look.
Things to Consider when doing a DIY plastering
Some homeowners opt to do the job themselves instead of calling in a professional plasterer for a variety of reasons. The opportunity to save money is a primary factor. Instead of paying a professional plasterer, you could save money by doing the job yourself.
In addition, some people may take pleasure in doing-it-yourself and would like to give plastering a try.
Plastering your own home gives you more freedom and management over the project.
Owners have complete freedom in selecting their own materials, tools, and pace of labour. As the procedure progresses, they can make any necessary adjustments.
However, it is vital to realise that DIY plastering can be a tough task, and it demands a certain level of ability and experience.
It can be expensive to fix the damage done by improper methods. It is vital to carefully research and prepare for the project, and be ready to devote time and effort into learning the correct techniques and processes for creating a perfect plaster finish.
There are a few things to keep in mind if you want your do-it-yourself plastering project to turn out well. Here are a few things to remember:
Skills
Plastering can be challenging, especially for beginners. Achieving a flawless, uniform surface is difficult and calls for lots of practise and attention to detail. Think about your skill set and whether or not you'd like to tackle a project of this scale on your own.
Preparation
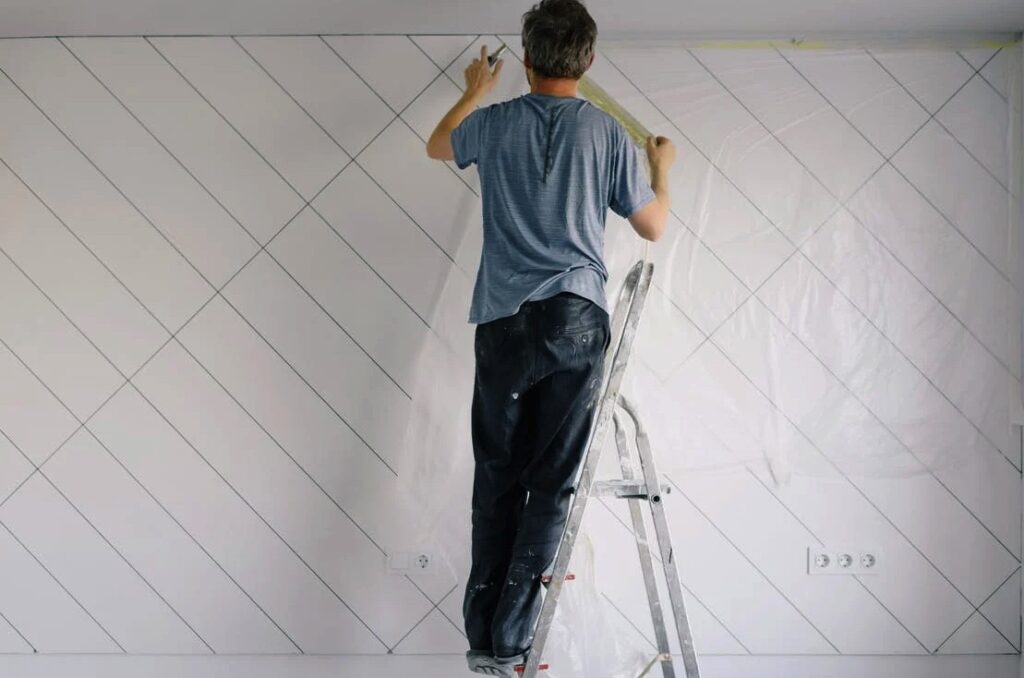
Plastering requires careful planning to ensure a smooth finish. This involves removing any loose debris or old plaster and making sure the surface is clean and dry. You should also protect the floors and furniture from dust and debris by taping off the areas you don't want plastered and laying down drop cloths.
Materials
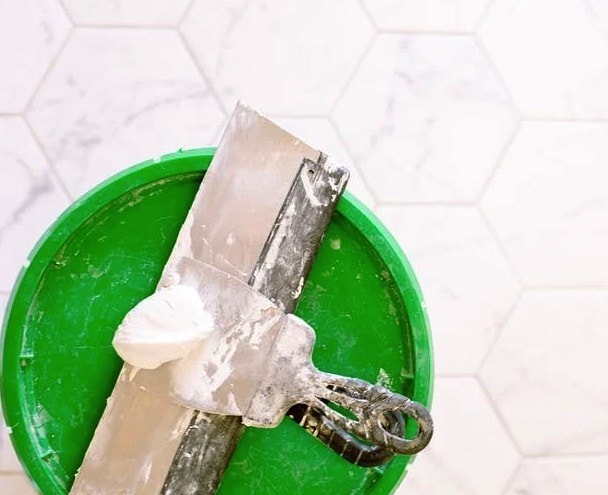
You'll need plaster, a mixing bucket, trowels, and sandpaper to complete this task. Don't start your project until you've gathered all the necessary materials.
Time
Plastering may be a lengthy procedure, particularly for larger jobs. If you want the plaster to dry and cure properly, you'll need to give yourself plenty of time to finish the work.
Safety
Using protective equipment such as goggles, a dust mask, and gloves is essential when plastering due to the high risk of eye and respiratory irritation caused by dust and debris. Wet plaster can be slippery and difficult to deal with, so exercise caution when handling it.
Expectations
Don't set yourself up for disappointment by expecting too much from the final product. Plastering is not an easy task; not even experts can guarantee a flawless finish every time. Don’t get disheartened if your end product isn’t flawless — with practise, you may develop your skills and obtain greater outcomes.
Preparation for DIY Plastering
DIY plastering isn't easy, but it's possible with the correct planning, equipment, and materials. It's crucial to get the workspace ready before beginning any project.
The first step is to remove the room of all furniture and cover the flooring and any remaining fixtures with plastic sheets or drop cloths to protect them from dust and dirt.
The walls should be scrubbed down and repainted or plastered over if necessary.
The next step is to obtain the required equipment and supplies. The materials you'll need are a bucket, some water, some plaster, a hawk, and a mixing drill or paddle. Use of the appropriate plaster, whether it be a basecoat or finishing plaster, is crucial. It's also crucial to use precise measurements when combining the plaster and water.
The walls must also be ready for plastering, which is why this step is so crucial. So that the plaster stays put, a bonding agent must be applied to the walls first. Plastering often begins with laying down a lath, which can be made of metal or wood.
Plastering skills, such as an even application and spread of the plaster and a smooth, even finish, are also vital to know. Do-it-yourself plastering may be a rewarding experience if you take the time to plan and execute it well.
DIY-ers can successfully complete a variety of plastering tasks. Anything from:
- Plasterboard installation requires a wood stud wall or ceiling, screws, nails, or a wood frame.
- Plasterboard skim coating and room re-skim coating.
- Using patched skim plaster over bare brick to repair damaged surfaces;
- Dot and dab, often known as dry lining, is the process of applying plasterboard glue to previously drywalled walls.
Plastering yourself can save you money in the short term, but you need to pay close attention to the plaster's final finish and ensure that it is uniformly done to avoid costly plaster repairs.
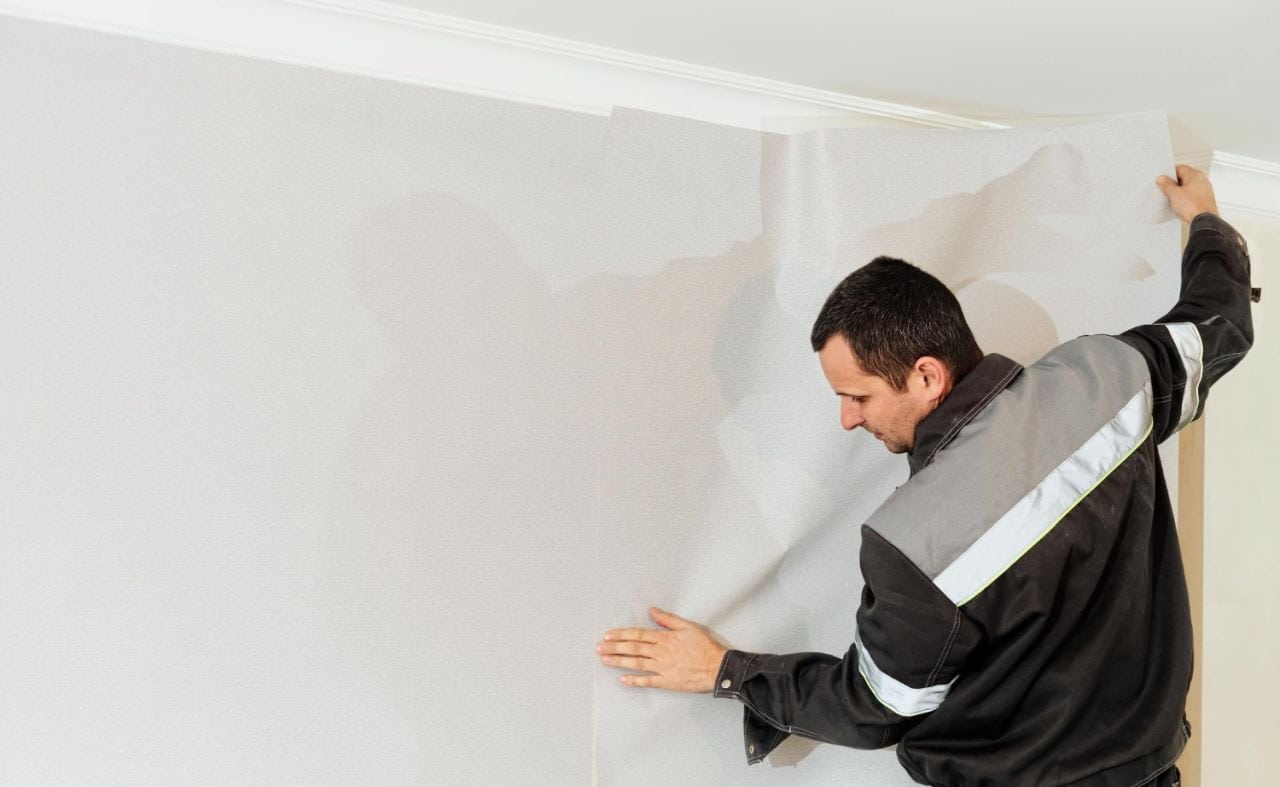
Plasterboard Installation
Plasterboard replacement can reduce the need for costly and time-consuming wet wall plastering and allow you to focus on other aspects of the project. Plastering a new wall is a lot simpler for the do-it-yourselfer because the preparatory work is unnecessary.
Plasterboards come in many different sizes and thicknesses on the market. As a result, you should always consult a local contractor or store employee before attempting to put up plasterboard.
The first step is to cut the plasterboard to size; if you're installing it on a stud wall, aim for the middle of the noggin or joist. To cut the plasterboard, you'll need, at a minimum, the following tools:
- Pencil
- Measuring tape
- Rasp
- Straight Edge
- Pad Saw
- Retractable Knife
Step 1
To begin, cut the sheets to a length that is 12 millimetres less than the distance from the floor to the ceiling.
Step 2
With a pencil and a straight edge, draw a cutting line on the plasterboard's ivory side.
Step 3
Flip the sheet of plasterboard over, fold in the end, and snap it in half. To remove the backing paper, a utility knife will do the trick.
Step 4
It's considerably simpler to use two individuals to fasten the plasterboard to the frame. To force a board up against the ceiling, wedge a bolster chisel beneath its foot, slide a scrap of wood under it, and press down firmly with your foot. While installing the plasterboard, make sure the ivory side is facing out.
Step 5
Use 32mm plasterboard screws at approximately 150mm intervals, 15mm in from the board's edges, to secure it in place. In the same way that you cut complete boards to size to fit over the doorway and against the nearby walls, continue fitting whole boards. The plasterboard will need to be notched so that it can fit around the skirting board.
Step 6
Applying plasterboard tape to the joints will ensure a seamless appearance after the wall is finished.
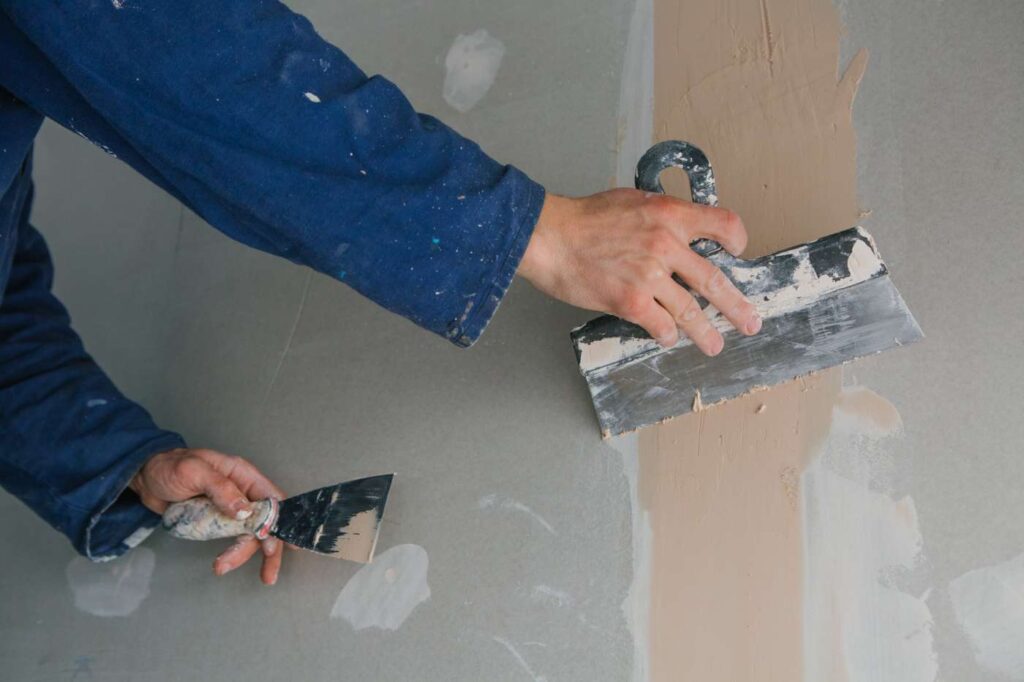
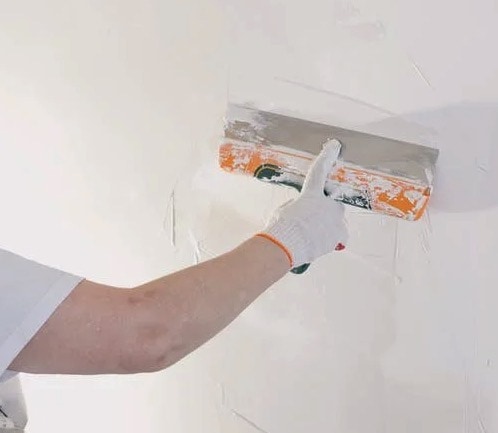
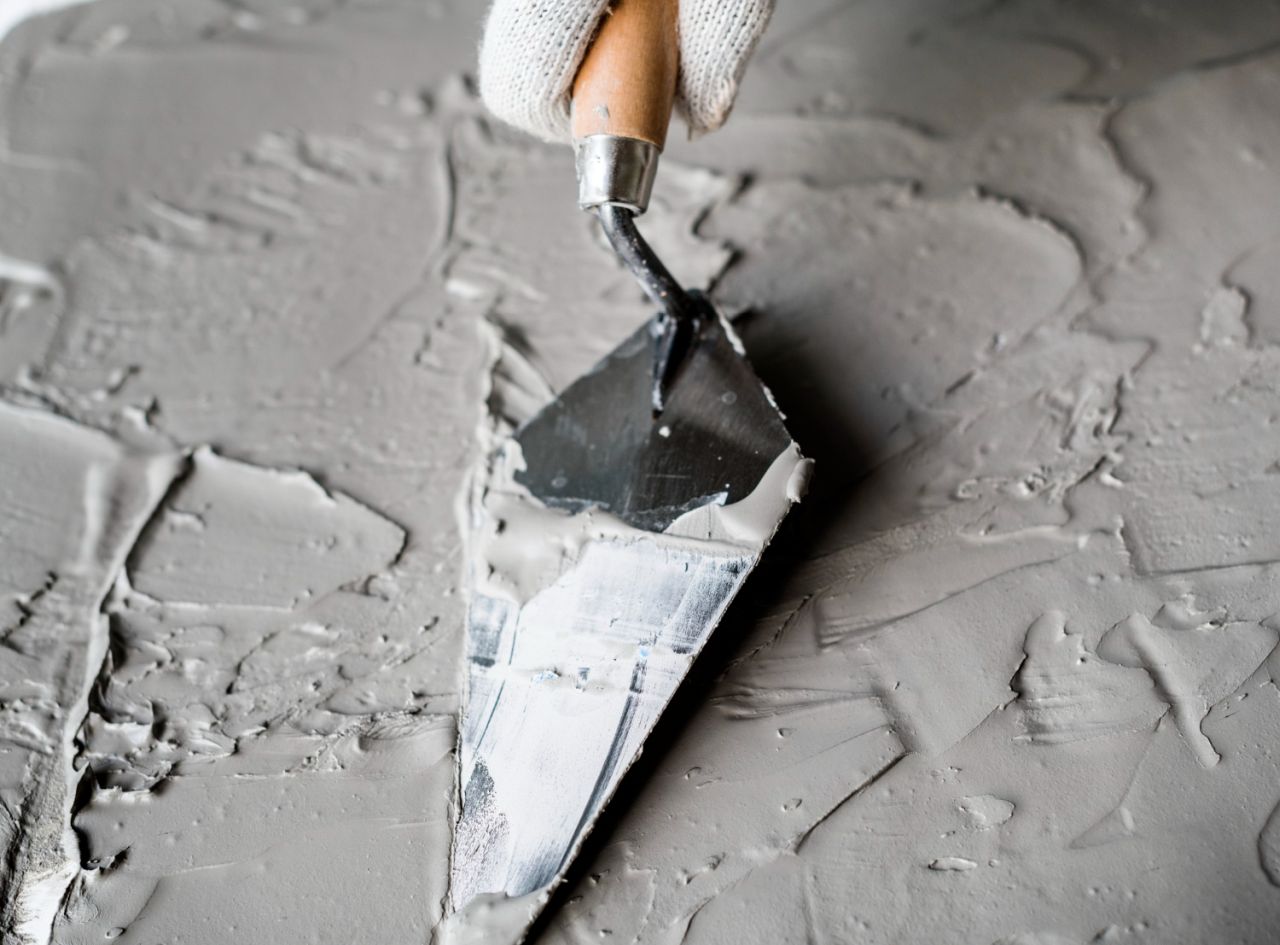
Plastering the undercoat onto the wall
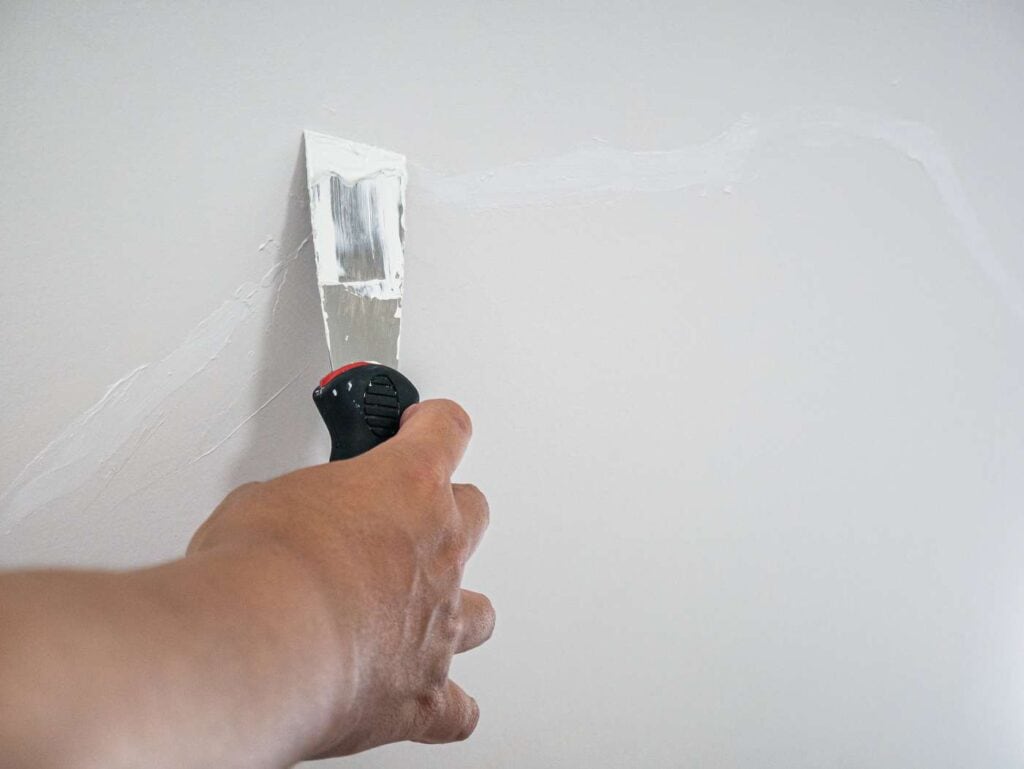
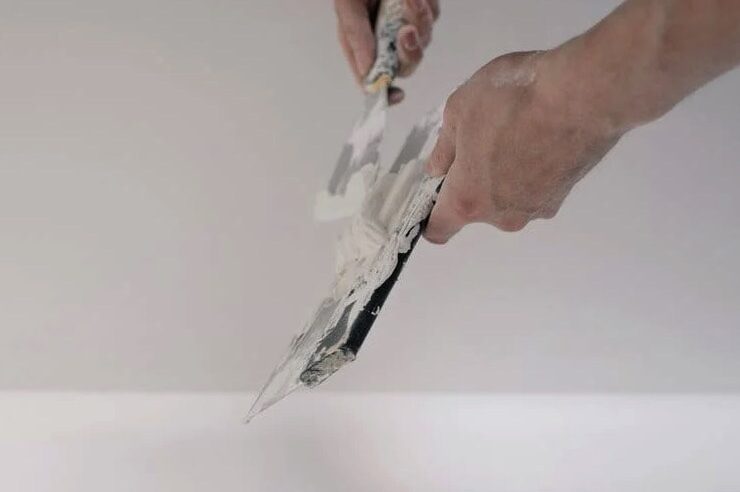
Plastering the wall now entails loading up your hawk with two full trowels at a time with the prepared plaster. Distribute it in a thin, even layer; there should be no clumps. The beads can be turned around by pushing the straight edge and then pulling upwards.
Then, as you go along, slide it to the side. If there's too much plaster where you are, just scrape it back into the bucket and get out your trowel and hawk again.
You may need to do this several times to create a smooth finish across the part; by the time you've finished two or three portions, the plaster will be hard. After waiting a while, the area will feel smooth to the touch; use a thin instrument to fill any narrow areas, such as the space between the doorframe and the wall. Soon enough, the undercoat plaster will be completely dry and hard.
Let the plaster dry somewhat after applying the initial coat, which should take about 20 minutes. The trowel can be used to eliminate any humps or bumps. All the edges, including the bottom and top of the wall, need to be rounded off as well. Plastering these areas properly is notoriously challenging. Brush the edges with water to make them uniform.
Scraping or scratching the wall
Professionals will do this before applying a second coat to ensure a strong bond between the two layers. The easiest method to do this is by using an instrument called a devilling float, which is expressly made for this — it’s a wooden float with nails in it. An old kitchen fork can also be used to scratch the surface.
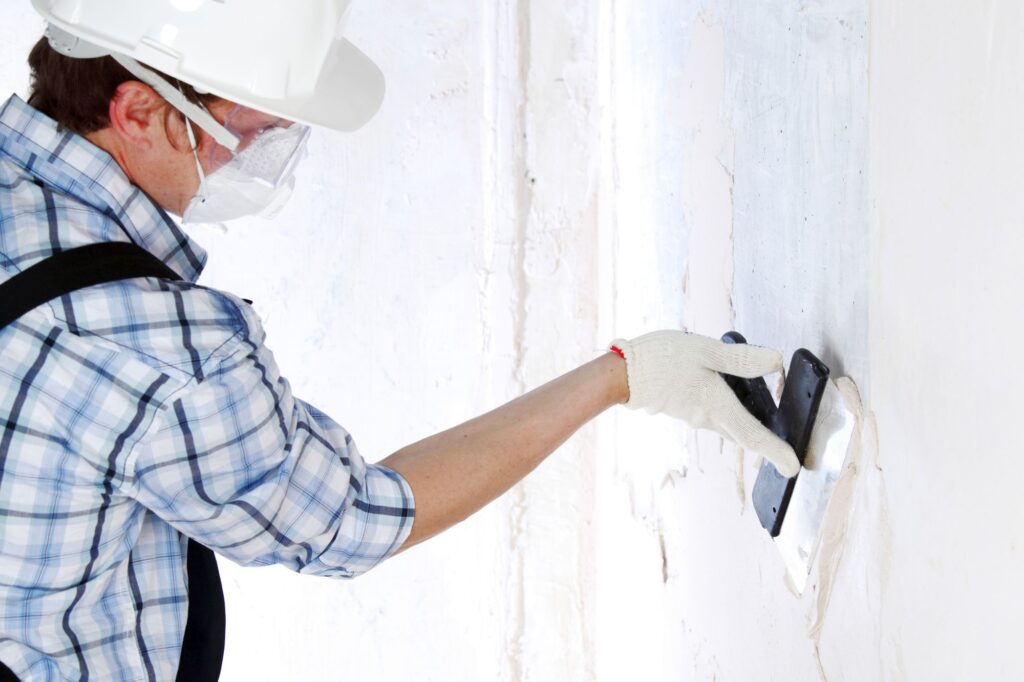
Plastering the wall with the second coat
Once the initial layer of plaster has been devilled or scratched, a second and final coat can be applied. Make sure to add more water to the plaster mixture so that the consistency is more like the first coat.
Strive for a 2 mm thin coat of plaster at most. Then, wait a short while for the plaster to dry.
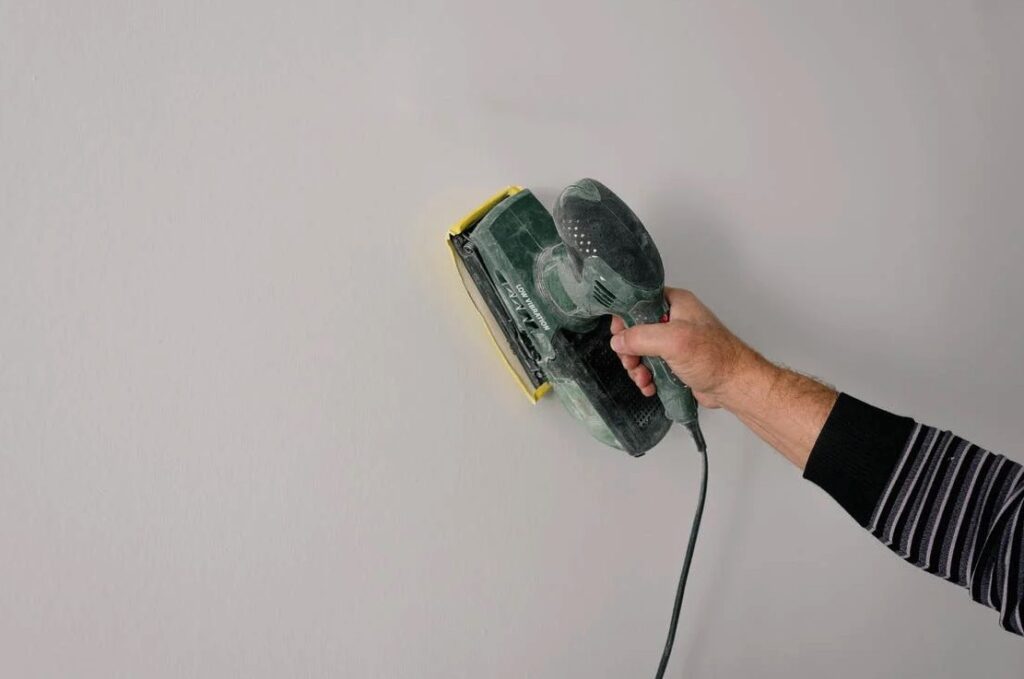
And for the final touches, before painting or wallpapering, make sure any lumps in the plaster have been smoothed out while it is still slightly wet; if necessary, you can always use sandpaper to remove excess plaster and smooth the surface after it has hardened.
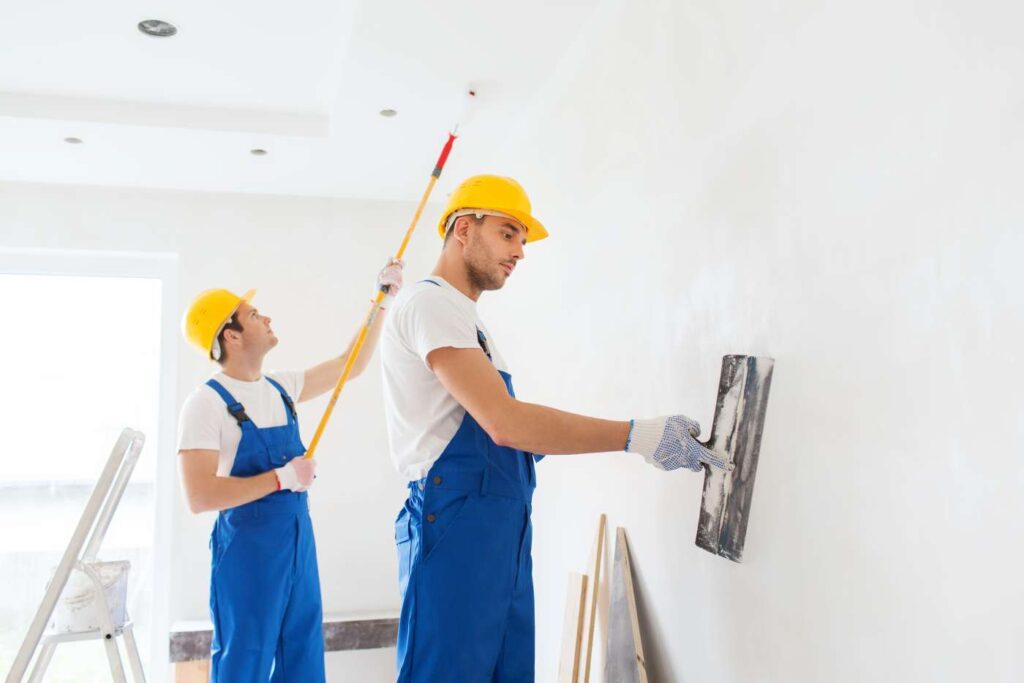
Leave plastering to the professionals
Plastering is best left to the experts for a number of reasons. Professional plasterers, first and foremost, have the know-how and abilities to get the task done properly from the start. They have worked with many different kinds of plaster over the years, so they can recommend one that will suit your needs the best.
When hiring a professional plasterer, you can rest assured that they will use only the highest quality materials and equipment. They are experts in the field and can advise you on the best course of action based on your needs, timeline, and budget.
Professional plasterers also come with the added benefits of being licenced and insured. This means that they are held accountable for their actions in the workplace and must observe all applicable safety regulations.
If there are any issues with the plastering job, it is the professional's responsibility to fix them, not yours.
In conclusion, hiring experienced plasterers can help you save both time and money in the end. DIY plastering may seem like a good way to save money in the short term, but shoddy work or blunders could end up costing you more in the long run. If you hire a professional plasterer, they will finish the job correctly the first time, saving you both time and money.
Conclusion
Plastering is a crucial step in making a smooth and attractive wall finish. Accurate measurements, a steady hand, and the proper tools are needed. It can be challenging for novices, but it is doable with the right equipment, know-how, and guidance.
For a number of reasons, including the chance to save money and the flexibility to choose one's own materials, tools, and pace of labour, some homeowners opt to do the job themselves rather than hire a professional plasterer. Plastering is a difficult job that calls for experience and skill if you plan on doing it yourself.
Be willing to put in the time and effort required to learn the proper techniques and processes, and do your homework before beginning the project. The first step in preparation is to clear the area of any debris and thoroughly clean and dry it.
A plaster, a bucket for mixing, trowels, and sandpaper are among the tools that will be needed. Plastering is not a simple DIY project, but with the right preparation, tools, and materials, it is doable. Always use safety gear like goggles, a dust mask, and gloves, and give yourself plenty of time to complete the task at hand.
Do not set your sights too high, as not even the most skilled professionals can ensure a perfect result. Drop cloths or plastic sheets should be used to cover the floor before anything else is done.
Cleaning and repainting or plastering the walls is a must. Plasterboard installation, skim coating, room re-skim coating, and dry lining are just some of the plastering jobs that can be done by a handy homeowner.
The success of a plastering project depends on the plasterer's ability to apply and spread the plaster evenly and to achieve a smooth, even finish.
The plaster will harden after some time has passed.
Important steps include waiting 20 minutes after the first coat to apply a second, rounding off sharp corners, scraping or scratching the wall prior to painting, and painting with more water on the second coat.
The final step before painting or wallpapering is to smooth out any bumps in the plaster. Hiring a professional plasterer can be cost-effective and time-efficient because of their expertise.
They are fully licenced and insured, and they will only use the finest materials and tools. If there are any problems, it is the expert's duty to resolve them, not yours.
Content Summary
- Plastering is an essential process for creating a uniform and aesthetically pleasing wall surface.
- While it is possible for a competent do-it-yourselfer to get good results, there are many things to think about first.
- We'll discuss the benefits and drawbacks of doing your own plastering, the materials you'll need, and how to get the job done right in this blog post.
- Plastering can be difficult, but with the correct tools, skills, and instruction, it is feasible to do it yourself.
- Although doing the plastering yourself can save money on labour charges, a first-time plaster job may not have a professional look.
- Some homeowners opt to do the job themselves instead of calling in a professional plasterer for a variety of reasons.
- Instead of paying a professional plasterer, you could save money by doing the job yourself.
- However, it is vital to realise that DIY plastering can be a tough task, and it demands a certain level of ability and experience.
- It is vital to carefully research and prepare for the project, and be ready to devote time and effort into learning the correct techniques and processes for creating a perfect plaster finish.
- There are a few things to keep in mind if you want your do-it-yourself plastering project to turn out well.
- Here are a few things to remember: Skills Plastering can be challenging, especially for beginners.
- Think about your skill set and whether or not you'd like to tackle a project of this scale on your own.
- Plastering requires careful planning to ensure a smooth finish.
- Don't start your project until you've gathered all the necessary materials.
- If you want the plaster to dry and cure properly, you'll need to give yourself plenty of time to finish the work.
- DIY plastering isn't easy, but it's possible with the correct planning, equipment, and materials.
- It's crucial to get the workspace ready before beginning any project.
- The next step is to obtain the required equipment and supplies.
- Use of the appropriate plaster, whether it be a basecoat or finishing plaster, is crucial.
- Do-it-yourself plastering may be a rewarding experience if you take the time to plan and execute it well.
- DIY-ers can successfully complete a variety of plastering tasks.
- Plastering a new wall is a lot simpler for the do-it-yourselfer because the preparatory work is unnecessary.
- The first step is to cut the plasterboard to size; if you're installing it on a stud wall, aim for the middle of the noggin or joist.
- Step 2 With a pencil and a straight edge, draw a cutting line on the plasterboard's ivory side.
- Step 4 It's considerably simpler to use two individuals to fasten the plasterboard to the frame.
- The plasterboard will need to be notched so that it can fit around the skirting board.
- Plastering the undercoat onto the wall Plastering the wall now entails loading up your hawk with two full trowels at a time with the prepared plaster.
- Let the plaster dry somewhat after applying the initial coat, which should take about 20 minutes.
- All the edges, including the bottom and top of the wall, need to be rounded off as well.
- Brush the edges with water to make them uniform.
- Plastering the wall with the second coat Once the initial layer of plaster has been devilled or scratched, a second and final coat can be applied.
- Strive for a 2 mm thin coat of plaster at most.
- Then, wait a short while for the plaster to dry.
- Plastering is best left to the experts for a number of reasons.
- When hiring a professional plasterer, you can rest assured that they will use only the highest quality materials and equipment.
- In conclusion, hiring experienced plasterers can help you save both time and money in the end.
- If you hire a professional plasterer, they will finish the job correctly the first time, saving you both time and money.
Frequently Asked Questions About Plastering
Exterior walls are best plastered with cement plaster due to its resistance to moisture, which helps to shield the wall from the effects of climate change and pollution. In addition, cement plaster's durability makes it a great option for both exterior and interior applications.
In order to achieve a professional-looking sheen, you'll need to apply at least two coats. After the second coat has dried, check for obvious grooves and indents; if there are any, trowel on a third.
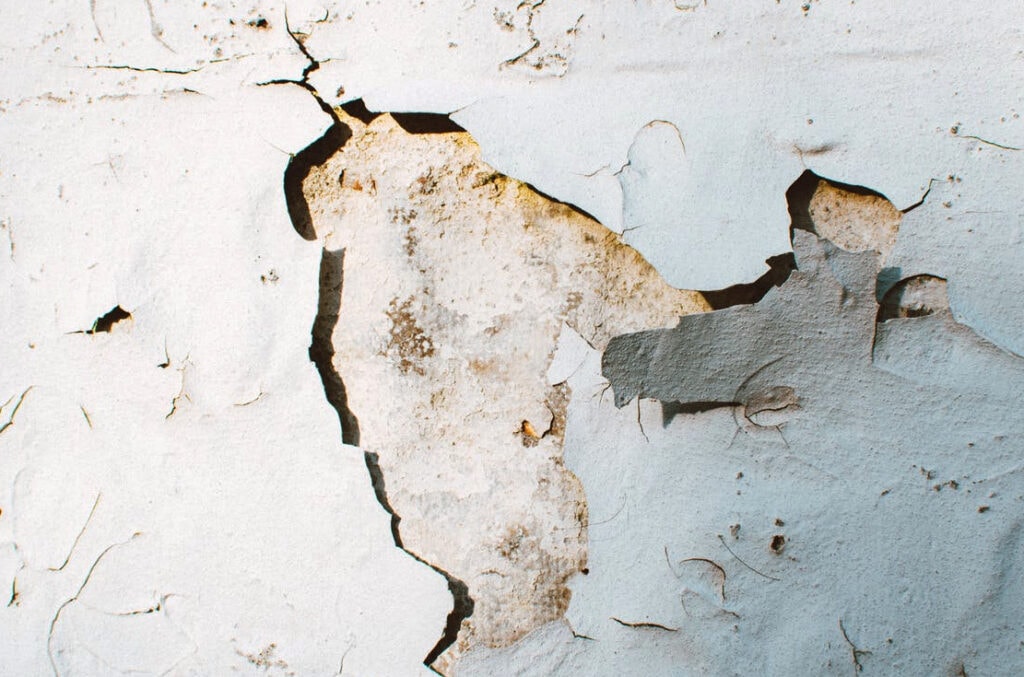
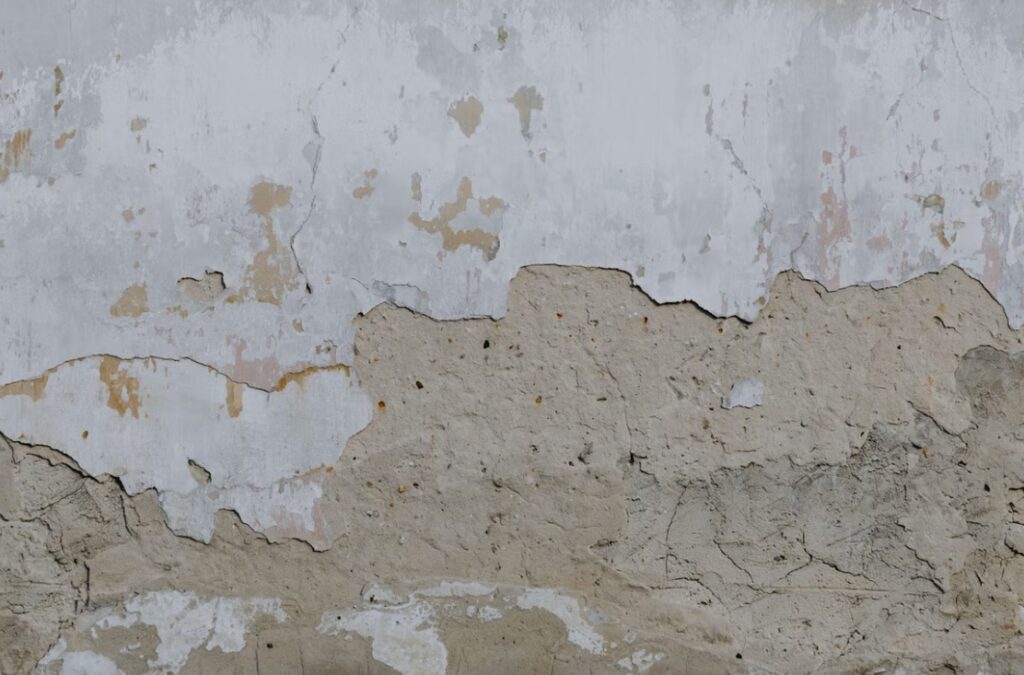
Plastering work often has issues like blistering, cracking, efflorescence, flaking, peeling, popping, softness, and uneven surfaces. As soon as these plastering flaws are spotted, they must be fixed.
Ventilation, temperature, and humidity levels must all be taken into account to guarantee productive work environments. Plaster should be applied in temperatures between 60 and 70 degrees Fahrenheit (at least 55 degrees Fahrenheit) and relative humidities that correspond to normal drying conditions.
Preventative measures include selecting appropriate materials and following standard construction procedures, as well as proper preparation and cleaning of the wall surface. Plasterwork is less likely to delaminate when the wall surface is clean and properly prepared for the application of the plaster.