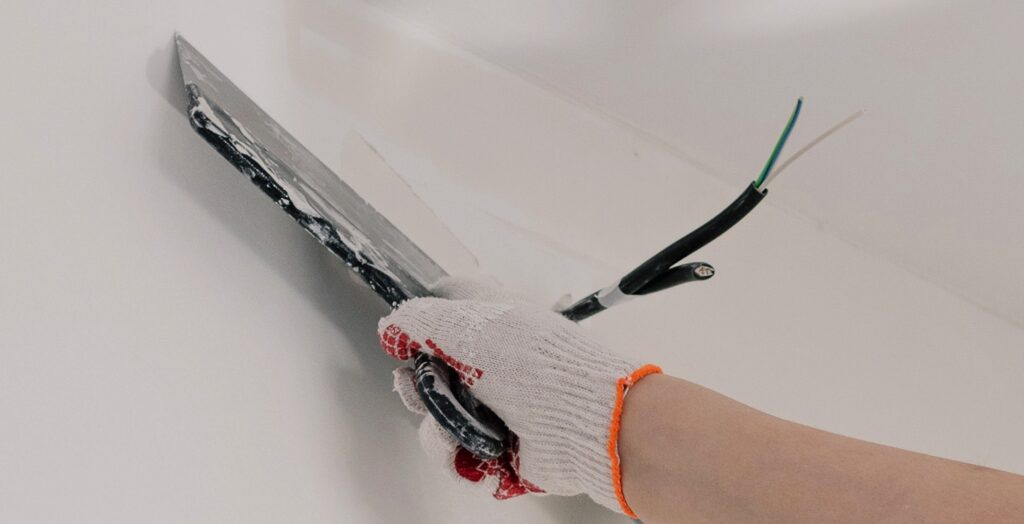
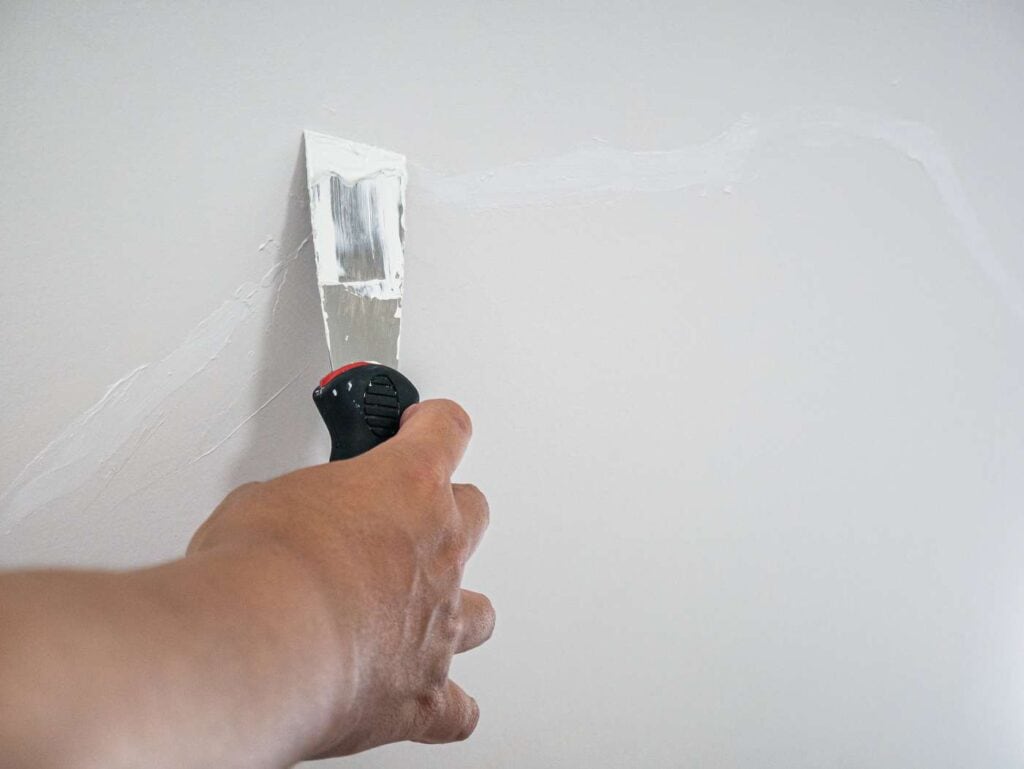
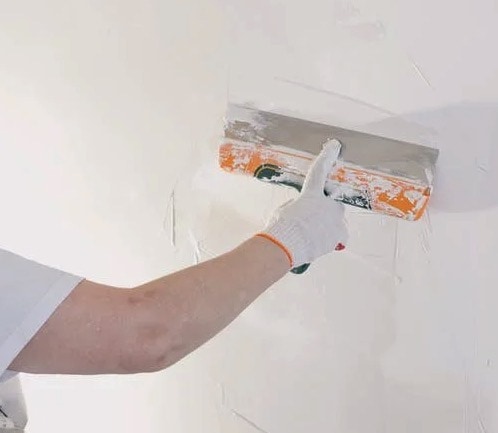
Plastering, whether for DIYers or professionals, requires attention to detail and the right techniques to achieve a smooth and professional finish. One important tip is to properly prepare the surface before applying plaster. This includes cleaning the surface to remove any dirt or debris, filling in any cracks or holes, and applying a suitable primer to improve adhesion. Proper surface preparation is crucial for ensuring that the plaster adheres correctly and creates a smooth finish.
Another important tip for plastering is to mix the plaster according to the manufacturer's instructions. Proper mixing is essential for achieving the right consistency, which will make the plaster easier to apply and result in a smoother finish. It's also important to work quickly when applying plaster, as it can dry rapidly, especially in warm or dry conditions. Working in small sections and using a plastering trowel to spread the plaster evenly can help to achieve a professional-looking finish.
For DIYers and professionals alike, it's important to practice good clean-up habits when plastering. This includes cleaning tools and equipment promptly after use to prevent the plaster from hardening and becoming difficult to remove. Additionally, removing any excess plaster from the surface before it dries can help to achieve a smoother finish. Following these plastering tips can help DIYers and professionals alike achieve a professional-looking finish and ensure the success of their plastering projects.
What Is A Plasterer?
The speciality of a plasterer is the application of plaster to interior construction surfaces, including walls and ceilings. To create a perfectly flat surface, plasterers expertly smooth, level, and shape the material. Textured or ornate components may be added depending on the design. For plastering work to be of excellent quality, the worker must pay close attention to detail, be precise, and have a complete knowledge of plastering processes.
A plasterer's repertoire may include both new plaster applications and restoration and repair jobs. Examining and fixing problems like holes, water damage, or decay in already plastered surfaces is part of this process. Plasterers work alongside construction crews, architects, and homeowners in commercial, residential, and historic buildings.
Advice On Plastering For Do-It-Yourselfers And Professionals
Start With A Clean Surface.
Preparing the surface, you will be plastering is the first step in the process. Scrubbing the surface and removing any traces of previous paint, plaster, or other contaminants is essential. If you want the fresh plaster to stick well and provide you with a smooth surface to work on, you need to clean the area beforehand.
Get The Correct Equipment.
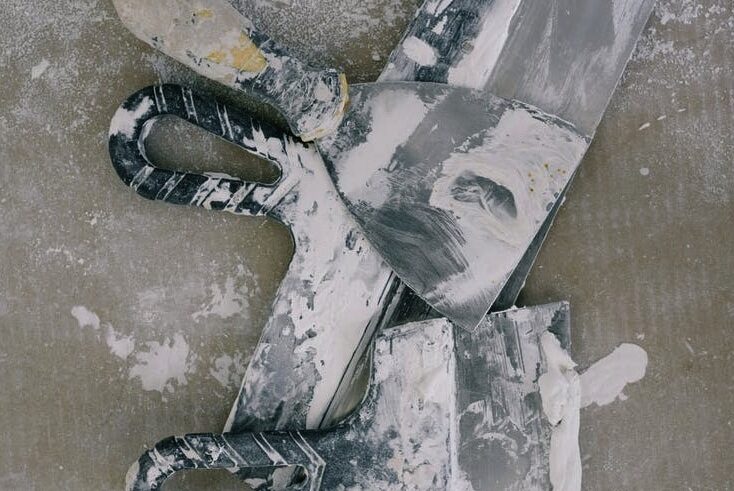
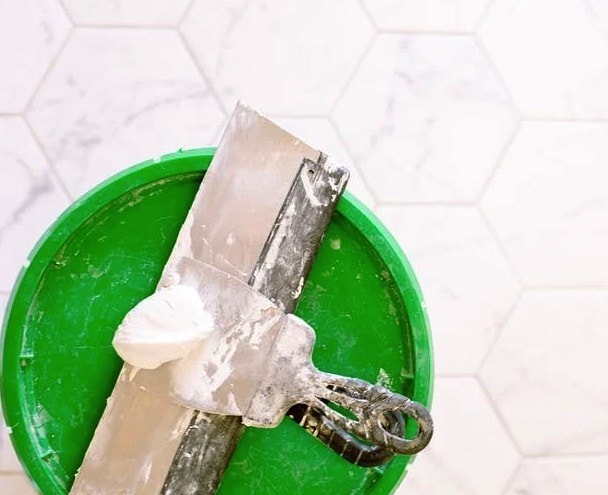
To do tasks to a professional standard, it is crucial to have appropriate equipment. A straight edge, spirit level, trowel, and hawk are the tools needed for plastering. You can get a clean finish and even application of the plaster with the help of these instruments.
Stir The Plaster Well.
If you want your plaster to look uniform and smooth, you need to mix it well. To avoid lumps, mix the plaster according to the manufacturer's directions and stir it well. A drill-mounted mixer helps simplify this process.
Layer The Plaster Thinly.
Plastering in thin layers is the secret to a flawless finish. It is easier to get a flawless finish with thinner layers because they dry faster. Also, it's not as difficult to apply as heavy layers.
Apply A Thin Layer Of Plaster Using A Damp Sponge.
After applying plaster, a damp sponge is great for smoothing it out. After dampening the sponge, squeeze off any extra water and use it to buff the plaster delicately. Doing so will aid in eliminating air bubbles and producing a flawless final product.
Verify Levelness With A Straight Edge.
If you want to make sure the plaster is level, you'll need a straight edge. You can see if the plaster is flat or not by running the straight edge over it. When you come across any, use your trowel to level them out.
The Plaster Must Be Left To Dry Entirely.
Do not add any further coats of plaster or paint until the first one has dried entirely. This can take a few hours or a few days, depending on how thick the plaster is and how humid it is.
Make Sure The Plaster Is Smooth By Sanding It.
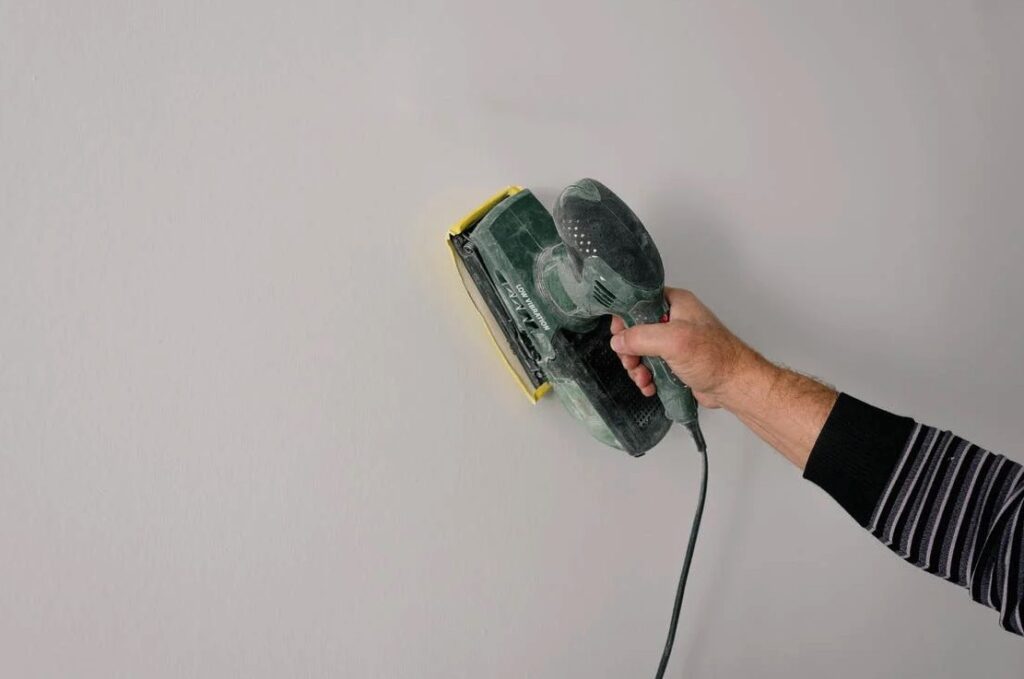
Sand plaster for a smooth finish. For the plaster, you can either use a power sander or fine-grit sandpaper to smooth it out. If you want to keep your eyes and face safe from the dust, you need to wear protective gear.
Smooth It Out Using A Paint Roller.
Paint rollers are great for smooth finishes. Use a delicate touch and overlap your strokes as you roll the paint onto the plaster. Doing so will aid in smoothing down any brush strokes and achieving a uniform appearance.
For The Finer Points, Use A Paintbrush.
To reach inaccessible locations and fine details, a paintbrush is a must-have tool. Carefully paint the borders, corners, and other details using a tiny paintbrush. This way, you can be confident that you won't miss any spots and that the finish is smooth.
Remove The Excess Material From The Corners.
Cutting in the edges is the first step in painting. This requires using a paintbrush to coat the wall's edges before applying the paint roller coat. In doing so, you can avoid messy drips and splatters and have a smooth, uniform finish.
Use A Paint Sprayer.
When painting a wide surface, a paint sprayer can help you get a uniform coat. Just add paint to the sprayer, tweak the controls as necessary, and then spray the wall. You can save a tonne of time and yet get a professional look by doing this.
How Exactly Does A Plasterer Work?
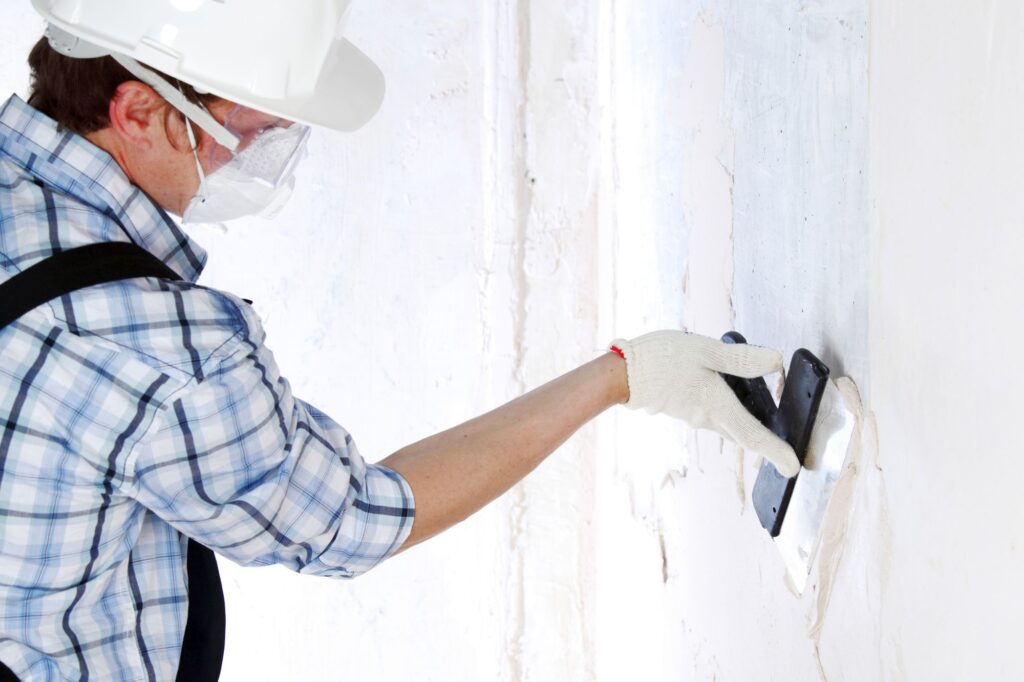
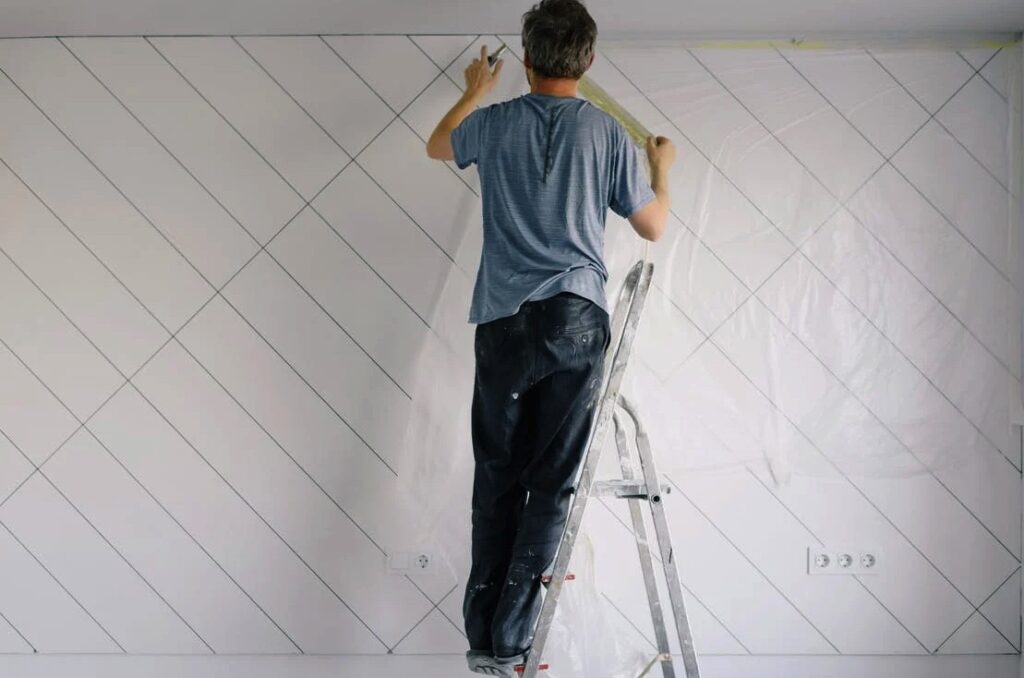
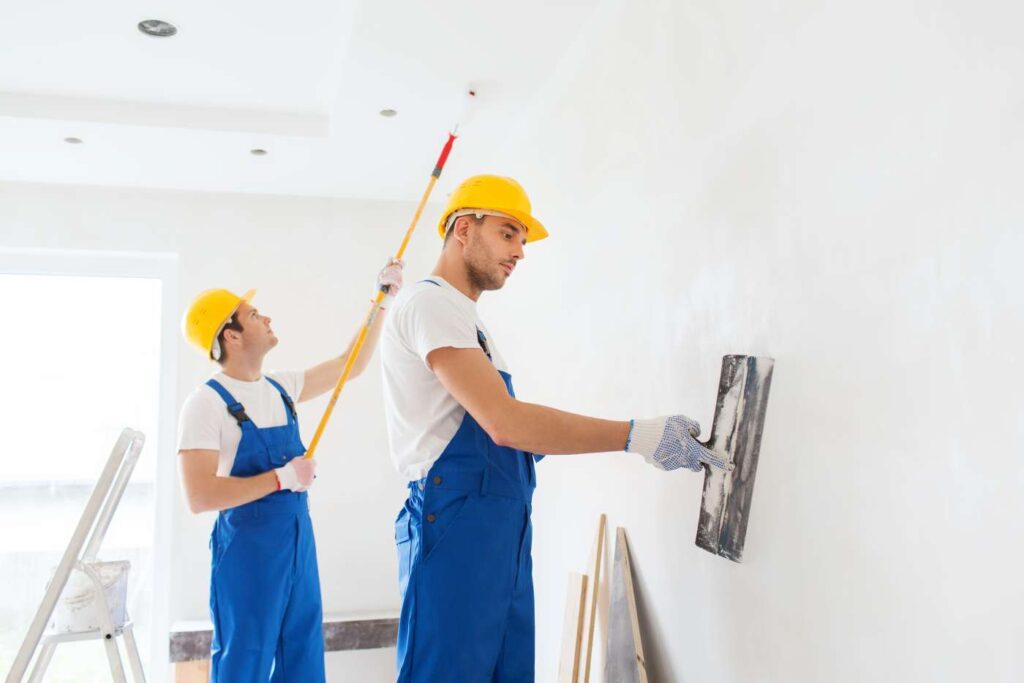
A plasterer working on a wall, putting a layer of plaster.
Walls and ceilings, among other surfaces, can be protected with a coat of plaster. As a result, the underlying structure is better protected from things like water, the weather, and everyday wear and tear. The use of plaster reduces the likelihood of mould and mildew formation and protects building components from water damage.
Responsibilities And Duties
Plasterers perform many jobs, some of which are project-specific. The position often entails the following duties:
Surface Preparation
Preparing surfaces to be plastered is the responsibility of the plasterers. Cleaning the area, raking out any loose dirt, and making sure the surface is flawless are all part of this process. To make the surface and plaster adhere better, they could also use bonding chemicals or primers.
Mixing Plaster
The plasterer will tailor the plaster mixture to the needs of the job. To get the plaster to the right consistency and workability, they measure out the powder and mix it with water or other ingredients. The plaster's ability to cure and adhere correctly depends on the accuracy of the mixture.
Application Of Plaster
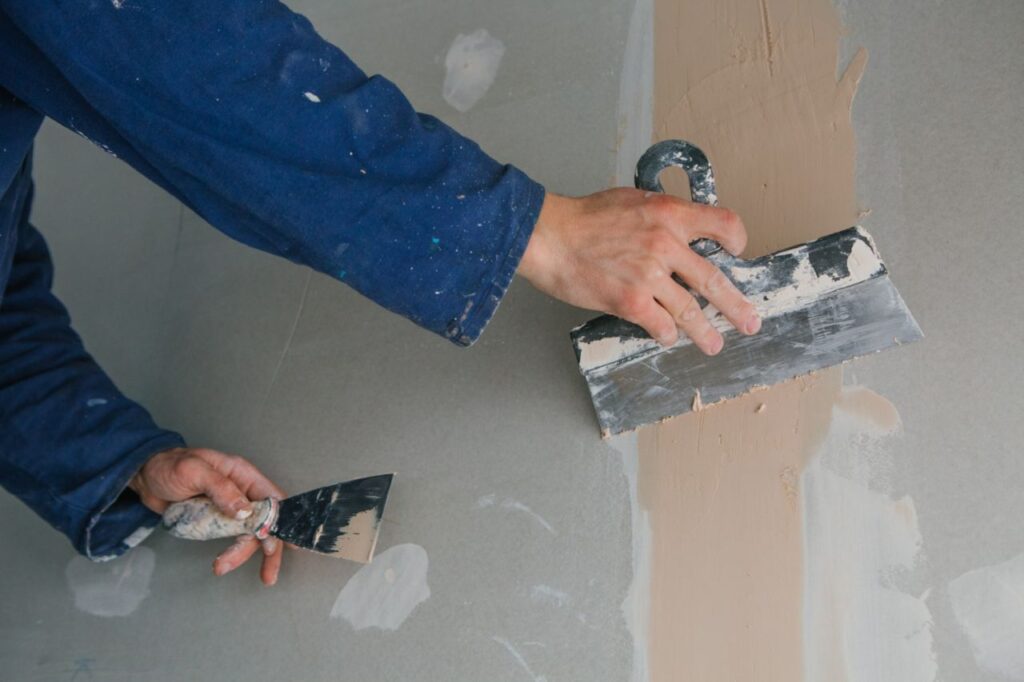
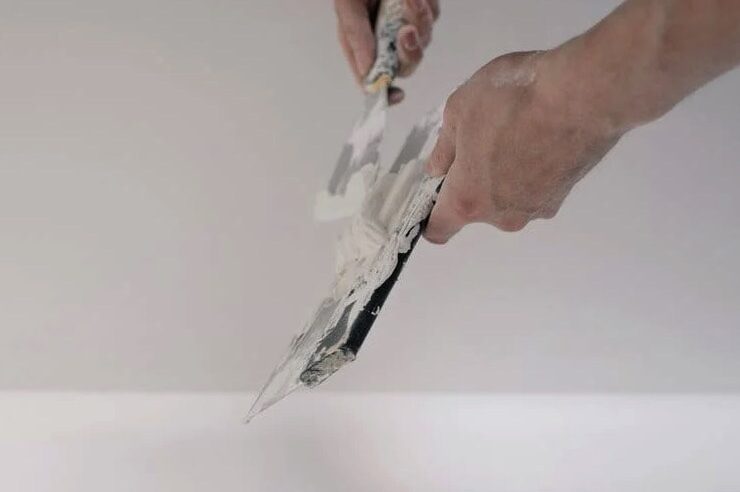
There are a variety of methods employed by plasterers when applying plaster to surfaces that have been prepped. To make sure the plaster is evenly distributed, they can utilise tools like trowels, brushes, or sprayers. A smooth and level surface is achieved when the plasterer works in layers, progressively increasing the plaster thickness. A smooth and consistent surface is the result of their meticulous attention to detail, which includes corners, edges, and connections.
Finishing And Texturing
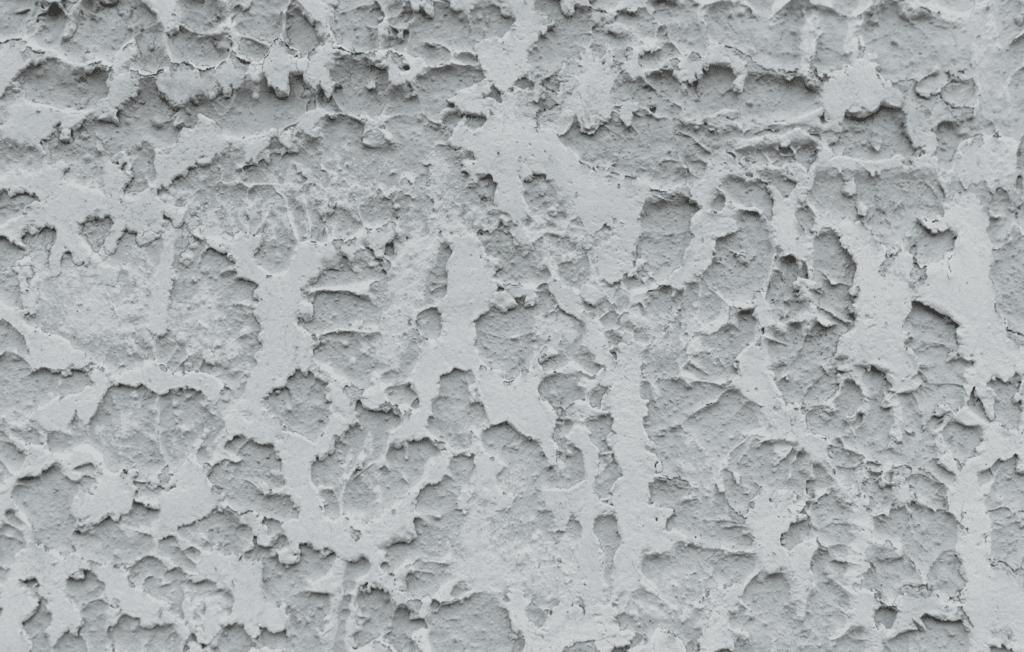
Various finishing techniques or textures can be applied to plastered surfaces by plasterers, depending on the desired outcome. Methods such as ornamental moulding application, trowel texturing, and sponge finishing fall under this category. Plasterers can create many textures and patterns to meet project aesthetics.
Repair And Restoration
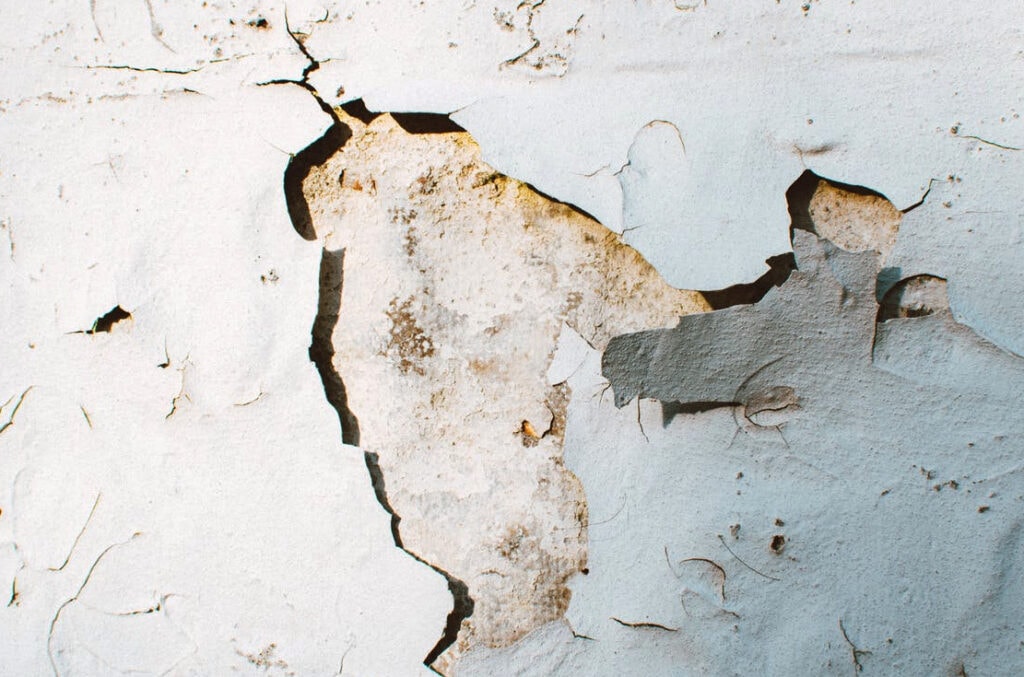
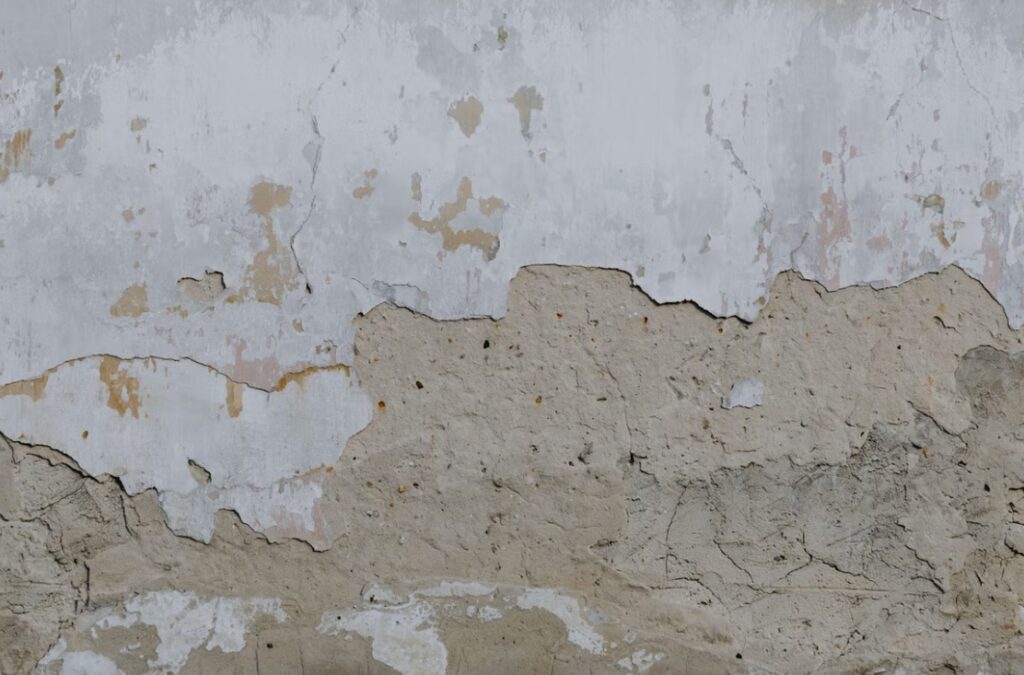
Repairing and restoring previously plastered surfaces is another possible task for plasterers. Finding and fixing problems like holes, cracks, or water damage is part of this. Their work is meticulous; they remove broken plaster, fix it where it needs fixing, and then blend it in with the surrounding sections by matching textures and finishes.
Cleanup And Maintenance
It is the plasterer's responsibility to clean up the work area and appropriately dispose of waste materials after finishing the plastering job. To make plastered surfaces last as long as possible, they may also offer advice on how to keep them clean and free of debris.
Types Of Plasterers
The plastering trade is multi-faceted, with many sorts of plasterers focusing on particular areas of expertise. Some examples of plasterers are:
Solid Plasterer
Using materials such as gypsum plaster or cement render, solid plasterers concentrate on conventional plastering techniques. Walls, ceilings, and partitions can be given a flawless appearance by having plaster applied directly to them. Some solid plasterers also have a talent for decorative plastering, which includes making elaborate mouldings and decorations.
Drywall Finisher
Finish carpenters, drywall tapers, and drywall finishers are experts in transforming gypsum board (drywall) into smooth and imperceptible surfaces. The drywall seams and any indentations caused by nails or screws are filled up with joint compounds, often called mud. For a perfect finish that is suitable for painting or other wall treatments, drywall finishers meticulously sand and feather the compound.
Ornamental Plasterer
Decorative plasterwork, typically found in older or more expensive structures, is the speciality of ornamental plasterers. Ornate plaster mouldings, cornices, ceiling roses, and other detailed architectural elements are their forte. Using time-honoured methods and meticulous artistry, ornamental plasterers frequently work with gypsum-based products or lime plaster.
Venetian Plasterer
The ornamental finish that provides walls and ceilings with a polished and marble-like look is applied by Venetian plasterers. Venetian plaster is known for its distinctive textures, patterns, and colour variations, all of which they are experts at recreating. The plasterers of Venice typically use acrylic or lime-based plasters, apply several coats, and then burnish the surface to make it shiny and smooth.
Frequently Asked Questions About Plasterer
Allow each coat to dry completely before applying the next one. The drying time varies depending on the type of plaster and environmental conditions.
Use fine-grit sandpaper to smooth out rough spots or uneven surfaces. For larger cracks, apply a thin layer of joint compound or plaster patching compound, then sand and repaint as needed.
Wear protective gear such as goggles, gloves, and a dust mask to prevent exposure to plaster dust. Ensure good ventilation in the working area.
Rinse tools with warm water immediately after use to prevent plaster from hardening. Use a brush or sponge to remove any dried plaster, then let the tools air dry completely.
Wait for the plaster to cure fully before painting, usually around 2-4 weeks, depending on environmental conditions. Use a primer to seal the surface before applying paint for best results.
Who Should Plaster Your Walls?
You could be tempted to save money and do it yourself since there are so many how-to guides on the internet for plastering walls. But if you want the job done right, you should get a pro.
Hopefully, the list of advantages of hiring experts to plaster your walls will help you make a decision.
Expertise
Plastering a wall is different from erecting a Singaporean partition. A hammer, nails, and plywood wall installation is far from this level of complexity. Plastering a wall properly requires knowledge of both the amount of materials needed and the proper way to apply the material.
Only a trained expert should be hired to plaster walls. Therefore, get an expert from a respectable firm.
It's A Messy Job
You should clean the space well before you start wall plastering in Singapore because the process can be quite dirty. You risk ruining your pricey carpets and couches if you aren't careful. On top of that, breathing in all the dust and grime from the job can be harmful to your lungs. This kind of dirty work is nothing new for experts. To prevent any harm, they will initially ensure that the room is secure. They also have specialised masks that shield them from any potential lung problems.
It's Dangerous
As a beginner, you should be aware that wall plastering entails climbing up walls and lifting large objects, both of which can be quite risky. Skilled workers know how to balance their heads and have the specific tools needed to accomplish risky work without incident. To top it all off, they have insurance, so you won't have to worry about a thing happening to you.
Save Your Money
Saving money is the main incentive for a do-it-yourself wall plastering project. The majority of do-it-yourself wall plastering tasks wind up costing more than hiring a professional. Due to your incompetence and ignorance, you will ruin the entire wall plastering. You will need to employ a professional to remove the damaged plaster and begin the project from the beginning.
Job's Done Quickly
It will take you a minimum of two days to plaster one wall if you decide to do it yourself. But specialists are people with training and experience; they'll get the work done half the time. Additionally, expert wall plastering services have a crew of experts and the necessary tools to finish the task quickly. So, get the help of experts if you value your time and effort. Their speed and expertise will guarantee that your walls will be plastered to perfection.
Conclusion
Plastering is an important part of building and remodelling projects that needs close attention to detail and a deep understanding of how plastering works. Plasterers cover walls and ceilings and other indoor building surfaces with plaster to make them completely flat. They also need to be accurate and know everything there is to know about how to plaster.
To get a perfect finish, plasterers should start with a clean surface, use the right tools, mix the plaster well, spread it out thinly, smooth it with a damp sponge, and use a straight edge to make sure it's level. Before adding more coats, let the plaster dry completely. Sand it to make sure it's smooth, then use a paint roller for smooth ends and a paintbrush for small details.
Wall and ceiling plasterers protect the structure below from water, weather, and normal wear and tear. They do many things, some of which are specific to the job. For example, surface preparation involves cleaning the area, raking out loose dirt, and making sure the surface is perfect. To make the surface and clay stick better together, you can also use primers or chemicals that bond.
Plastering is a complicated process that needs careful attention to detail, the right tools, and the right way to do it. Plasterers make sure that business, residential, and historic buildings have a smooth, professional finish by working with construction crews, architects, and homeowners.
Putting up plaster is a complicated process with many steps, such as making plaster, putting up plaster, finishing and restoring surfaces, and cleaning and maintaining. Plasterers use trowels, brushes, and sprayers, among other tools, to make sure that the plaster is spread out evenly. They also work in layers to get a smooth, level surface. They can also use different finishing methods, like ornamental moulding, trowel texturing, and sponge finishing, to make the job look good.
Repairing and restoring things is another thing that plasterers do. They look for problems like holes, cracks, or water damage and fix them. After the job is done, they clean up the area where they worked and take away any trash. They may also give tips on how to keep surfaces clean and free of dirt.
Strong plasterers, drywall finishers, decorative plasterers, and Venetian plasterers are some of the different types of plasterers. Solid plasterers use traditional methods of plastering, while drywall finishes make smooth surfaces out of gypsum board. Ornamental plasterers do beautiful plasterwork, and Venetian plasterers make finishes that look like marble and are polished.
When picking a plasterer, you should think about skill, mess, risk, saving money, and getting the job done quickly. Experts can handle dangerous tasks, save time, and make sure the job is done right because they have the right skills, tools, and insurance. Most of the time, doing your own wall plastering costs more than getting a professional, so it's best to hire someone.
Content Summary
- Plastering is a crucial step in construction and remodelling that requires precision and skill.
- Both DIY enthusiasts and professionals can achieve perfect finishes by following specific tips and techniques.
- A plasterer applies plaster to interior surfaces to create a smooth, flat finish.
- The role of a plasterer includes new applications, as well as restoration and repair of existing plaster.
- Proper surface preparation, including cleaning and priming, is essential for a good plastering result.
- Having the right tools, like a trowel, hawk, straight edge, and spirit level, is crucial for professional-quality work.
- Thoroughly mixing the plaster to avoid lumps ensures a uniform and smooth application.
- Applying plaster in thin layers facilitates faster drying and easier application.
- Using a damp sponge can help smooth out the plaster and eliminate air bubbles.
- Checking for levelness with a straight edge ensures an even and flat surface.
- Allowing the plaster to dry completely before applying further coats or paint is necessary.
- Sanding the plaster after it dries creates a smooth finish, ready for painting.
- Employing a paint roller can help achieve a smooth paint finish on plastered surfaces.
- A paintbrush is useful for painting fine details and hard-to-reach areas.
- Removing excess material and cutting in the edges provides a neat and tidy finish.
- Using a paint sprayer can save time and achieve a uniform coat when painting large areas.
- A plasterer's work protects surfaces from water, weather, and wear and tear.
- Plastering can prevent mold and mildew and enhances the durability of building components.
- Surface preparation, mixing, application, finishing, and cleanup are key duties of a plasterer.
- The plastering process involves applying plaster in layers to achieve a smooth and even surface.
- Different types of plasterers specialize in specific areas, like ornamental or Venetian plastering.
- Solid plasterers focus on traditional plastering methods using materials like gypsum plaster.
- Drywall finishers work to create smooth surfaces on drywall by filling seams and sanding.
- Ornamental plasterers create decorative plasterwork, such as moldings and ceiling roses.
- Venetian plasterers apply decorative finishes that mimic polished marble.
- For best results, hiring a professional plasterer is recommended over DIY efforts.
- Professionals have the expertise and proper tools to apply plaster correctly.
- Plastering can be a messy job, and professionals take measures to minimize mess and protect property.
- The physical demands and risks of plastering make it safer to entrust to experienced professionals.
- Professional plasterers can complete the job more efficiently and with better quality than amateurs.
- DIY plastering attempts often result in higher costs due to mistakes and the need for corrections.
- Professionals can plaster walls quickly, saving time and ensuring a high-quality finish.
- The complexity of plastering requires knowledge of material quantities and application techniques.
- Ensuring a clean workspace is crucial for a successful plastering job to prevent damage.
- Professionals use specialized masks and safety measures to avoid health risks from dust.
- The insurance carried by professional plasterers protects against accidents and damages.
- The cost of DIY plastering often exceeds hiring a professional due to errors and waste.
- Professional plasterers have the experience to handle unexpected issues during the plastering process.
- The aesthetic appeal of well-plastered walls can enhance the overall look of a space.
- Professional plastering contributes to the structural integrity and longevity of walls and ceilings.
- Hiring a professional ensures adherence to building codes and standards.
- A smooth plaster finish provides an ideal base for painting or wallpapering.
- Professional plasterers can advise on the best materials and techniques for specific projects.
- The skill level of a professional plasterer can make a significant difference in the outcome.
- DIY plastering lacks the precision and finish that a professional can provide.
- Correct plastering techniques prevent future issues like cracking and peeling.
- Professionals can efficiently manage plastering projects of any size, from small repairs to large renovations.
- The expertise of a professional plasterer can enhance the value of a property.
- Professional plastering services offer warranties and guarantees for their work.
- Choosing a professional plasterer ensures a durable, high-quality finish that lasts for years.
