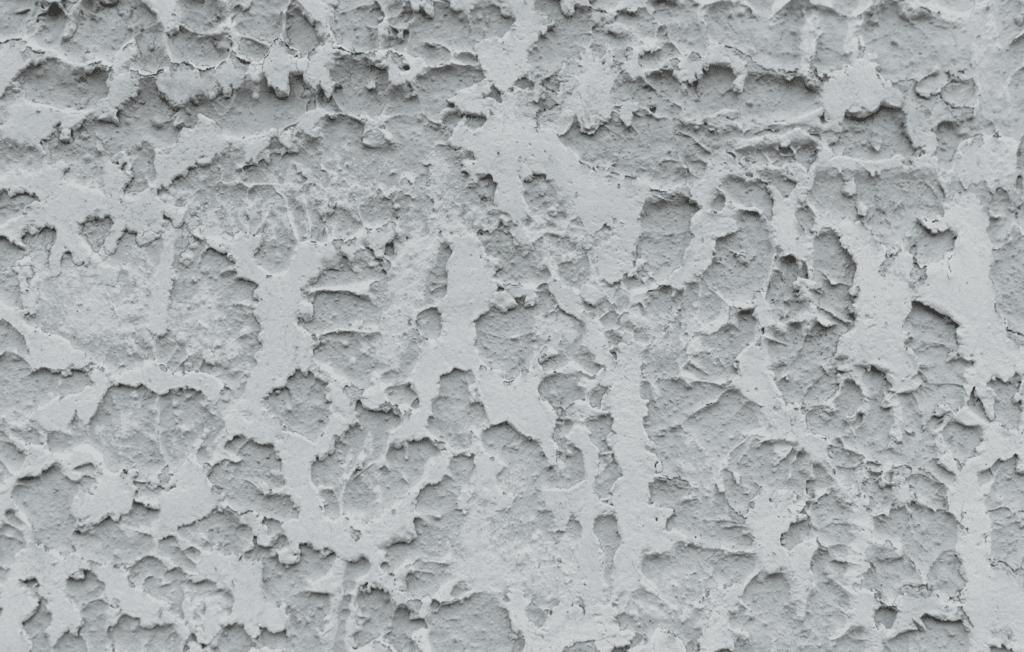
Plastering plays a vital role in the construction process, providing a smooth and attractive finish to walls and ceilings. However, despite careful execution, plastering defects can occur, which may affect the building’s aesthetics and overall quality.
Whether you’re a professional plasterer or a homeowner embarking on a DIY project, understanding the most common types of plaster defects can help you prevent and address them effectively. In this guide, we’ll discuss the causes of these defects, how to avoid them, and the best practices to ensure a flawless plastering result.
Let’s Get Straight To The Point
Plastering is an essential process in construction, but common defects like blistering in plaster, cracking plaster surfaces, and efflorescence on plaster can affect the quality and appearance of the finish. Key causes of these defects include poor surface preparation, incorrect plaster mix, improper curing, and moisture issues.
To avoid these problems, ensure proper surface cleaning, correct plaster mixing, and adequate curing. Following best practices for application, thickness, and finishing can help prevent defects and achieve a smooth, durable plaster finish. For optimal results, hiring an experienced plasterer is highly recommended.
Common Types of Plaster Defects
Plastering defects can arise for several reasons, including improper application, poor-quality materials, or inadequate curing. Understanding these types of plaster defects will help in preventing common problems. Here are the most frequently encountered plaster defects and their causes:
Blistering in Plaster
Blistering in plaster occurs when air or moisture is trapped under the plaster, leading to raised bubbles on the surface. This defect often happens when plaster is applied over a dirty surface or when the substrate is not adequately dry. To avoid blistering, ensure the surface is thoroughly cleaned and dry before applying plaster. Additionally, applying plaster in thin, even layers can help prevent the accumulation of moisture and air.
Cracking Plaster Surfaces
Cracking plaster surfaces are one of the most common defects encountered. Cracks can appear due to shrinkage as the plaster dries, poor curing, or structural movement. The wrong plaster mix, insufficient thickness, or failure to incorporate expansion joints can also contribute to cracking. To avoid cracking, ensure proper curing, use the right plaster mix, and consider adding expansion joints in larger areas.
Hollowing in Plaster
Hollowing in plaster, also known as delamination, occurs when the plaster loses adhesion to the underlying substrate, resulting in hollow or empty-sounding areas when tapped. This issue often arises from improper surface preparation or using poor-quality materials. To prevent hollowing, always ensure proper bonding between the plaster and the substrate. Using bonding agents or techniques like scratching or hacking the surface can improve adhesion.
Peeling Plaster
Peeling plaster refers to when the plaster begins to flake off in patches. This defect usually occurs due to moisture infiltration, poor adhesion, or incorrect curing methods. It can also be caused by plastering over a damp or dirty surface. To avoid peeling, ensure the surface is dry and clean, and always allow the plaster to cure slowly in controlled conditions.
Crazing in Plaster
Crazing in plaster is the formation of fine cracks on the surface of the plaster. It typically occurs when plaster dries too quickly, causing the outer layer to shrink at a faster rate than the inner layers. High temperatures or drafts during the curing process can exacerbate this issue. To avoid crazing, ensure that the plaster is applied in a controlled environment and that it is kept moist for a sufficient period to prevent rapid drying.
Efflorescence on Plaster
Efflorescence on plaster appears as white, powdery residue on the surface, caused by soluble salts migrating to the surface due to moisture evaporation. This defect is more common in areas with high humidity or where poor-quality cement is used. To prevent efflorescence, ensure the use of high-quality materials and proper curing methods. It’s also essential to control moisture levels during and after plaster application.
Plaster Shrinkage
Plaster shrinkage occurs when the plaster dries too quickly, leading to contraction and the formation of cracks. This often happens when the plaster mix is incorrect or when external factors such as heat or wind cause rapid drying. To minimise shrinkage, ensure the plaster is mixed correctly and applied under optimal conditions, avoiding harsh environmental factors that can speed up the drying process.
Plaster Discolouration
Plaster discolouration occurs when there are variations in the colour of the plaster surface, often caused by uneven mixing, poor-quality materials, or contaminants in the substrate. This can result in patches of lighter or darker tones on the plaster surface. To prevent discolouration, mix plaster thoroughly and apply it evenly. Additionally, ensure the substrate is free of any contaminants before plastering.
Best Practices to Prevent Plastering Defects
To achieve a high-quality, long-lasting finish and reduce the risk of plastering defects, following best practices is essential. Here are the key steps to ensure a flawless plastering result:
Surface Preparation
Proper surface preparation is the foundation of successful plastering. Clean the surface thoroughly to remove any dust, debris, or contaminants. Moisturise the surface slightly before plastering to prevent rapid drying, which can cause cracking or shrinkage. If the surface is uneven, consider using bonding agents or other reinforcement techniques to improve plaster adhesion.
Proper Mixing of Plaster
The correct plaster mix is crucial for preventing plaster mix problems, such as cracking, discolouration, or poor adhesion. Follow the recommended ratios for the materials, whether you’re using lime plaster, gypsum plaster, or cement plaster. Ensure that the mix is smooth, consistent, and free from lumps before applying it to the surface.
Application and Thickness of the Base Coat
The base coat should be applied evenly using a trowel, with a consistent thickness across the surface. For interior walls, the base coat should typically be 12-15mm thick, while external walls may require 20-25mm for optimal results. Applying the base coat in multiple thin layers rather than a single thick layer helps to ensure a smoother finish and reduces the risk of defects.
Proper Curing Techniques
Proper curing is essential to prevent defects like cracking, shrinkage, and poor adhesion. Ensure that the plaster is kept moist for at least seven days to allow it to harden properly. Rapid drying due to exposure to heat or wind can cause surface cracks or shrinkage, so avoid such conditions during the curing period.
Final Finishing and Surface Refining
After the base coat, additional coats can be applied to achieve a smooth, professional finish. Tools like floats and sponges can be used to refine the surface and ensure a consistent texture. Take care to smooth out any imperfections before the plaster fully sets, as this will improve the overall appearance.
How to Check the Quality of Plastering Work
To ensure the quality of your plastering job, inspect the finished surface carefully:
- Check for any cracks or peeling after curing to ensure the plaster has set correctly.
- Inspect for efflorescence on plaster or bubbles, which may indicate improper application techniques or materials.
- Ensure the surface is even, free from hollows, and does not show signs of blistering or crazing.
How to Hire a Reliable Plasterer
Hiring a skilled and reliable plasterer is crucial to achieving a high-quality finish. Look for a plasterer who has positive recommendations from previous clients and demonstrates clear communication about the scope of work and costs. Additionally, meeting the plasterer in person allows you to gauge their professionalism and comfort level with the project.
Conclusion
Plastering is an integral component of any building project, but defects like blistering in plaster, cracking plaster surfaces, and efflorescence on plaster can compromise its appearance and longevity. By understanding the causes of these defects, applying best practices for surface preparation, and ensuring proper curing and application, you can achieve a flawless plaster finish. Whether you’re working with lime plaster, gypsum plaster, or cement plaster, following these tips will help you avoid common plastering problems and ensure a durable, high-quality result.
Frequently Asked Questions
How Does Shrinkage Affect Plastering?
Shrinkage occurs as the plaster dries and contracts, leading to cracks or gaps in the material. It can happen due to insufficient water content in the mix, improper curing, or using low-quality materials.
Can Defects In Plastering Be Prevented?
While some defects may be inherent to the plastering process, proper preparation, application techniques, and adherence to manufacturer guidelines can help minimise the risk of defects.
How Can Cracks And Crazing Be Repaired In Plastered Surfaces?
Cracks and crazing can be repaired by filling them with suitable patching compounds or fillers, sanding the surface smooth, and applying a new coat of plaster or paint.
Is It Possible To Prevent Efflorescence On Plastered Surfaces?
Efflorescence can be prevented by using materials with low salt content, ensuring proper drainage and ventilation, and addressing any underlying moisture issues in the substrate.
What Steps Should Be Taken If Defects Are Discovered In Plastered Surfaces After Completion?
If defects are found after plastering is complete, it’s essential to identify the root cause and take appropriate corrective measures. This may involve repairing the affected areas, addressing underlying issues, or consulting a professional plasterer for guidance.
