When it comes to home renovations or building construction, the terms “plastering” and “skimming” are often used, but they are not the same. Each serves a unique purpose, and understanding the differences between them can help homeowners and property developers make informed decisions. Both involve applying plaster to walls and ceilings, but the processes, techniques, and results are distinct.
In this article, we’ll break down the key differences between plastering and skimming, providing a detailed look at their benefits, applications, and what to expect from each process.
Let’s Get Straight To The Point
Plastering involves applying a thick layer of plaster to new or damaged surfaces, providing structural strength and moisture protection. Skimming applies a thin layer to smooth existing walls, ideal for minor repairs or cosmetic renovations. Plastering is more suitable for new builds or major repairs, while skimming is quicker, more affordable, and perfect for refreshing surfaces. Choose the right method based on your wall condition and desired outcome. For best results, consider hiring professional plasterers.
What Is Plastering?
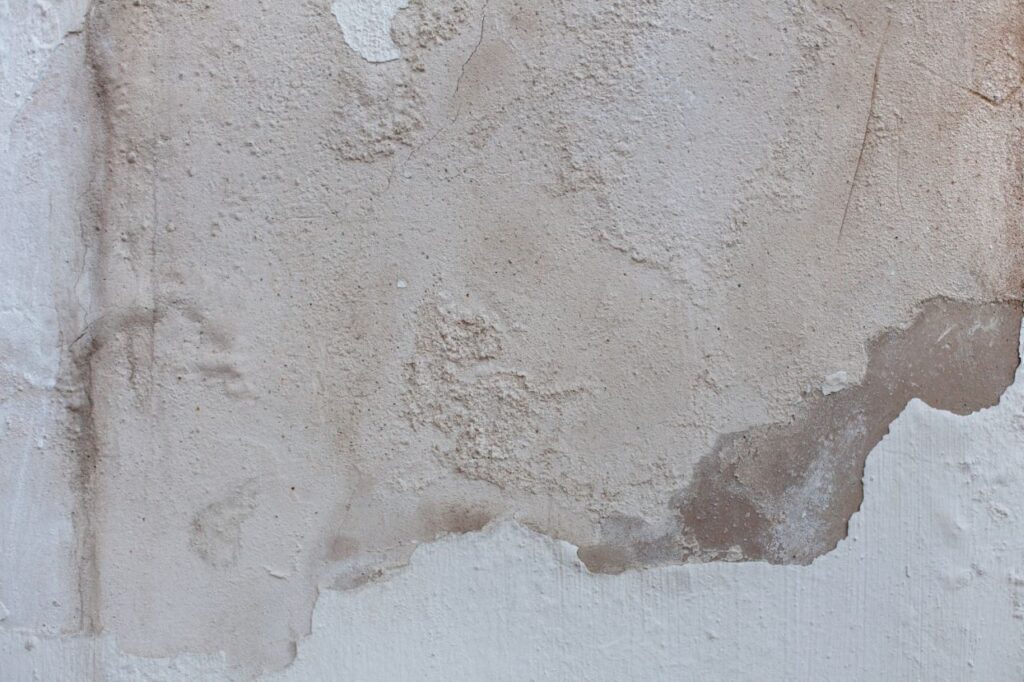
Plastering involves the application of plaster to walls, ceilings, or other surfaces to create a smooth, durable finish. It is a crucial part of construction and renovation, as it strengthens surfaces and prepares them for decoration. Whether you’re building a new home or carrying out a significant renovation, plastering is often required to ensure the wall’s structure is solid and smooth.
The plastering process typically involves the application of wet plaster, which is spread over a surface and smoothed out to create an even finish. The plaster can be applied in layers, and the specific technique used depends on the type of plaster and the surface being treated. Once the plaster is dry, it’s ready for painting or wallpapering.
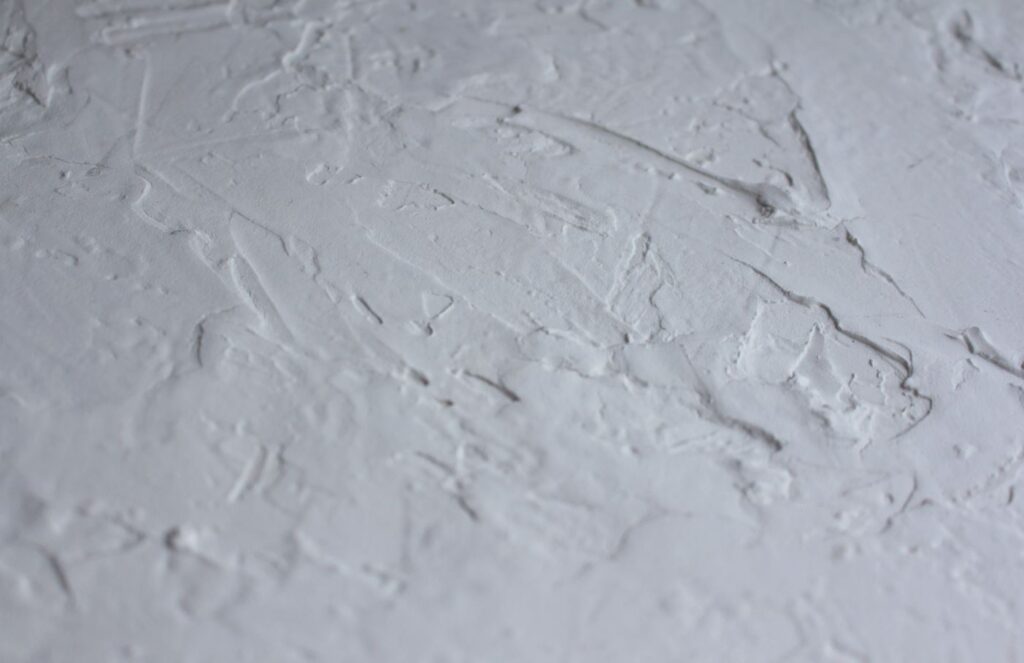
What Is Skimming?
Skimming refers to the application of a thin layer of plaster over an existing surface, typically to smooth out imperfections. It is often used on walls that are already plastered but have minor flaws like cracks or uneven areas. Skimming is a quicker and more affordable way to refresh the surface without completely replastering the wall.
The process of skimming involves applying a very thin coat of plaster, often called a skim coat, over the existing wall surface. This thin layer smooths out minor imperfections and creates a flawless finish, making it ready for painting or wallpapering. Unlike plastering, which involves building up a thicker layer to add structural strength, skimming focuses primarily on creating a perfect smooth surface.
Plastering vs Skimming: Key Differences
While plastering for repairs and skimming plaster both involve applying plaster, they differ significantly in their purposes, processes, and outcomes. Here’s a comparison of the two techniques:
- Application: Plastering for homes or new builds is typically used to create or repair walls, while skimming is done on pre-existing walls to refresh their appearance.
- Thickness: Plastering requires thicker layers of plaster, whereas skimming involves applying a thin layer to smooth out the surface.
- Purpose: Plastering builds structural strength and provides moisture protection, while skimming primarily serves to create a smooth, decorative finish.
Plastering vs Skimming: Key Differences
|
Feature |
Plastering |
Skimming |
|
Purpose |
Creates a new wall surface or repairs heavily damaged walls |
Smooths existing walls to prepare for decoration |
|
Layer Thickness |
Thick application (up to 10mm-20mm) |
Thin application (2mm-5mm) |
|
Application Surface |
New builds, exposed brickwork, or rough surfaces |
Pre-existing plastered walls with minor cracks |
|
Material Used |
Cement plaster, gypsum plastering, lime plaster |
Skimming plaster |
|
Drying Time |
Takes several days to cure fully |
Dries within 24 hours |
|
Cost |
Higher cost due to materials and labour |
More affordable and quicker to apply |
|
Suitability for Damp Areas |
Cement plaster is suitable for damp areas |
Not ideal for damp environments |
|
Longevity |
Provides long-term structural strength |
Enhances surface quality but does not add strength |
|
Common Uses |
Plastering for homes, repairs, and insulation |
Skimming for damaged surfaces, ceilings, and smooth finishes |
Choosing Between Skimming and Plastering
When deciding between plastering for insulation or skimming for ceilings, consider the condition of your walls and the desired outcome:
- Plastering is required for new walls or those that need significant repair. It’s the best choice when structural integrity and moisture protection are priorities.
- Skimming is ideal for minor repairs or refreshing an existing wall. It is a great option if the wall is in good condition but requires a smoother surface for decoration.
For best results, hiring professional plasterers Melbourne ensures that your walls are properly prepared and finished.
Conclusion
Understanding the plastering vs skimming differences is key to choosing the right technique for your home renovation project. Plastering for insulation, moisture protection, and structural support is essential for new builds or damaged walls. Skimming plaster, on the other hand, is perfect for refreshing surfaces and creating smooth finishes ready for painting or wallpapering.
Both techniques play important roles in improving the look and durability of your walls. For the best results, it’s always recommended to hire professional plasterers who can assess your walls and determine the most appropriate technique for your project.
Faqs About Plastering
Can Skimming Be Used To Repair Damaged Surfaces?
Skimming can repair minor surface damage, such as small cracks or dents, but it may only be suitable for some structural repairs. Plastering is generally preferred for repairing extensive damage.
Is Skimming Suitable For Exterior Surfaces?
Skimming is typically used for interior surfaces, as it may not provide sufficient durability or weather resistance for exterior applications. Plastering with specialised exterior plaster is more commonly used for outdoor surfaces.
Which Technique Requires More Skill And Expertise: Skimming Or Plastering?
Both skimming and plastering require skill and expertise to achieve a smooth and professional finish. However, plastering may require more technical knowledge and experience, especially for structural repairs and decorative finishes.
Can Skimming Be Done Diy, Or Is It Best Left To Professionals?
Skimming can be done DIY for small projects or experienced individuals. Still, it’s often best to hire professional plasterers with the necessary tools and expertise for larger areas or where a high-quality finish is required.
How Can I Determine Whether Skimming Or Plastering Is Right For My Project?
The choice between skimming and plastering depends on factors such as the condition of the surface, the desired finish, and the project’s specific requirements. Consulting with a professional plasterer can help determine the most suitable approach for your needs.

