Painting directly on plasterboard is a popular and cost-effective way to finish walls, but achieving a smooth, professional-looking result requires more than just a few coats of paint. With the right preparation and technique, you can save both time and money while ensuring a long-lasting, high-quality finish. From cleaning and filling imperfections to choosing the right primer and paint, every step plays a crucial role in achieving that flawless look. Whether you’re tackling a DIY project at home or refreshing a space, this guide will walk you through the essential steps for painting plasterboard like a pro.
Essential Steps to Painting Plasterboard Like a Pro
Painting plasterboard isn’t just about slapping some paint on the walls and calling it a day. Sure, that might work in the short term, but if you’re after a long-lasting, professional finish that makes your walls look like they were done by a pro, the secret’s in the preparation. Trust me, I’ve made the mistake of rushing the prep work, and the results were less than stellar—uneven surfaces, peeling paint, and all sorts of headaches.
After years of tackling plasterboard projects around the house and helping mates with theirs, I can tell you that each step in the process plays a critical role in ensuring your paint job is a success.
Clean the Surface for a Flawless Finish
Let’s start at the beginning: cleaning. It sounds basic, but skipping this step can lead to some pretty disappointing results down the track. Imagine this: you’re all set to paint, you’ve got your brushes ready, and the paint is just waiting to be applied, but when the paint hits the plasterboard, you notice it’s not adhering properly. Or worse, you get dust or streaks in the finished coat. That’s because the surface wasn’t clean enough for the paint to grip properly.
My first DIY attempt at painting plasterboard was a disaster. I didn’t properly clean the surface, and I paid the price. The dust left on the wall made it almost impossible for the primer to do its job, and I ended up having to do it all over again.
Here’s how you do it right:
- Dust removal: Start by vacuuming the surface. Get rid of all the debris, dust, and loose particles with a soft cloth or brush. The key is to make sure you don’t just spread the dust around. It needs to go.
- Stains and residues: If the plasterboard has any stains (like glue or plaster marks), clean them up with a mild detergent solution. You don’t want anything getting in the way of a smooth coat of paint.
- Safety first: I always wear a mask or respirator during this part to avoid inhaling dust, especially when sanding. The room should also be well-ventilated.
Filling Holes and Cracks for a Smooth Surface
Now, let’s talk about those inevitable imperfections—whether it’s holes from screws or small cracks that pop up over time. You can’t just ignore them if you want a perfect finish. I’ve learned that these imperfections, if left unchecked, will haunt you after the paint goes on.
Here’s my process:
- Inspect: Walk around the room and take a good look at the plasterboard. Cracks, screw holes, and other imperfections will be glaring once the paint goes on, so it’s important to address them now.
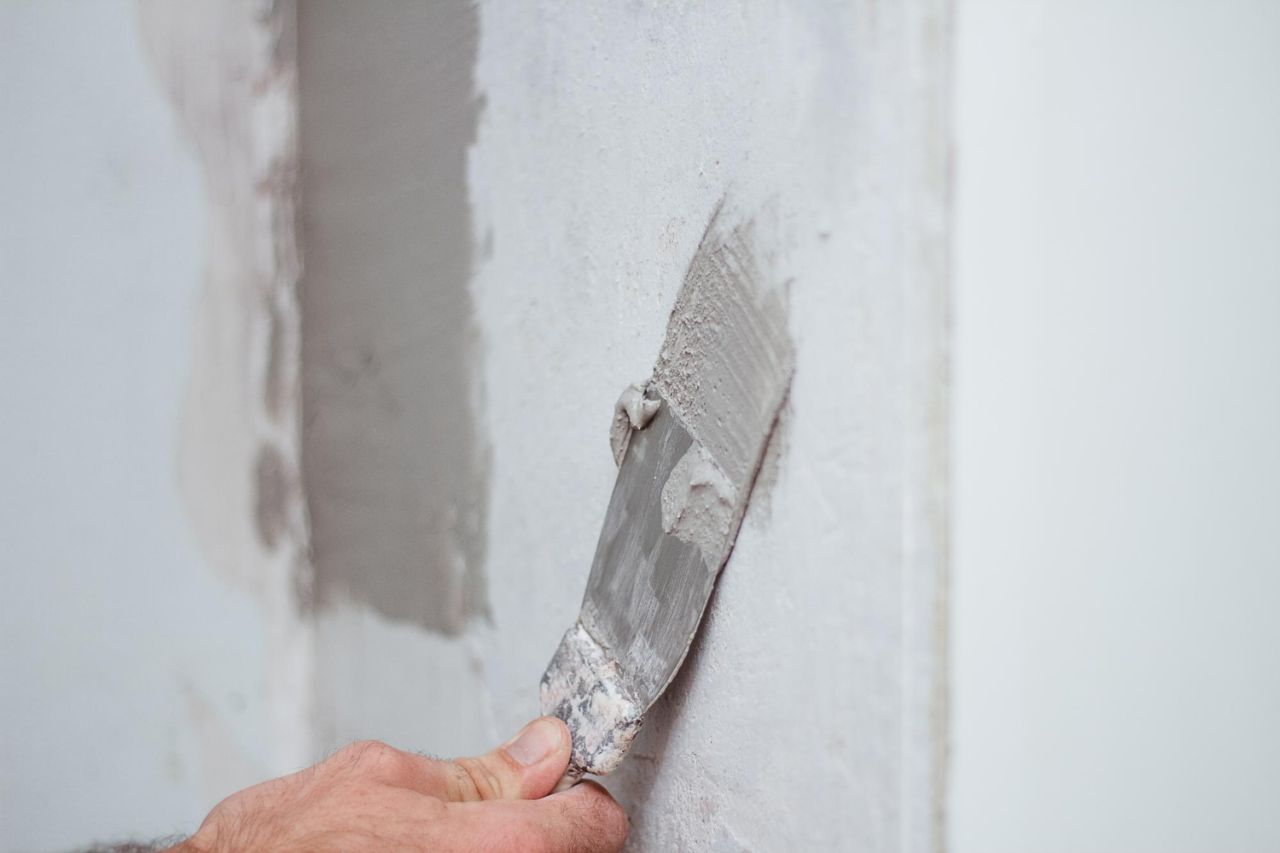
- Filling: I always reach for a good-quality joint compound for this task (I swear by Gyproc Easifill 60 for a smooth finish). Apply it with a jointing knife, making sure to fill every hole and crack, and don’t rush it. A few thin layers will do better than one thick one.
- Reinforcing: If you’re dealing with tapered edges, mesh tape (I like using fibatape) will do wonders for reinforcing the joint and preventing cracks.
- Screws: One thing I’ve learned the hard way—don’t forget to sink those screws deeper if they’re sticking out. You’ll thank yourself later.
Sanding to Achieve a Perfectly Smooth Finish
Once the filler has dried, the real magic happens with sanding. Now, this is where I’ve made my fair share of mistakes. If you sand too much, you could end up taking off the filler and creating a bigger mess, but if you don’t sand enough, the paint will never sit right.
Here’s what works:
- Choose the right grit: I prefer fine-grit sandpaper, somewhere around 120 or 180. This gives me the smoothness I need without risking over-sanding. Use a sanding block for control, especially around the joints where the compound tends to build up.
- Technique: I always sand lightly in circular motions, paying close attention to seams, screw holes, and joint tape. Don’t forget, sanding isn’t just about getting rid of bumps—it’s about creating a “key” for the paint to stick to.
- Final wipe-down: Once you’re done sanding, wipe the surface with a damp cloth to get rid of any dust. Trust me, you don’t want that dust ruining your fresh coat of primer.
Why Proper Priming is Crucial Before Painting
When it comes to painting plasterboard, one of the most important—and often overlooked—steps is priming. And it’s not just about putting a base coat down; primer plays a significant role in the final result.
In my experience, applying a primer or mist coat is like laying the foundation of a house: do it well, and everything else will fall into place. I’ll never forget the time I skipped this step thinking, “I’ll save time, it’s just plasterboard.” Spoiler alert: it didn’t save time at all. I ended up with uneven colour, wasted paint, and the headache of going over the walls again.
What is a Mist Coat and Why You Need It
A “mist coat” is simply a diluted first coat of paint that’s designed to seal the plasterboard. It’s the first step in preventing the paint from soaking into the porous surface. The beauty of a mist coat is that it helps to even out the absorption rates, ensuring that your paint adheres better.
My personal recommendation? Dilute your emulsion paint with about 30% water. This will help the paint penetrate the surface, providing the key you need for the layers that follow. Apply this thin coat using a roller for large areas and a brush for edges and corners. Don’t skip this—if you do, you’ll be wishing you hadn’t.
Choosing the Right Primer for Your Plasterboard
Choosing the right primer is just as important as applying it correctly. Over the years, I’ve learned that the type of primer you use can make or break your paint job. Here’s a breakdown of what I’ve found to work best in Aussie homes.
- PVA Primer: This is a popular choice for new plasterboard. It seals the surface, dries quickly, and is affordable. But, and this is important, I’d avoid using it for decorative painting. It’s better for basic sealing, especially if you’re dealing with old or textured drywall.
- Shellac-based Primer: I’ve used this in bathrooms and kitchens, and it works wonders for sealing stains and providing a solid base for the paint. It dries fast, but be careful—it can be a little runny, so you need to apply it quickly.
- Water-based Primers: These are a versatile option and great for plasterboard. They offer quick drying times and provide excellent adhesion.
Selecting the Best Paint for Plasterboard
Once the surface is prepped and primed, the next step is choosing the right paint. This is where the magic happens. The paint you select will not only impact the look of your walls but also their durability. I’ve learned that choosing the right paint isn’t just about picking your favourite colour—there’s a lot more to it than that. Over the years, I’ve used a variety of paints, and I can tell you that some are definitely better suited for plasterboard than others.
The Top Paint Types for Plasterboard Projects
When I first started painting plasterboard, I wasn’t too picky about the type of paint I used. Big mistake. I soon realised that not all paints are created equal, especially when it comes to porous surfaces like plasterboard.
For plasterboard, you’ll want to opt for a high-quality emulsion paint. It offers excellent coverage, dries quickly, and is easy to clean. The paint’s finish—matte, satin, or gloss—will depend on the look you want to achieve, but I personally recommend a satin finish for its balance between durability and appearance. It’s also easy to wipe down, which is handy in high-traffic areas.
In terms of paint brands, I’ve had good results with Dulux and Taubmans, which are both well-regarded here in Australia. I’ve used their washable, solvent-free paints, and the coverage is superb. These paints are durable and stand up to wear and tear, which is important in homes with kids and pets.
How to Choose Paint for Moisture-Prone Areas (Bathrooms & Kitchens)
If you’re painting plasterboard in areas with high humidity, such as bathrooms or kitchens, the paint you use is even more critical. Trust me, I’ve learned this lesson the hard way. Once, I used a standard emulsion in the bathroom, and within months, I noticed the paint started peeling due to the constant exposure to moisture. Never again.
For moisture-prone areas, you’ll need moisture-resistant or waterproof paint. Brands like Frenchic Al Fresco are great because they’re designed for wet areas and are mould-resistant. I’ve used it in my bathroom, and it not only holds up well against moisture but also has a beautiful matte finish.
It’s also worth considering water-resistant plasterboard in these areas. It’s a bit more expensive, but it’s an extra layer of protection that can help prevent any underlying moisture issues in the future.
Expert Tips for a Smooth Paint Application
Now that the plasterboard is prepped and primed, it’s time to apply the paint. This is where you really get to see the fruits of your labour. But don’t think it’s as simple as just slapping on a coat of paint. Over the years, I’ve developed a few techniques that have helped me achieve a smooth, even finish every time.
How to Apply Paint with Professional Techniques
The key to a professional finish is all in the application. When I first started, I made the rookie mistake of slopping on paint without any real strategy. The results weren’t pretty. But after a few frustrating DIY jobs, I learned that painting plasterboard requires a bit of finesse.
Here’s my approach:
- Use the right tools: For large areas, I always use a 9-inch roller with a medium nap (3/8″) for smooth walls. The longer nap will help you achieve an even finish. For edges and corners, a 2.5-inch cut brush does the job perfectly.
- Cut in the edges first: Start by cutting in around the edges of the walls and ceiling. I’ve found that this method helps avoid visible roller marks in tight corners.
- Thin layers, plenty of coats: I always apply the paint in thin, even layers, letting each coat dry fully before applying the next. It might take an extra coat or two, but this ensures better adhesion and durability.
- “W” pattern with the roller: When rolling, I use a “W” or “V” pattern to spread the paint evenly. This helps prevent streaks and ensures a consistent finish.
Why You Should Sand Between Coats for a Flawless Finish
Sanding between coats might seem like an extra step, but it’s a game-changer. I’ll admit, I was sceptical at first. Who wants to sand a surface twice? But once I tried it, I realised the results speak for themselves. The sanding smooths out any imperfections, removes dust, and ensures the next layer of paint adheres properly.
Here’s how I do it:
- After applying the primer, I lightly sand the surface with a fine-grit sandpaper (around 180). This creates a better base for the paint to grip onto.
- After each coat of paint, I give the surface a gentle sanding as well. I’m not trying to remove the paint; I just want to smooth it out so that the next layer goes on seamlessly.
- After sanding, I always wipe the surface down with a damp cloth to remove any dust before applying the next coat.
Troubleshooting Common Issues with Painting Plasterboard

Even when you do everything right, things can sometimes go awry. Over the years, I’ve had my fair share of painting mishaps. But the good news is, most of these issues can be fixed with a bit of know-how and a quick fix.
How to Avoid Visible Joints and Seam Imperfections
One of the most frustrating things you can encounter when painting plasterboard is visible seams and joints. I’ve seen plenty of DIY projects where these imperfections are impossible to miss after the paint goes on, and it can really detract from the overall look.
To avoid this, I always:
- Use mesh tape on joints, followed by a thin layer of filler. This ensures that the tape doesn’t show through after painting.
- Apply primer generously over the seams. The primer helps to mask the difference in texture between the plasterboard and filler.
- Sand thoroughly after each coat of filler, ensuring the seams blend seamlessly with the surrounding area.
What to Do If You Notice Paint Drips or Uneven Coverage
Paint drips can be a nightmare, but they’re easy to fix. I’ve had my share of drips—especially when using a roller. If you catch them while the paint is still wet, simply smooth them out with your brush or roller.
For uneven coverage, it’s best to:
- Allow the paint to dry fully before applying the next coat. This will reveal any patches or areas that need more attention.
- Lightly sand the area that has uneven coverage and then touch it up with a fresh coat of paint.