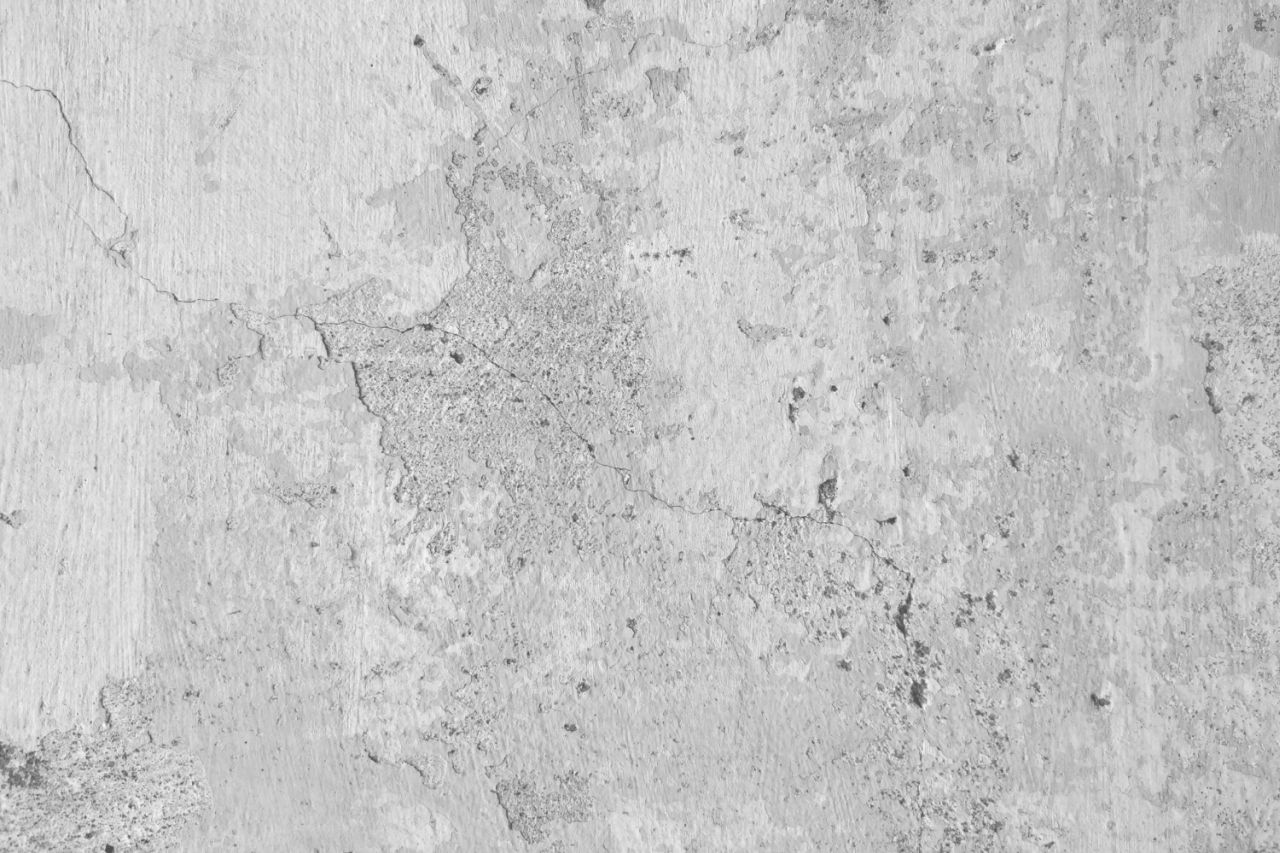
Plaster is a popular wall and ceiling material for its durability, sound resistance, and fire-resistant properties. However, despite its many strengths, plaster tends to crack over time, especially in older homes.
Understanding the causes of plaster cracks can help you maintain the structural integrity of your walls and address any issues as they arise.
Let’s get straight to the point.
Plaster cracks commonly occur due to shrinkage, temperature fluctuations, moisture exposure, and foundation settlement. While many cracks are cosmetic, structural issues may also cause them.
Common causes include plaster shrinkage, dry shrinkage, debonding, and structural movement. Minor cracks can be repaired with spackling or joint compounds, while larger cracks might require professional assessment.
To prevent cracking, control humidity, mix plaster properly, apply thin layers, and allow sufficient drying time.
Regular maintenance and quick fixes for minor issues help maintain plaster walls‘ durability and appearance.
Common Causes Of Plaster Cracks
Plaster can crack for many reasons, ranging from the natural settling of a building to environmental changes. Here are some of the most frequent causes
1. Shrinkage Of Plaster
Shrinkage cracks often occur when the plaster dries too quickly. This happens because of sudden changes in humidity levels or if the plaster mixture lacks sufficient moisture control.
As the plaster dries, it contracts, leading to small cracks on the surface.
2. Dry Shrinkage
Dry shrinkage is common when the plaster’s water evaporates too fast, causing the material to contract.
Materials like cement and lime, often found in plaster, naturally shrink as they dry. These cracks are usually stable but should be filled before painting to prevent further damage.
3. Structural Cracks
Structural cracks are more serious and result from the movement of the building itself. These can be caused by foundation settlement, moisture expansion, or structural temperature changes.
Structural cracks often appear as straight, horizontal, or vertical lines and require professional attention to assess the underlying cause.
4. Debonding
Debonding happens when the bond between plaster layers weakens, usually due to uneven drying. The inner layer might dry more slowly than the outer layer, leading to gaps or air pockets between them.
Tapping on the wall might reveal hollow sounds, indicating areas of debonding that need to be repaired.
5. Grinning
Grinning occurs when the pattern of underlying mortar joints becomes visible through the plaster surface. This happens when the brick wall beneath does not have enough suction to bond well with the plaster.
Grinning is mostly a cosmetic issue but can be avoided by ensuring a proper bond during plaster application.
6. Inadequate Hardness
Plaster can lack hardness if the mixture contains too much sand or dust. Using poor-quality water or adding more water after the initial mix can also lead to a weak plaster prone to cracking.
To avoid this, always use the recommended proportions for plaster mixing.
7. Popping
Popping occurs when small conical bits of plaster break away from the surface, leaving holes of various sizes. This problem is often due to impurities in the plaster mixture or moisture trapped within.
Filling the holes with cement and repainting usually resolves the issue.
8. Expansion Of Plastering
Expansion cracks are caused by moisture-related issues in the plaster, often due to poor ventilation or high ambient humidity.
These cracks can be prevented by using a more porous plaster and ensuring that the environment allows for adequate drying.
Factors Contributing To Plaster Cracking In Older Homes
Older homes are particularly prone to plaster cracking due to several factors:
1. Temperature Fluctuations
Rapid changes in temperature cause the plaster to expand and contract, stressing the material and eventually cracking.
This is common in homes without proper insulation or areas with extreme weather changes.
2. Foundation Settlement
Over time, houses naturally settle as the ground beneath them shifts. This movement can cause cracks in the plaster, especially around structural elements like windows, doors, and stairwells.
3. Moisture Exposure
Another leading cause of plaster cracking is prolonged exposure to moisture. High humidity or water leaks can weaken the plaster’s bond, causing it to lose its rigidity and develop cracks.
Identifying And Fixing Plaster Cracks
Understanding the different types of plaster cracks can help determine the best repair approach. Here’s a breakdown of how to identify and fix common plaster cracks:
1. Minor Surface Cracks
- Inspection: Small surface cracks, often less than 1/8 inch wide, are usually cosmetic and do not indicate structural problems.
- Repair: These can be repaired easily using spackling paste or joint compound. Clean the crack, apply the compound, and smooth it before repainting.
2. Larger Or Structural Cracks
- Inspection: Cracks larger than 1/8 inch or growing over time may indicate structural issues with the building’s foundation.
- Repair: It’s best to consult a professional to assess the foundation and determine the appropriate repair method.
- In severe cases, larger cracks might need a drywall patch or a full plaster replacement.
3. Debonded Plaster
- Inspection: Tap on the plastered wall to check for hollow areas, indicating debonding.
- Repair: If debonding is extensive, it might require removing the affected plaster and reapplying it with proper bonding techniques.
Tips To Prevent Plaster Cracking
While it’s not always possible to prevent plaster from cracking entirely, there are steps you can take to minimise the risk:
- Control Humidity Levels: Avoid sudden drops in humidity during the plaster drying process. Use dehumidifiers or maintain a stable environment to prevent plastic shrinkage.
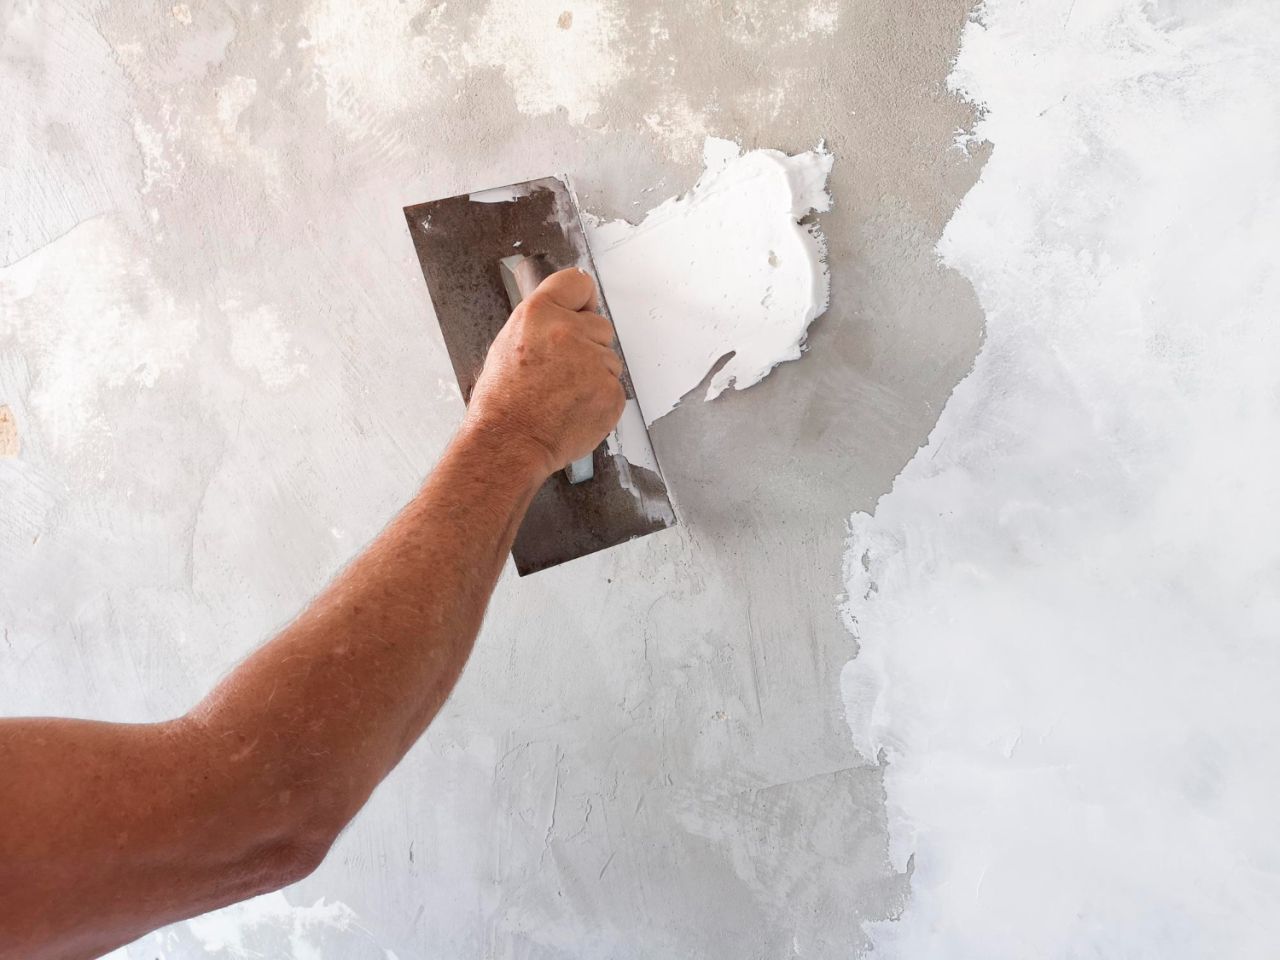
- Proper Plaster Mixing: Always use high-quality materials and mix the plaster properly to ensure its durability.
- Thin Coats Application: Apply plaster in thin, even layers rather than one thick coat. This approach allows the plaster to dry uniformly, reducing the chance of cracking.
- Adequate Curing Time: Allow the plaster to dry before painting or adding additional layers. Patience is key to preventing surface cracks.
Special Considerations For New Cracks
New Cracks In Older Homes
New cracks in older homes may signal a deeper structural foundation issue. If you notice multiple new cracks or widening gaps, consult a structural engineer to evaluate the foundation’s condition.
Drying Plaster Cracks
During drying, cracks often result from improper plaster preparation or environmental factors like direct sunlight, wind, or rapid temperature changes.
These factors cause the plaster to dry unevenly, leading to cracking.
Preventative Measures Include:
- Avoid applying plaster in direct sunlight or windy conditions.
- Ensure that bricks or the underlying wall materials are not excessively absorbing moisture from the plaster.
Professional Help For Persistent Cracks
Professional assistance may be necessary when dealing with significant or recurrent plaster cracks. Plasterers have the tools and expertise to address cosmetic and structural issues effectively.
They can also advise on the best plastering techniques and materials for long-lasting results.
Using Sealants For Crack Repairs
Sealants can be a quick fix for small plaster cracks. Follow these steps to apply a sealant properly:
- Clean the area around the crack to remove dust and debris.
- Apply the sealant directly into the crack.
- Smooth out the sealant with a putty knife.
- Allow it to dry completely before sanding the surface for a smooth finish.
Conclusion
Plaster cracks are common, particularly in older homes, due to humidity changes, temperature fluctuations, and structural movement.
Understanding the causes of these cracks—such as plaster shrinkage, debonding, and foundation issues—can help manage them effectively.
While minor cracks can often be repaired easily, larger or recurring cracks may require professional intervention.
Proper mixing, application, and curing techniques are key to reducing the risk of plaster cracking in the future.
Frequently Asked Questions About Plaster
Which type of plastering is best?
Exterior walls are best plastered with cement plaster due to its resistance to moisture, which helps to shield the wall from the effects of climate change and pollution. In addition, cement plaster’s durability makes it a great option for both exterior and interior applications.
How many layers of plaster should be used?
In order to achieve a professional-looking sheen, you’ll need to apply at least two coats. After the second coat has dried, check for obvious grooves and indents; if there are any, trowel on a third.
What are the defects in plastering?
Plastering work often has issues like blistering, cracking, efflorescence, flaking, peeling, popping, softness, and uneven surfaces. As soon as these plastering flaws are spotted, they must be fixed.
What is the ideal temperature for plastering?
Ventilation, temperature, and humidity levels must all be taken into account to guarantee productive work environments. Plaster should be applied in temperatures between 60 and 70 degrees Fahrenheit (at least 55 degrees Fahrenheit) and relative humidities that correspond to normal drying conditions.
How can plastering defects be prevented?
Preventative measures include selecting appropriate materials and following standard construction procedures, as well as proper preparation and cleaning of the wall surface. Plasterwork is less likely to delaminate when the wall surface is clean and properly prepared for the application of the plaster.

