When it comes to finishing interior walls and ceilings, two methods dominate the conversation: wet plastering and dry lining. Each technique has its unique advantages, and the right choice often depends on factors like project scope, budget, and the desired end result. Wet plastering is the traditional method, offering a smooth, durable finish that stands the test of time, while dry lining is a modern, quick alternative that’s become a go-to for many builders and DIYers. In this guide, we’ll dive into the key differences between these two methods, exploring their processes, benefits, and ideal applications, helping you decide which is the best fit for your next project.
What Is Wet Plastering?
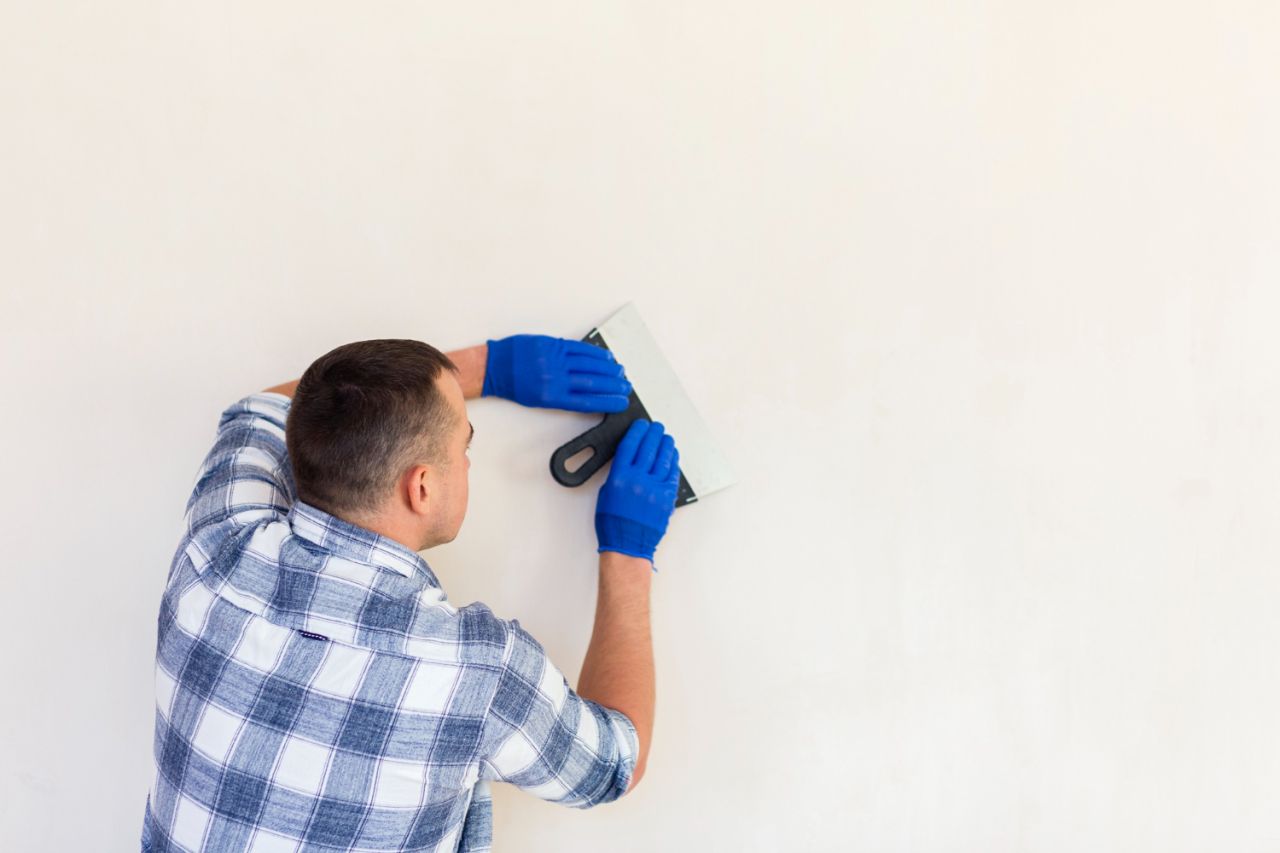
When I first moved into my home in Melbourne, I encountered the age-old challenge of uneven, cracked walls that desperately needed a facelift. Being an old Victorian terrace, it had the charm (and the quirks) of its age. The solution? Wet plastering. This traditional method involves applying layers of wet plaster to your walls and ceilings, resulting in a smooth, durable finish that not only enhances the aesthetic but also offers long-lasting durability.
Wet plastering is more than just a surface treatment; it’s a craft that’s been around for centuries. The process is pretty simple in theory: plaster powder is mixed with water, and then applied in multiple layers to create a seamless finish. The magic happens during the curing process, where the plaster hardens over time and forms a sturdy, rigid surface. This technique is especially popular in heritage homes, where it’s the go-to method for restoring internal surfaces to their original glory.
Types of Wet Plaster and Their Benefits
In my own renovation journey, I came across various types of plaster materials, each suited to different needs:
- Gypsum Plaster (Plaster of Paris): It was the go-to choice for most areas in my home. Quick to set and easy to work with, it provided a smooth, fine finish that was perfect for modernising the look of old walls. But here’s the catch—while it’s great for dry areas like living rooms and bedrooms, it’s highly susceptible to moisture. After a few rainy days, I found some cracks appear in places where the plaster wasn’t adequately sealed.
- Lime Plaster: If you’re working on a period property, lime plaster might be your best friend. It’s flexible and breathable, making it perfect for homes that tend to move and shift over time (as most old houses do). But trust me, the process isn’t as simple as slapping it on the wall. Lime plaster takes time to cure, and you need to mist it regularly to prevent cracking—a delicate dance of patience, something I learned the hard way when I tried to rush it.
- Cement Plaster: I used cement plaster in my garage for its incredible strength and durability. If you’re looking for something that can stand up to harsh conditions, this one’s a winner. It’s great for exterior walls but can be a bit tricky indoors because, without proper curing, it tends to crack. But in high-humidity environments like bathrooms, it’s a no-go unless you’re willing to face the upkeep.
- Mud Plaster: For a more sustainable approach, I considered mud plaster, especially in outdoor areas. It’s eco-friendly, uses local materials like clay, and provides natural insulation. While it’s great for rustic finishes, it’s prone to wear and tear, especially in high-traffic areas. So, I ended up using it in the garden shed—where I wasn’t too concerned about constant maintenance.
Installation Process of Wet Plastering
The installation process for wet plastering is an involved one, and it’s something you want to get right, especially if you’re aiming for that perfectly smooth finish. Here’s what it typically looks like:
- Preparation: Before the plaster even touches the wall, you’ve got to prepare the surface. I remember raking out the joints and brushing off any loose mortar—it’s not the most glamorous job, but it’s necessary. It’s important to ensure that the surface is clean and moist to help the plaster adhere properly.
- Scratch Coat (Undercoat): This is the first application of plaster, and it’s more about creating a strong base than looking pretty. The first layer should be applied in a rough, scratched manner so the next layers can bond effectively. You’ve got to be patient, as this coat has to stay damp for a few days. One thing I learned the hard way is that you shouldn’t skip this stage; otherwise, your walls could end up uneven.
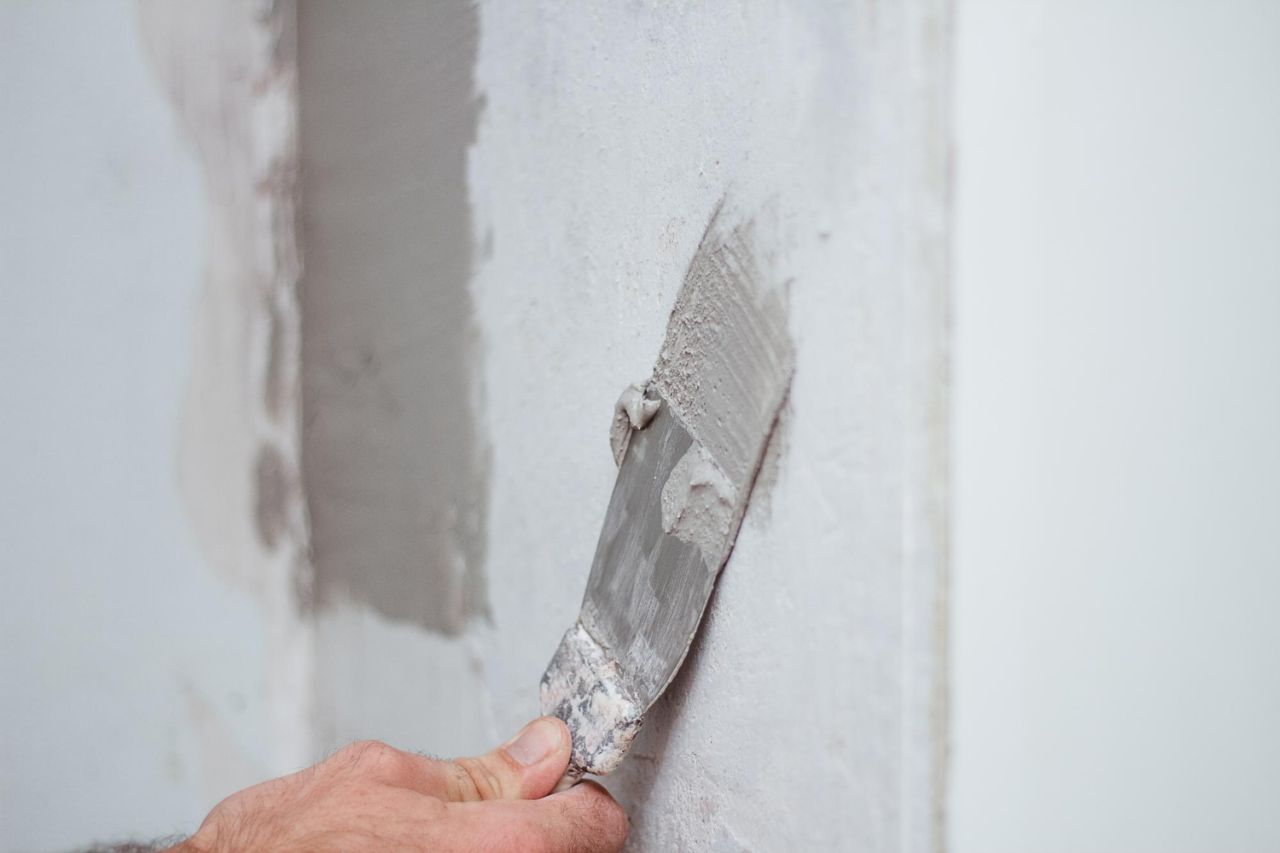
- Base Coat: After the scratch coat comes the base coat. This layer helps level out the surface. You’ll want to apply it evenly, but don’t get too carried away with smoothing it out just yet. I used a wooden float for the best results, ensuring that the base layer was rough enough for the finishing coat to adhere to.
- Finishing Coat: This is where the magic happens—the layer that gives your walls that beautiful, smooth, flawless finish. It’s applied sparingly, and with the right technique (trowel or wooden float), you can achieve a finish so smooth you might mistake it for glass. I learned that too much troweling can lead to an overly shiny surface that doesn’t look natural, so moderation is key.
- Curing: Don’t rush the curing process. I found this out the hard way when some areas of my wall started to crack because I was too eager to start painting. Curing is critical, and it can take days, especially for thicker applications like cement plaster.
Types of Dry Lining Boards
During my renovation, I quickly realised that not all dry lining boards are created equal. Each type of plasterboard offers distinct benefits, depending on where you plan to use it:
- Regular Whiteboard: This is the standard plasterboard, used in most rooms. It’s lightweight, easy to handle, and perfect for creating smooth, paint-ready walls. It’s the most common choice, especially for new builds or room additions.
- Fire-Resistant Boards (Type X and Type C): Living in an area prone to bushfires, I chose these boards for the home’s kitchen and hallway. They contain special glass fibres that improve fire resistance, which gives peace of mind knowing the material could withstand higher temperatures. A fire-rated plasterboard is a must in areas where safety is critical.
- Greenboard (Moisture-Resistant): A no-brainer for bathrooms or laundry rooms, where high humidity could cause regular plasterboard to degrade over time. I used this in my bathroom for its moisture-resistant properties, reducing the likelihood of mould or mildew.
- Cement Board: When I tackled the shower area, cement board was my go-to. Its superior water resistance makes it perfect for spaces that are exposed to constant moisture, like shower walls or wet rooms.
- Soundproof Drywall: If you’re looking for peace and quiet, this type of drywall, made with laminated gypsum and damping polymers, helps reduce noise transmission. I used soundproof drywall between my home office and the living room—especially useful when I’m working from home and need to block out the sound of the TV.
Dry Lining Installation Process
The installation of dry lining is far quicker than wet plastering, but it still requires attention to detail. From my experience, here’s how it generally works:
- Cutting and Fastening: The first step is to measure and cut the plasterboard sheets to size. I found that using a simple utility knife along a scored line works well, but for more precise cuts, a plasterboard saw is a better tool. These boards are then fastened to a stud frame or directly to the wall using screws or nails. For blockwork walls, a method called “dot and dab” is often used, which involves applying adhesive dots to the wall before sticking the board to it.
- Joint Treatment: Once the boards are fixed in place, the joints between them need to be treated. This involves applying joint tape (fibreglass mesh or paper tape) over the seams and covering them with a layer of joint compound, or “mud.” After the compound has dried, it’s sanded down to a smooth finish. This is where the patience comes in—I spent hours perfecting the joints to make sure there were no visible seams when the walls were painted.
- Finishing: For that seamless, perfect finish, I applied a skim coat of finishing compound over the entire wall. After the compound dried, I sanded it down to a smooth, even surface, ready for paint. The trick here is to apply thin layers and let each one dry before applying the next. That way, the finish remains even, without the dreaded “mud” texture.
Wet Plastering vs. Dry Lining: A Direct Comparison
Now, let’s take a moment to compare the two methods in a side-by-side breakdown:
|
Feature |
Wet Plastering |
Dry Lining (Drywall) |
|
Definition & Application |
Wet plastering involves applying layers of wet plaster directly onto surfaces. Often uses gypsum, lime, or cement mortars. |
Dry lining involves attaching plasterboard sheets to interior walls and ceilings, creating a smooth surface for decoration. |
|
Installation Speed & Drying Time |
Time-consuming due to multiple layers and extended drying periods. Plaster needs 1-4 hours to dry to the touch, but 3-5 days to fully cure, potentially up to several weeks, especially for thicker applications or in humid/cold conditions. Waiting for the full cure is crucial before painting to avoid chipping, peeling, or structural damage from trapped moisture. |
Rapid installation and significantly shorter project timelines. It bypasses the lengthy drying times associated with wet plaster. The surface can be ready for decoration much quicker, often within a few days after jointing and skimming. |
|
Cost Implications |
Generally, more expensive due to longer project duration and the need for highly skilled, specialised labour. Material costs can be higher, with labour forming the majority of the expense. |
Often, it is more cost-effective due to quicker installation, reduced labour hours, and readily available materials. Upfront costs are generally lower. |
|
Durability & Strength |
Once fully cured, offers exceptional durability and is highly resistant to damage, wear, and tear. It creates a solid, sturdy wall with a hardness approaching concrete. Less susceptible to impact damage than dry lining. |
It can be less solid and sturdy, making it more susceptible to impact damage, dents, and scratches, especially in high-traffic areas. While the method generally avoids drying cracks, the boards themselves can be damaged. |
|
Aesthetics & Finish Quality |
Provides a seamless, polished, and elegant finish that can conceal underlying imperfections. Offers versatility for various decorative finishes, from textured to polished designs, and can be tinted. |
Delivers a smooth, paint-ready surface. However, some argue it may appear less attractive when painted due to a perceived lack of texture and character. Visible joints and a slightly different texture may occur if not properly installed and finished. |
|
Insulation Properties |
Standard plaster insulates more effectively than dry lining alone. Specialist thermal plasters and thermal sheets can significantly improve energy efficiency. |
It can be enhanced with specialised boards for sound or thermal insulation, but the performance is generally lower than that of wet plastering. |
Choosing the Right Option for Your Project
From my experience, wet plastering is the best option if you’re looking for durability and a high-quality finish that’s both aesthetic and practical. It’s particularly suited for older homes where you’re aiming to restore the period charm, or in spaces where impact resistance and insulation are essential.
When to Opt for Dry Lining
Dry lining shines in new builds or renovations where speed, cost-effectiveness, and ease of installation are top priorities. It’s also ideal for rooms where you need a flat surface quickly and are not overly concerned about long-term durability (like a home office or bedroom). Plus, it’s a great DIY project if you have the time and tools to do it yourself.
Cost Comparison: Wet Plastering vs. Dry Lining
If you’re budgeting carefully, dry lining will typically be the more cost-effective option. The material costs for plasterboard are usually cheaper, and the faster installation process cuts down on labour costs. However, if you’re after a more durable, high-end finish, wet plastering may justify the extra investment.
