Plastering a ceiling can be time-consuming, but you can achieve professional results with the right tools and techniques.
This guide will walk you through the steps of plastering your ceiling, highlighting the essential materials, techniques, and tips to make the job easier.
Let’s get straight to the point.
Plastering a ceiling involves multiple steps but is achievable with the right tools and techniques. It starts with preparing the area and cleaning the ceiling, mixing and applying plaster in thin, even coats.
Working in sections helps manage drying time, and the process involves sanding to ensure a smooth finish. Repairing holes requires additional steps for larger damage, like using a mesh for reinforcement.
The key to a professional-looking ceiling is patience and careful attention to detail. Costs vary depending on ceiling height and condition, but proper preparation and safety measures ensure effective results.
Why Plastering A Ceiling Matters?
Plastering a ceiling is not just about aesthetics—it’s a practical solution for repairing damage like cracks or holes. Whether due to aging, settling, or accidents, a well-plastered ceiling improves your home’s appearance and value.
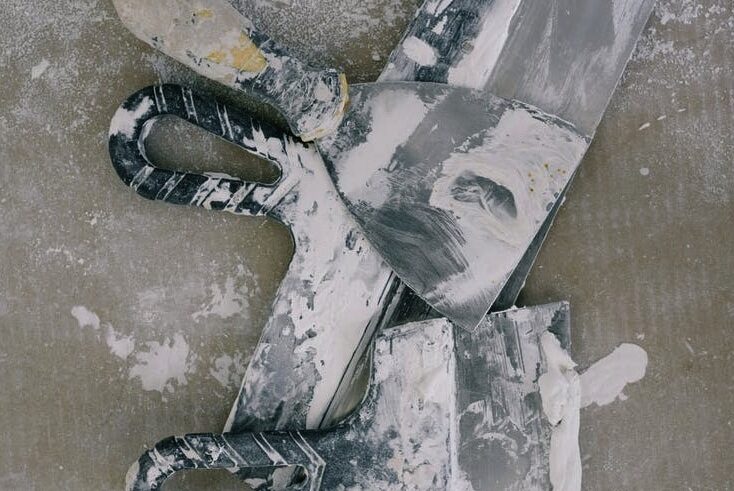
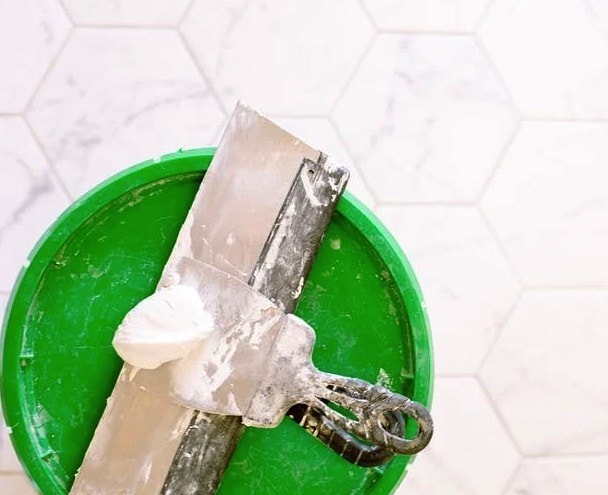
Tools And Materials You’ll Need
Before you start, make sure you have the following items:
- Trowel (for applying plaster)
- Mixing stick or cement stir stick
- Sandpaper
- Ladder
- Drop cloths (to protect the floor)
- Soapy water and a sponge
- Premixed plaster or materials for mixing your own
- Tape (for wall-to-ceiling junction)
Preparing The Area
1. Set Up Your Work Area
- Remove or cover furniture: Ideally, remove all furniture from the room. If that’s not possible, protect items with plastic sheeting.
- Lay down drop cloths: Plastering is messy, so protect your floors from dust and debris with large drop cloths.
2. Cleaning The Ceiling
Before applying plaster, clean the ceiling thoroughly:
- Remove cobwebs and dust using a vacuum cleaner.
- Wipe the surface with soapy water and then rinse with clean water. For oily spots, use a degreaser to ensure a clean surface.
3. Taping The Wall-To-Ceiling Junction
Apply painter’s tape along the edges where the wall meets the ceiling. This will create clean lines and help prevent accidental spills from affecting your walls.
Mixing The Plaster
1. Making Your Plaster
- Mixing Ratio: Follow a 2:1 ratio of plaster to water for a consistent texture.
- If you’re a beginner, consider using premixed plaster to save time and effort.
- Stir the plaster thoroughly to ensure a smooth consistency.
2. Check Product Instructions
Different types of plaster have specific guidelines for mixing and application. Read the product instructions for the best results.
Applying Plaster To The Ceiling: A Detailed Guide
Applying plaster to a ceiling can seem daunting, but it becomes manageable with the right approach and a systematic process.
This step-by-step guide will walk you through the process, ensuring a professional finish.
Proper technique and patience are key to achieving a smooth, even plastered ceiling that will last for years.
Step 1: First Coat Application
The first step in plastering a ceiling is applying the initial coat. Begin by loading your trowel with a small amount of plaster.
It’s essential to work in a controlled manner, spreading the plaster on the ceiling in straight, even lines. The first coat should be thin and uniform, ideally 2-3 millimetres thick.
Keeping the layer consistent is crucial for a smooth finish later on.
Step 2: Working In Sections
Divide the ceiling into manageable sections to ensure accuracy and ease during plastering. Aim for areas approximately one meter wide.
Working in smaller sections helps you control the plaster’s drying time and consistency. Slightly overlap each new section with the previous one to create a seamless blend.
This technique ensures no visible lines or breaks in the plaster once it dries.
Step 3: Smoothing The Surface
Once the first coat is applied, allow it to set for at least 48 hours. This waiting period is essential to ensure the plaster properly adheres and begins to harden.
After this time, use the serrated edge of your trowel to smooth out any visible bumps or rough spots on the surface. This step is vital in creating a flat base for the subsequent layers.
Applying A Second Coat
Step 4: Second Coat Application
After the initial layer has been set, you are ready to apply the second coat of plaster. Using the same technique, spread a thin layer over the ceiling, ensuring that the combined thickness of both coats reaches about 4 to 5 millimetres.
This additional coat adds durability and smoothness, giving the ceiling a more polished appearance. Again, allow the plaster to dry completely before moving to the next step.
Sanding And Smoothing
Step 5: Final Sanding
When the second coat has dried, it’s time to sand the surface lightly. This process will help eliminate minor imperfections or uneven areas, especially focusing on the joints where the plaster layers meet.
The goal is a smooth finish, so take your time inspecting and sanding down the ceiling until it feels perfectly even.
Step 6: Inspecting For Flaws
A thorough inspection is necessary to identify any remaining flaws. Gently run your hand over the ceiling’s surface to detect bumps or rough patches.
If you find any, lightly sand them to ensure the ceiling is smooth and ready for painting or further finishing touches.
Patching Holes In The Ceiling
Step 7: Repairing Small Holes
Remove any loose debris before applying plaster if the ceiling has small holes. Fill the hole, ensuring the surface is level with the surrounding area.
Step 8: Reinforcing Larger Holes
Reinforcement is important for larger holes. Cover the area with wire mesh and secure it with a wooden dowel.
This mesh provides additional support to the plaster, preventing cracks. Once secured, apply plaster over the mesh, smoothing it out to blend with the ceiling.
Step 9: Smoothing And Sanding Patches
After the patched areas have dried, sand them to ensure they seamlessly integrate with the rest of the ceiling. The goal is to make the repairs invisible, creating a unified, flawless surface.
Final Touches And Clean-Up
Step 10: Trowelling Up
Once all the plastering and patching are complete, go over the ceiling with a trowel one last time. Use smooth, overlapping motions to level any remaining uneven areas, striving for a consistent thickness throughout.
Step 11: Cleaning Tools
As a final step, clean your tools immediately after use. Plaster can harden quickly, ruining your equipment if not cleaned properly. Keeping your tools in good condition will extend their lifespan and ensure they are ready for your next project.
Cost Of Plastering A Ceiling
1. Factors Affecting Cost
Two primary factors affect the cost of plastering a ceiling:
- Ceiling height: Taller ceilings require more materials and time.
- Ceiling condition: Damaged ceilings will need more prep work and plaster, increasing costs.
2. Estimating Materials Needed
To estimate the amount of plaster you’ll need, calculate the ceiling’s square footage and determine how many bags of plaster are required. This will help you budget more effectively.
Common Challenges And Tips
1. Dealing With Imperfections
Expect minor imperfections while plastering. If you encounter bumps or lines, use sandpaper to smooth them out.
2. Safety Tips
- Always use a stable ladder or scaffolding to reach the ceiling.
- Wear protective eyewear to avoid getting plaster in your eyes.
3. Plaster Consistency
Maintain a consistent plaster thickness of about 2-3 mm per coat. This ensures an even finish and speeds up the drying process.
Conclusion
Plastering a ceiling is a valuable skill that can save money and give your home a polished look. Even a novice can achieve satisfactory results with patience, the right tools, and careful attention to detail.
Whether patching up a small hole or giving your entire ceiling a fresh coat, the process is manageable with practice and dedication. Remember to take your time and follow these steps; your ceiling will look as good as new.
Frequently Asked Questions About Plaster
Can You Plaster a Ceiling Yourself?
Plastering is messy and requires a lot of work, but you can plaster your ceiling yourself if you have a weekend to spare. Of course, you’ll need to have all the right tools for the job, which can be a bit pricey.
How Do I Know if My Ceiling Is Plaster or Drywall?
Do the pushpin test.
Take a pushpin and press it on the wall using your thumb. If the pin pokes into the wall easily, that’s drywall. If it doesn’t, then that’s plaster. A pushpin can penetrate drywalls easily because they’re softer compared to plaster.
What Kind of Drywall Do You Use for Plaster?
Quarter-inch drywall is often used to cover damaged plaster walls and curved areas because it bends easier than thicker drywall. Then the 1/4-inch-thick drywall can be double layered to get to the conventional 1/2 inch thickness to match the rest of the wall.
Can Anyone Plaster a Ceiling?
We all know that plastering can be a tricky job that takes time, effort and lots of practice – and plastering a ceiling can be one of the trickiest jobs. However, with the right know-how and tools, plastering a ceiling can be completed by plasterers and DIY enthusiasts alike.
Can You Plaster Part of a Ceiling?
In old houses, the ceilings could well be constructed from lath and plaster, while in modern houses, they’re more likely to be made of plasterboard. Nevertheless, it’s not difficult to repair small areas of damage on your ceiling, and it’s well worth the effort – particularly before you start decorating a room.

