Plastering is a fundamental step in construction, affecting both aesthetics and the durability of buildings. By preventing plaster defects early, builders can save time, money, and effort in future repairs.
Several techniques can ensure a smooth and professional plaster finish, and understanding the causes of defects is important to avoiding them.
This guide will focus on common plastering defects, how to prevent them, and practical steps to achieve flawless plasterwork.
Let’s get straight to the point.
To minimise plaster defects, use high-quality materials, clean and prepare surfaces thoroughly, and apply plaster in thin, even layers with proper curing time.
Clean, salt-free water and a mesh-reinforced plaster can prevent common issues such as cracking, blistering, and efflorescence.
Ensure layers dry fully before applying the next, and address defects early by cleaning, prepping, and using appropriate repair techniques. Proper execution results in a durable, professional finish with fewer long-term problems.
Causes Of Plaster Defects
Defects in plaster can occur for many reasons, including poor-quality materials, improper application techniques, or environmental factors. The most common issues include:
- Cracking: Often caused by using too much sand, low-quality materials, or applying plaster too thinly.
- Delamination occurs when the plaster needs to bond correctly to the background, often due to unclean or unprimed walls.
- Blistering: This appears when plaster is not applied correctly, causing bubbles to form beneath the surface.
- Efflorescence: Results from soluble salts moving to the surface, leaving white, powdery stains.
Addressing these issues early on is key to avoiding costly repairs.
Steps To Prevent Plaster Defects
1. Use High-Quality Materials
The quality of the materials used in plastering significantly impacts the final result. Builders should ensure they use the right sand, cement, and additives.
Using high-quality or correct materials can result in cracks, delamination, and other issues.
- Sand: The sand used in the mix should be free from impurities and the correct grade.
- Cement: Use only high-grade cement with no contaminants.
- Water: Ensure that the water used in mixing plaster is clean and free from salts or impurities.
2. Proper Surface Preparation
Before starting plastering, the surface must be thoroughly cleaned and prepped. This ensures better adhesion between the plaster and the wall.
- Cleaning the Surface: Remove any dust, dirt, or loose particles from the wall.
- Priming: To prevent the wall from absorbing water too quickly, apply a primer or wet the surface before plastering.
- Hacking: For concrete surfaces, ensure proper hacking to create roughness, which helps the plaster adhere better.
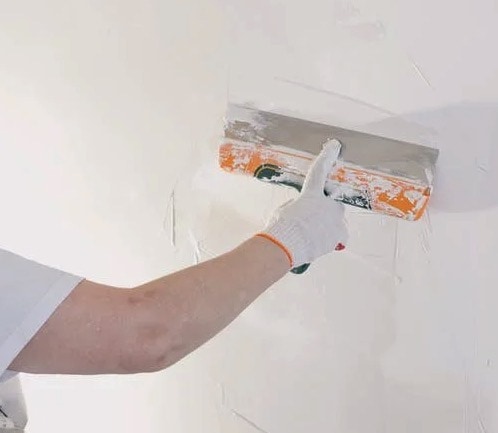
3. Correct Plaster Thickness
Plaster should be applied in layers, with each layer allowed to be set before the next one is added. Too much or too little plaster can cause defects.
- Layer Thickness: Plaster should not exceed 15 millimetres in thickness.
- Curing Between Layers: Allow adequate time between layers to prevent bubbles or cracks.
4. Proper Curing Process
Curing is a critical step in plastering to ensure durability. Plaster that dries too quickly can crack or lose strength.
- Curing Time: Allow ten days for the plaster to cure properly. This process strengthens the plaster and prevents shrinkage cracks.
- Avoid Wind and Sunlight: To ensure even drying, protect the plaster from direct sunlight and wind during the curing process.
5. Techniques For Fixing Common Plaster Defects
Crazing
Crazing refers to fine cracks that appear on the plaster surface. It is often caused by over-troweling or using too much cement in the mix.
- Solution: Use a balanced mix of cement and sand. Avoid overworking the plaster with a trowel. In some cases, applying paint or a filler can hide minor crazing.
Blistering
Blistering occurs when small bubbles appear beneath the plaster surface. It is typically caused by improper mixing of lime or other additives.
- Solution: Ensure proper mixing of all materials before application. Avoid using old or contaminated plaster mixes.
Efflorescence
Efflorescence occurs when soluble salts move to the plaster’s surface, leaving a white, powdery residue behind. This is common in areas with high moisture levels or when salty water is used in the mix.
- Solution: Use clean water free of salts. To remove efflorescence, scrub the surface with a solution of one part hydrochloric acid to five parts water, followed by a thorough rinse with clean water.
Avoid washing the surface with excess water to prevent more salts from rising.
Flaking And Peeling
Flaking happens when plaster loses its bond with the surface due to poor adhesion between coats.
- Solution: Ensure each layer is fully dry and cured before applying the next. To improve adhesion, use a bonding agent or a thin coat of cement slurry between layers.
Debonding
Debonding occurs when plaster becomes loose or separates from the surface. It is often noticeable by a hollow sound when tapped.
- Solution: Avoid applying plaster in thick layers. Before application, ensure proper surface cleaning, wetting, and priming. Adding a bonding agent can improve adhesion.
Popping
Popping occurs when foreign materials, such as unburnt lime or organic matter, cause conical holes to appear on the surface.
- Solution: Screen all materials to remove foreign particles before mixing the plaster.
The Importance Of Plaster Mesh
Plaster mesh is a reinforcing material that helps prevent cracks by holding the plaster together and providing additional strength. It is especially useful in areas prone to cracking, such as around windows or doors.
- When to Use Plaster Mesh: To minimise cracking, use plaster mesh over joints where different materials meet or on large wall surfaces.
Repairing Defects In Existing Plaster
If plaster defects occur after the work is completed, they can often be repaired without starting from scratch.
Steps To Repair Plaster Defects
- Identify the Defect: Understand the cause of the defect before attempting repairs.
- Clean the Surface: Remove any loose material, dust, or contaminants from the affected area.
- Prepare the Surface: For cracks or debonding, cut a “V” notch along the crack to provide a better bonding surface for the repair material.
- Apply Filler or Grout: Use a filler or cement grout to repair cracks or damaged areas.
- Finish and Paint: Once the repair is complete, smooth the surface and apply a fresh coat of paint if needed.
Common Repair Techniques
- For cracks: Use a construction grout diluted with water to fill the crack.
- For efflorescence: Scrub the affected area with an acid solution to remove salt deposits.
- For peeling or flaking: Remove any loose plaster and apply a bonding agent before patching the area.
Conclusion
Minimising plaster defects requires attention to detail, proper material selection, and correct application techniques.
By following industry best practices, such as preparing the surface, using high-quality materials, and allowing sufficient curing time, builders can avoid common plastering issues like cracking, delamination, and blistering.
Key takeaways include:
- Always use high-quality materials and clean, salt-free water.
- Prepare and clean surfaces thoroughly before plastering.
- Apply plaster in thin, even layers and allow adequate curing time.
- Use plaster mesh in areas prone to cracking for added reinforcement.
Adhering to these guidelines can ensure a smooth, professional finish that will last for years and minimise the need for costly repairs.
Frequently Asked Questions
How Can I Prevent Cracks In Plaster?
Apply plaster in thin, even coats to prevent cracks and ensure proper wall preparation. Use a bonding agent on porous surfaces, avoid overworking the plaster, and allow sufficient drying time between coats to avoid stress and cracking.
What Causes Uneven Plaster Surfaces?
Uneven plaster surfaces typically result from inconsistent application or improper mixing. To achieve a level surface, ensure the plaster is mixed to the right consistency, apply even pressure during application, and smooth out imperfections immediately.
How Can I Minimise Plaster Drips?
To minimise drips, apply plaster in smaller sections, working from the bottom up. Avoid overloading your trowel, and smooth the plaster quickly to prevent excess from dripping or running down the wall.
Why Does Plaster Peel Off?
Plaster may peel off due to poor adhesion caused by inadequate surface preparation, such as not cleaning or priming the wall. For better bonding, ensure the wall is properly cleaned, dried, and primed with PVA glue.
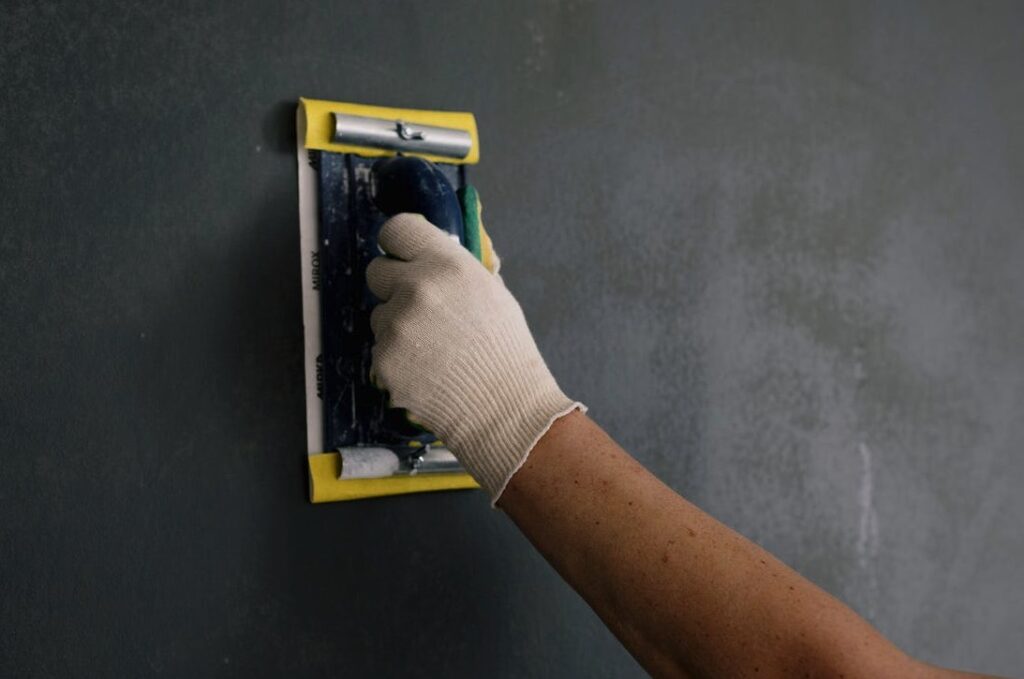
How Can I Avoid Trowel Marks In Plaster?
To avoid trowel marks, apply plaster using consistent pressure and smooth strokes. After each coat, use a damp sponge to smooth out any imperfections. Work quickly before the plaster starts to set for the best finish.

