If you’ve ever stood in the middle of your lounge room, staring at a cracked wall and wondering whether you need plastering or just a quick skim, you’re not alone. I’ve had this exact conversation with homeowners all across Melbourne—from older terraces in Carlton to brand-new builds in Point Cook. The confusion is common, and to be fair, the terms do get tossed around like they mean the same thing.
They don’t.
Choosing between plastering and skimming isn’t just a technical detail—it directly affects how long your walls last, how good they look, and how much you’ll spend fixing mistakes. Get it right, and you’re set for years. Get it wrong, and you might be back at square one before the paint has even fully dried.
Why Plastering and Skimming Are Often Confused
Same Material, Different Purpose
At first glance, both plastering and skimming involve applying plaster to a wall. That’s where the similarity ends.
Plastering builds the wall.
Skimming finishes it.
It’s like comparing laying a concrete slab to polishing the tiles on top. Both are important, but they serve completely different roles.
Here’s a simple breakdown:
- Plastering = structure, strength, durability
- Skimming = smoothness, appearance, finishing
A Real Scenario That Happens More Than You’d Think
A few years back in South Melbourne, I walked into a job where the homeowner had already tried to “fix” their walls. They’d gone ahead and skimmed over some fairly deep cracks.
Looked alright at first. Fresh coat of paint, everything tidy.
Two months later? Cracks came back, worse than before.
We had to:
- Strip the skim coat
- Rebuild sections with proper plaster
- Re-skim and repaint
That’s the classic case of putting lipstick on a pig. Looks fine for a bit, but the problem underneath doesn’t go anywhere.
What Plastering Actually Does (Building Strength That Lasts)
Plastering Is the Backbone of Your Wall
Plastering is about creating a solid, durable surface from the ground up. It’s not cosmetic—it’s structural.
You’ll typically see plastering used on:
- Brick walls
- Concrete surfaces
- Blockwork
- Severely damaged interiors
In Melbourne, where winter damp can creep into older homes, plastering also acts as a barrier against moisture. That’s not something to take lightly—moisture leads to mould, and mould leads to bigger headaches.
Real Job: Heritage Terrace in Carlton
I worked on a heritage-listed terrace in Carlton where the walls had seen decades of wear. Cracks weren’t just surface-level—they ran deep.
We couldn’t cut corners.
Here’s what we did:
|
Step |
Action |
Purpose |
|
1 |
Remove loose plaster |
Prevent future failure |
|
2 |
Apply base coat (15–20mm) |
Rebuild structure |
|
3 |
Level surface |
Ensure straight finish |
|
4 |
Apply finish coat |
Prepare for painting |
The result? Solid walls that will hold up for years, not just a quick cosmetic patch.
What Skimming Does (The Finishing Touch That Makes Walls Shine)
Skimming Is All About the Final Look
Skimming is a thin layer of plaster applied over an existing surface to make it smooth and ready for paint.
It’s used when:
- Walls are structurally sound
- There are minor imperfections
- You want a clean, polished finish
Think of it like icing a cake. The cake is already baked—you’re just making it look good.
Real Example: South Yarra Apartment Refresh
In a South Yarra apartment, the plasterboard walls were in decent shape, but the joints were showing through the paint.
Instead of tearing everything out, we:
- Applied a 2–3mm skim coat
- Smoothed out joints and imperfections
- Prepped the surface for painting
By the weekend, the place was ready for a fresh coat. No drama, no heavy work.
Plastering vs Skimming: Key Differences Explained Clearly
Side-by-Side Comparison Table
|
Feature |
Plastering |
Skimming |
|
Purpose |
Build strength |
Improve appearance |
|
Thickness |
6mm to 20mm |
2mm to 3mm |
|
Surface Type |
Raw or damaged |
Stable and existing |
|
Durability Impact |
High |
Low |
|
Time Required |
Longer |
Faster |
|
Cost |
Higher |
Lower |
Quick Checklist for Decision-Making
Choose plastering if:
- The wall has deep cracks
- The surface is uneven
- You’re working with brick or concrete
- There’s moisture damage
Choose skimming if:
- The wall is stable
- You see small dents or hairline cracks
- You’re preparing for painting
- The surface just needs tidying up
Application Process and Techniques (What Happens on Site)
Plastering Process Step-by-Step
Plastering isn’t a one-step job. It’s layered work.
Typical process:
- Surface preparation
- Base coat application (6–20mm thick)
- Levelling and bonding
- Finish coat
I remember a job in Point Cook where the concrete walls were rough as guts. Without a proper base coat, the final finish would’ve looked like a patchwork quilt.
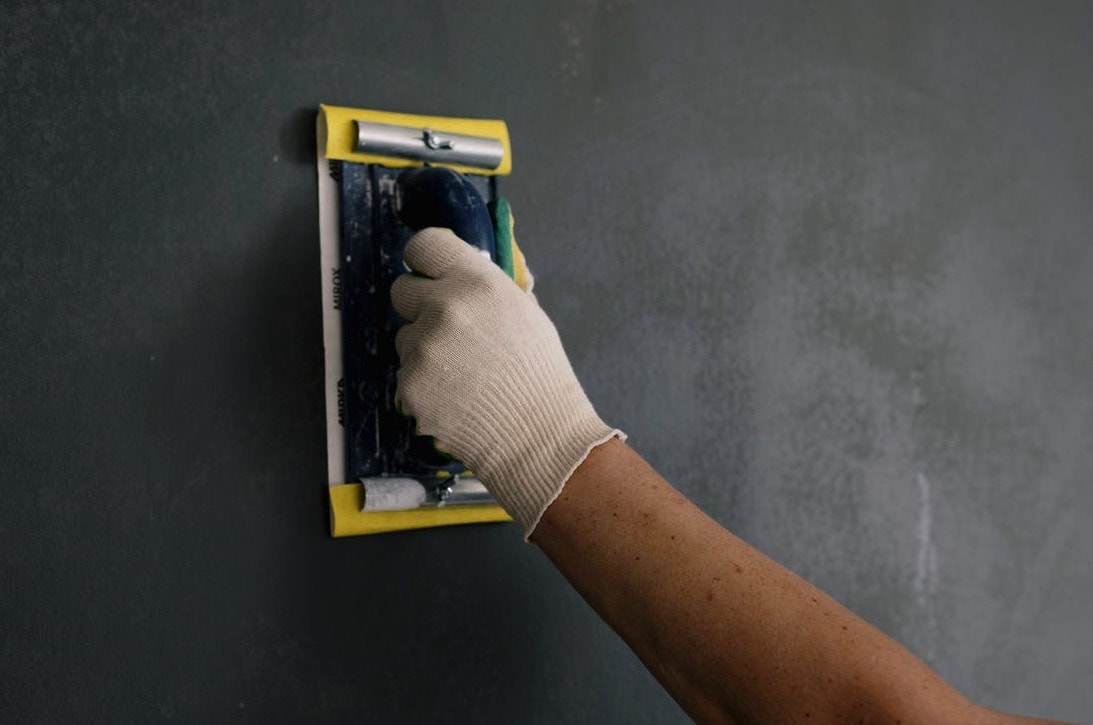
Skimming Process Step-by-Step
Skimming is quicker but requires precision.
Typical process:
- Light surface prep
- Apply thin coat (2–3mm)
- Smooth with trowel
- Light sanding
One mistake I see often is going too thick.
Common Mistakes Homeowners Make
Applying Skim Too Thick
A job in St Kilda comes to mind. A homeowner tried DIY skimming and applied about 8mm.
Result:
- Cracks within weeks
- Uneven drying
- Full redo required
Rule of thumb:
- Skimming should never exceed 5mm
- Ideal thickness is around 2–3mm
Choosing Skimming When Plastering Is Needed
This is the big one.
If the wall is damaged underneath, skimming won’t fix it.
It’s like painting over a cracked windscreen—you’re not solving the problem.
When to Choose Plastering (And Why It’s Worth It)
Situations That Require Full Plastering
- Heritage restorations
- New builds
- Walls with missing sections
- Severe cracking
Example: Footscray Renovation
We worked on a 1950s home where the plaster had crumbled away.
Checklist before plastering:
- Remove damaged material
- Check for moisture issues
- Apply bonding agent
- Rebuild with base coat
It wasn’t quick, but it was done properly.

When Skimming Is Enough (Quick Wins That Work)
Ideal Use Cases for Skimming
- Minor surface imperfections
- Paint prep
- Plasterboard finishing
- Cosmetic upgrades
Example: Brunswick Wall Fix
A simple skim coat transformed a wall with visible joints into a clean, smooth surface.
No need for heavy work. Just the right tool for the job.
Thickness, Layers, and Why They Matter
Plastering Thickness Breakdown
|
Layer Type |
Thickness |
Purpose |
|
Base Coat |
6–20mm |
Strength and levelling |
|
Finish Coat |
2–5mm |
Smooth surface |
Skimming Thickness Guidelines
- Ideal: 2–3mm
- Maximum: 5mm
Too thick = cracking and failure.
Timeline: How Long Each Process Takes
Typical Project Timelines
|
Job Type |
Timeframe |
|
Full plastering |
2–5 days |
|
Skimming |
1–2 days |
Drying times vary depending on Melbourne’s weather—humid winters slow things down, while dry summer days speed things up.
At the end of the day, plastering and skimming aren’t interchangeable—they’re complementary. One gives your walls the strength to stand the test of time, the other gives them the clean, polished finish you want before painting.
Across Melbourne, I’ve seen both done right—and done wrong. The difference always comes down to understanding what the wall actually needs.
So next time you’re looking at your walls, don’t just think about how they look. Think about what’s underneath. That’s where the real answer lies.
