Plastering is important for decorating walls and ceilings, providing a smooth, durable surface. Whether renovating or building a new home, knowing how to plaster properly can save time and ensure a professional finish.
While some prefer hiring professionals, homeowners can achieve good results by following the right techniques. This guide will explore the plastering process, breaking it down into manageable steps.
We’ll also touch on the tools and materials needed, common challenges, and essential tips for success.
Let’s get straight to the point.
Plastering involves applying a smooth layer of plaster to walls or ceilings to create a surface suitable for painting or decorating. It involves preparing the surface, mixing plaster, and applying it in multiple coats using specific tools, such as trowels and hawk boards.
The six key stages include applying, smoothing, and finishing the plaster. For larger projects, bull marking and scaffolding are often required.
Proper preparation and technique ensure a durable, professional finish, while common challenges like ridges and drying issues can be avoided with care.
Preparation Of Surface For Plastering
Before applying plaster, proper surface preparation is key to ensure adhesion and a flawless finish.
Steps To Prepare The Surface
- Clean the Surface: Remove any loose material, grease, or dust using a wire brush or scraper.
- Point the Mortar Joints: Ensure all mortar joints in blockwork are pointed and clean. If necessary, rake out the joints to a depth of 12 mm.
- Fill Holes and Cracks: Seal any gaps or cavities with concrete, allowing them to dry before plastering.
- Dampen the Surface: Wet the wall to control suction and prevent the plaster from drying too quickly.
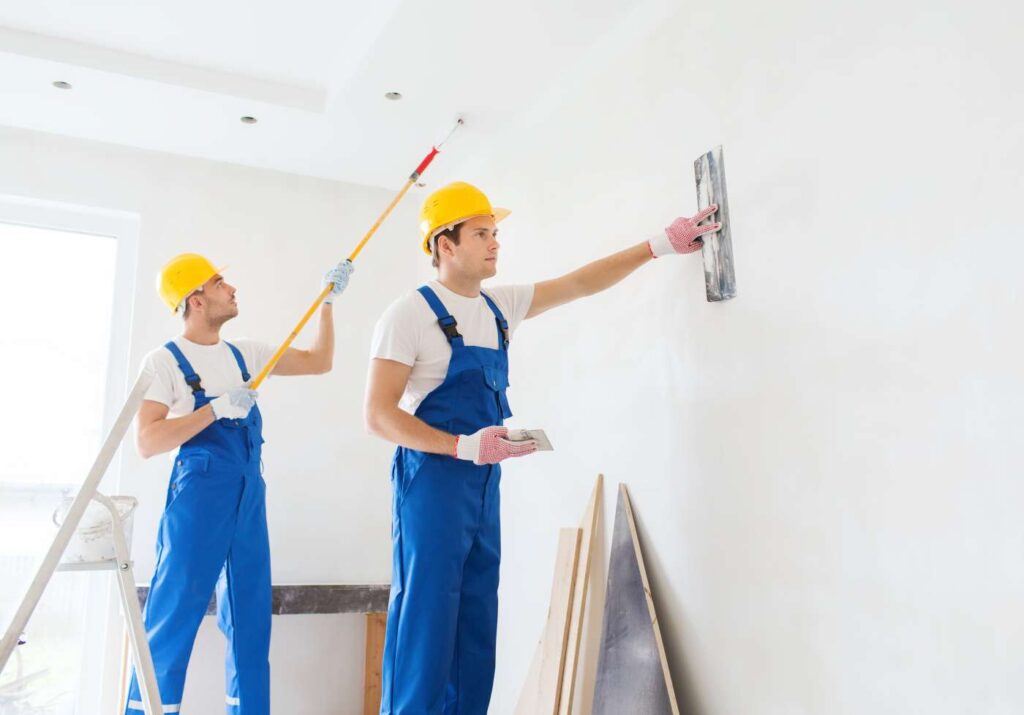
Tools And Materials Needed
For plastering, you’ll need several essential tools:
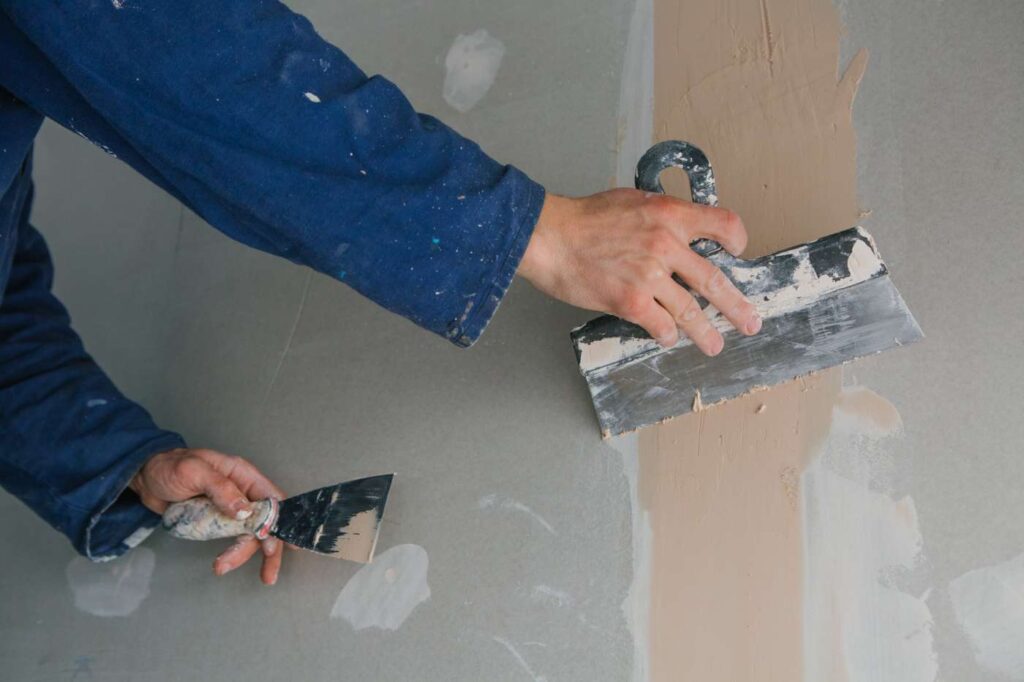
- Trowels (plastering trowel, corner trowel)
- Hawk Board: For holding and applying plaster
- Buckets: For mixing and holding water
- Mixing Stick or Paddle: For mixing plaster
- PVA (Polyvinyl Acetate): Applied to walls to ensure even drying of plaster
- Dustsheets: To protect the floor
- Water Spray Bottle: Used during the finishing stage
- Sandpaper: For smoothing the final surface
Mixing The Plaster
Follow the manufacturer’s instructions for mixing plaster. Always add plaster to water, not the other way around, and mix until you achieve a thick, custard-like consistency.
Use a dust mask when handling dry plaster to avoid inhaling dust.
The Plastering Process In Six Steps
Plastering a wall can be broken down into six key stages:
Stage 1: Applying The First Coat
The first coat of plaster should be about 2 mm thick. Apply it at an angle, with the trowel’s leading edge away from the wall.
This helps spread the plaster evenly over the surface. Don’t worry about removing trowel marks or ridges; the goal is to apply an even coat.
Stage 2: Smoothing The First Coat
Once the first coat is set, smooth it with a clean trowel. Keep the trowel’s leading edge raised slightly while applying firm pressure.
This stage is about removing bumps and ensuring a flat surface.
Stage 3: Applying The Second Coat
The second coat is applied immediately after the first. It should be thinner—around 1 mm—and require more pressure to bond with the first coat.
Wait to focus on small holes; these will be addressed later.
Stage 4: Filling Holes
As the second coat sets, fill any holes or gaps left in the plaster. Use firm pressure with the trowel to press the plaster into the holes.
Apply a small amount of fresh plaster to fill larger gaps if needed.
Stage 5: Smoothing Ridges
After filling the holes, smooth out any remaining ridges or uneven sections of the plaster. Hold the trowel at a flatter angle and press down firmly.
The plaster should be solid enough at this point to avoid scraping it off the wall.
Stage 6: Finishing The Surface
Once the plaster dries and darkens, use the trowel to smooth and polish it. To aid this process, spray a small amount of water on the surface.
Apply firm, sweeping strokes to create a clean, even texture.
Bullmarking For A Uniform Finish
Bullmarks ensure even plastering, especially on larger walls. They are small patches of plaster, typically 10 x 10 cm and 12-15 mm thick, applied at intervals across the wall.
These serve as reference points to maintain consistent thickness. After applying the bull marks, create vertical plaster strips, called screeds, between the marks.
This will help guide the thickness of the plaster as you apply it across the wall.
External Plastering And Scaffolding
External plastering requires a different approach due to weather exposure and the need for durability. A cement-sand mortar mix commonly applies a damp-proof coat outside masonry or blockwork.
The surface is often left rough for aesthetic and functional purposes. Scaffolding is necessary for safety and stability during external plastering.
Double scaffolding is preferred for its strength and does not require holes to be cut into the walls.
Scaffolding Options
- Single Scaffolding: This consists of vertical posts set into the ground and is used primarily for simple projects.
- Double Scaffolding: Offers greater stability and is ideal for larger or more complex jobs.
Final Steps: Sanding And Decorating
Once the plaster has fully dried, you can smooth any remaining imperfections with fine sandpaper. Then, you can begin decorating.
Painting And Wallpapering
Before painting, apply an undercoat primer to seal the plaster. If wallpapering, make sure to use adhesive specifically designed for this purpose.
You may need to apply a primer or sealant to ensure the wallpaper adheres properly.
Conclusion
Plastering is a skilled process that involves preparing surfaces, applying multiple coats of plaster, and smoothing the final result. Whether tackling an interior or exterior wall, following the steps outlined in this guide will help ensure a smooth, even finish.
You may want to consult a professional for larger or more complex projects, but with patience and practice, even a homeowner can achieve excellent results.

