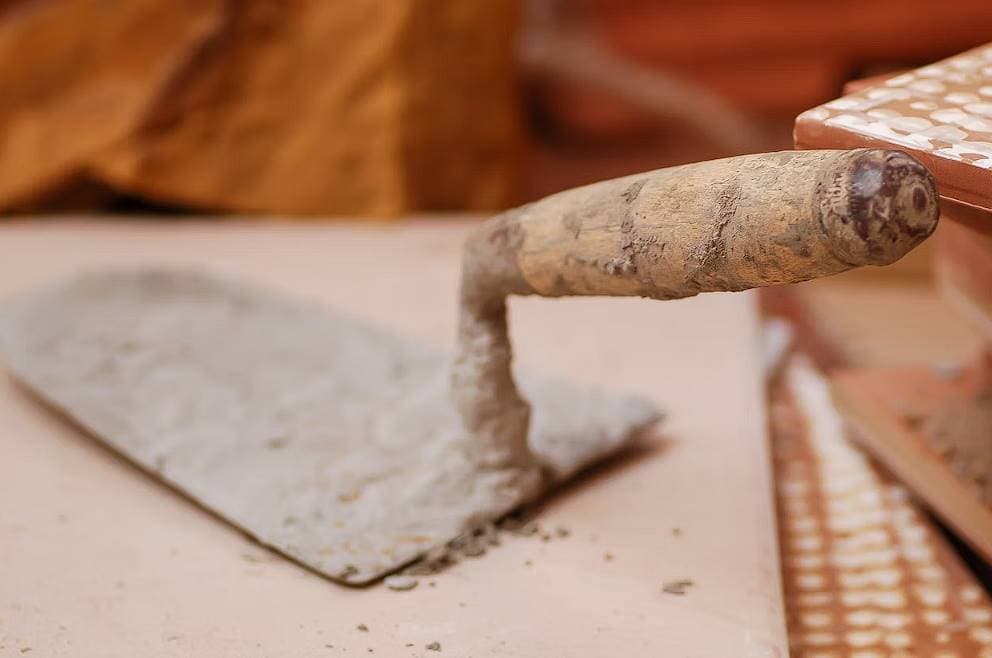
Plastering in concrete is one of those timeless construction techniques that can completely transform the look and feel of a space. It’s not just about adding a smooth, sleek finish to rough concrete surfaces—plastering offers a myriad of benefits, from improving durability and fire resistance to enhancing the aesthetic appeal of walls and facades. Whether you’re working on a new build or restoring a heritage property, plastering is essential for creating surfaces that not only look great but also stand the test of time. In this guide, we’ll walk you through everything you need to know, from the basics of plastering in concrete to expert tips on materials, techniques, and finishes, ensuring that your plasterwork is as strong and long-lasting as it is beautiful.
Essential Materials for Concrete Plastering
To get the best result from your plastering project, the materials you use are absolutely key. As someone who’s worked on everything from small residential jobs to large-scale commercial buildings, I can tell you that the quality of plaster depends heavily on choosing the right components.
Here’s a breakdown of the materials I swear by when plastering concrete:
Cement
In Australia, the most common choice for plastering is Ordinary Portland Cement (OPC) 43-grade, especially for external and load-bearing surfaces. Why OPC? Simply put, it’s strong, reliable, and sets well in the humid conditions we often face down under. However, I’ve found Portland Pozzolana Cement (PPC) to be a better option in certain conditions—particularly for coastal or industrial areas. PPC is more resistant to chlorides and sulphates, which is an important consideration in environments where concrete can be exposed to salt or chemicals.
Sand (Fine Aggregates)
Here’s where local knowledge comes into play. Sand quality is crucial, and in Australia, we’ve got different varieties depending on where you’re working. Fine, clean sand that passes through a 1.18 mm sieve is ideal for finishing coats, while coarser sand may be used for base coats. For my personal projects, I’ve always preferred using local river sand because it’s usually cleaner and provides a better finish than imported sand, which sometimes contains impurities that can weaken the plaster.
Water
I can’t stress this enough—use clean, fresh water. Sounds simple, but you’d be surprised how often this can be overlooked. I’ve learned the hard way in past jobs where water with even small amounts of contaminants has resulted in plaster failing to set properly, leading to delays and additional costs. Fresh water is key to ensuring your plaster mix will be strong and consistent.
Lime
Some prefer to add a little lime to their mix, particularly when they want to improve the flexibility of the plaster. Lime helps reduce cracking, which is particularly beneficial in areas with extreme temperature variations. I once worked on an old heritage home in a rural area where the plaster needed to be more flexible to accommodate the slight settling of the structure. Lime was the perfect addition.
The Many Benefits of Plastering in Concrete
Plastering isn’t just a cosmetic addition; it brings a host of practical advantages that go beyond what meets the eye. Over the years, I’ve worked on various properties, and it’s easy to see why plastering in concrete is so beneficial.
Aesthetic and Functional Advantages
When you plaster a concrete surface, you get that smooth, polished look that can completely transform the feel of a space. It’s like putting a fresh coat of paint on a tired, old piece of furniture—you give it new life. I worked on an inner-city renovation where the owner wanted to bring a touch of elegance to the industrial-style apartment. After plastering the concrete walls, we created a stunning, smooth finish that allowed for accent colours to pop and complemented the natural light filtering in from the large windows. It elevated the entire space.
Protection from Environmental Elements
In Australia, where the weather can be unpredictable and harsh, plastering helps create a barrier against environmental damage. During a project in the northern suburbs of Brisbane, the exposed concrete walls were subjected to heavy rainfall, high humidity, and fluctuating temperatures. Plastering the exterior not only enhanced the building’s appearance but also provided an essential layer of protection. The cement plaster sealed the surface, preventing water penetration and reducing the risk of cracking and deterioration over time.
Improved Fire Resistance and Soundproofing
One of the standout benefits I’ve noticed in plastered surfaces is their ability to improve fire resistance. A plastered wall can act as a protective barrier that slows down the spread of flames, which is vital for safety in residential and commercial buildings. Additionally, the dense nature of plaster can help with soundproofing. I remember working on a townhouse project in Melbourne, where the client wanted to reduce noise transfer between units. By plastering the concrete walls, we not only provided insulation against the elements but also achieved a significant reduction in sound transmission between rooms.
The Plastering Process: Step-by-Step Guide
Plastering is an art and requires careful attention to detail. Whether you’re working on a DIY project or a professional job, following the right process is key to ensuring a long-lasting, quality finish.
Step 1 – Surface Preparation
Before applying plaster, surface preparation is absolutely critical. You can’t just slap on plaster and expect it to stick—proper groundwork is essential for a durable finish.
- Cleaning: The surface must be free of grease, dust, and any loose particles. I remember one particular project where the concrete surface had years of grime buildup. We spent a good couple of hours cleaning it with wire brushes and pressure washers to make sure it was spotless. Trust me, this step is essential, as any residue will affect how well the plaster adheres.
- Roughening: For concrete to bond well with plaster, you need to roughen the surface. If you’re dealing with a smooth, newly-poured concrete surface, use a mechanical treatment method like shot blasting or scabbling to create a rough texture that improves adhesion.
- Repair: Before plastering, ensure any holes or cavities are filled properly. On one occasion, I had to repair large cracks in an old warehouse before plastering over the surface. A good mix of cement and sand sealed the cracks, creating a smooth, uniform surface to work with.
- Moistening: Here’s an insider tip: wetting the surface is a game-changer. It may seem simple, but it’s one of the most important steps. By moistening the wall, you’re ensuring the surface won’t suck up moisture from the plaster mix, which can cause it to dry too quickly and crack. I typically wet the surface for at least 6 hours before starting the plastering process.
Step 2 – Levelling and Groundwork for Plaster
Now comes the hard part—getting the plaster even. The key to a smooth, uniform finish is careful levelling.
- Fixing Dots: This might sound a bit odd, but I use small plaster patches, known as “dots,” across the surface. These dots act as markers that guide the plaster’s thickness. On one project, we spaced these dots every 2 meters across the wall to ensure the plaster was applied evenly.
- Checking Verticality: A quick tip I picked up from an old mentor is using a plumb bob to check the verticality of your dots. It’s a foolproof way to ensure that everything stays aligned as you go.
- Forming Screeds: Once the dots are in place, I use vertical strips of plaster (called screeds) to ensure a consistent thickness. These screeds help maintain a uniform plaster application.
Step 3 – Mixing the Plaster
A good plaster mix can make or break the job. Getting the right consistency is crucial to ensuring smooth application.
- Proportions: The mix ratio is critical. Generally, I stick with a 1:3 or 1:4 cement-to-sand ratio, depending on the coat and the finish required. For the first coat, I prefer a coarser mix to fill any gaps, while the final coat requires a finer mix for smoothness.
- Consistency: The water content is also important—too much, and the mix will be too runny; too little, and it will be hard to work with. I find that a water-to-cement ratio of about 28%-30% by weight works well, though I adjust based on climate and sand conditions.
- Mixing: Whether you’re mixing by hand or using a cement mixer, the goal is to make sure the mix is uniform and consistent. I always mix the ingredients for at least 5 minutes to avoid any lumps.
