Office plastering is often seen as a simple task, but it’s actually the foundation of a well-designed, functional, and durable workspace. Whether you’re renovating an existing office or outfitting a brand-new space, plastering plays a vital role in creating an environment that’s not only visually appealing but also resilient to daily wear and tear. From improving acoustics to ensuring fire and moisture resistance, quality plastering enhances both the aesthetics and functionality of an office. In this guide, I’ll take you through the key steps of office plastering, sharing expert tips and personal insights gained from years of experience in the field. Let’s dive into the details and explore how you can achieve a flawless finish that will stand the test of time.
Step-by-Step Guide to Plastering Your Office
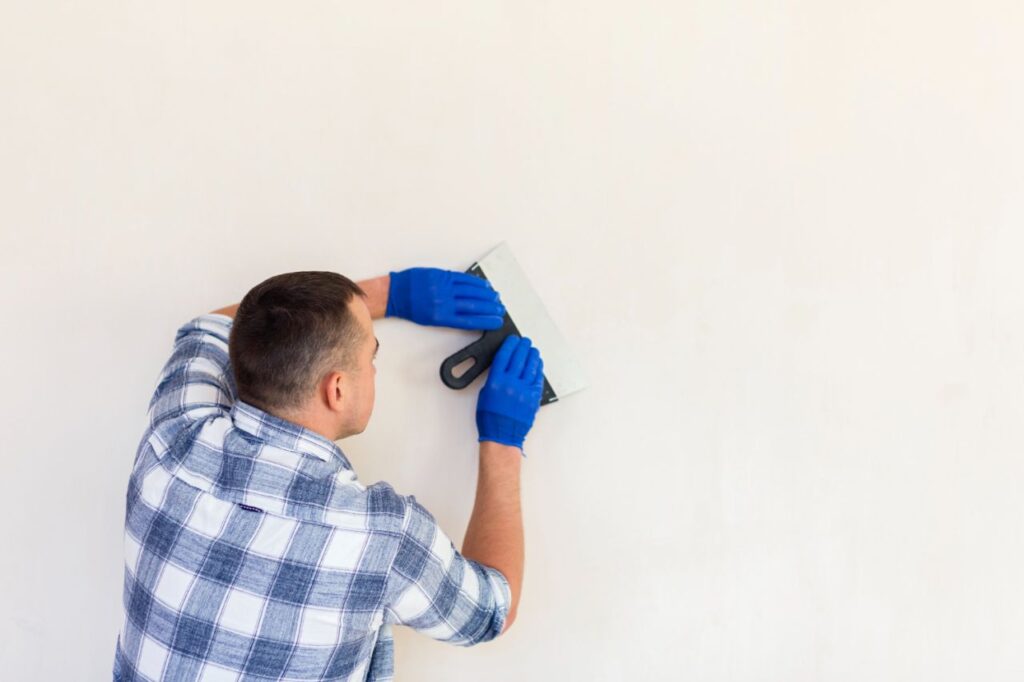
Now that your walls are prepared and your tools are ready, it’s time to get plastering! Plastering is a skill, and while it can be a messy job, following a clear, structured process will ensure a smooth and professional finish. Here’s a breakdown of the key steps I follow when plastering an office.
Step 1: Applying the Base Coat (Scratch Coat)
The base coat, also known as the scratch coat, is your first layer of plaster. This coat is crucial for levelling out the surface and providing a solid foundation for the next layers. When I was working on a fit-out for a law office in Sydney, we applied a thicker scratch coat (around 10-15mm) to brick walls. This helps level out uneven surfaces. For gypsum plaster, we aimed for a thickness of about 6mm.
Once the base coat is applied, it’s typically scored or scratched with a trowel to give it a rough surface, ensuring the next layer of plaster sticks properly. For cement-based plaster, we followed a 4:1 sand-to-cement ratio for the base coat, which helped us achieve a durable, long-lasting finish.
Step 2: Floating Levelling the Surface)
Once the base coat is applied, the next step is floating. This is where you use tools like a straight edge or Darby to level and smooth the surface. In my experience, this is one of the more tedious steps, but it’s essential to get the surface perfectly flat. If you skip this, your next layers will have lumps or bumps that’ll be tough to fix. During an office renovation in Adelaide, we spent several hours ensuring the surface was perfectly level—this attention to detail paid off in the end when the plaster dried to a perfectly smooth finish.
Step 3: Applying the First Finish Coat (Skim Coat)
With the base and floating done, it’s time to apply the first finish coat, or skim coat. This thin layer (around 2mm thick) smooths out the wall and begins to give it that professional, smooth appearance. When I worked in a corporate office in Brisbane, this was where we really started to see the transformation. You want to apply the skim coat as evenly as possible, using long, smooth strokes with your trowel. It’s essential not to overwork the plaster, as this can weaken it and cause imperfections later.
Step 4: Second Finish Coat (Final Skim)
The second finish coat refines the surface, filling in any minor imperfections left by the first coat. It’s typically thinner than the first (around 1-1.5mm). During a project in Sydney, we applied the second coat shortly after the first was still a little wet. This allowed the layers to bond seamlessly, creating a smooth, flawless surface. This final layer is where you can perfect any inconsistencies in the first skim coat.
Step 5: Trowelling and Polishing
Once the second coat has dried but isn’t completely set, it’s time for the trowelling and polishing process. This step ensures the plaster is smooth, even, and free of lines. I’ve always found this to be one of the most satisfying steps. When I worked on a coworking space in Melbourne, we took extra time to polish the finish, ensuring it was as smooth as possible. Adding a little water while polishing helps refine the finish and create that glossy sheen.
Step 6: Drying and Curing Time
After all that hard work, don’t rush the drying process. Plaster can take anywhere from 3-5 days to fully dry, depending on the thickness of the coats and the humidity in the room. When working on an office project in Perth, we allowed up to 4 weeks for the plaster to fully cure, which ensured the final result was stable and durable. Avoid using dehumidifiers or forcing the drying process with heaters, as this can cause cracking. The natural drying process ensures the plaster sets evenly and firmly.
Key Steps in Interior Design Planning for Offices
Before you even think about plastering, there are crucial planning steps that can’t be overlooked. I’ve had the privilege of working closely with architects and interior designers over the years, and let me tell you—no office fit-out is successful without a solid plan in place. You don’t want to dive into plastering until you’ve worked out the flow of your space and how you want it to function.
Visualising the Perfect Office Layout
A well-thought-out office layout is like the blueprint for a successful plastering job. Imagine this: You’re setting up an office space for a marketing firm in Sydney, where you need areas for both collaboration and quiet work. The goal is to design a layout that supports your team’s workflow and encourages productivity. You’ll need to think about everything from natural light (it’s vital in Australia, where we get so much sunlight) to the ideal placement of meeting rooms, lounges, and breakout areas.
Having the layout in place will guide your plastering decisions. For example, areas with more foot traffic may need extra attention when it comes to durability, while quieter spaces may benefit from acoustic plastering to reduce noise. By the time plastering comes around, you’ll have a clear picture of how your walls need to work with the overall office design.
Establishing a Budget Cap
When I worked on a major office fit-out in Melbourne’s CBD, the budget was tight, and we had to balance quality with cost. One of the first steps I took was to set a realistic budget, factoring in everything from material costs to labour. For plastering, this meant allocating enough for high-quality plaster and skilled tradespeople. In my experience, the cheapest option isn’t always the best, especially when it comes to commercial-grade plastering. You want something that will last and withstand the wear and tear of a busy office environment.
Don’t forget to include a contingency fund—about 10-15% is a good rule of thumb. Unforeseen issues often arise, like discovering damaged walls that need extra prep work before plastering, and you’ll want to be prepared.
Choosing the Right Collaborators
Selecting the right contractors is a game-changer. When I worked with a local office fit-out company in Perth, their attention to detail and high standards made all the difference in the success of the plastering. Choose experienced contractors who are familiar with the latest plastering techniques and materials. They should also be able to offer advice on the best products for your office, whether it’s standard gypsum plaster or something more specialised, like acoustic plaster systems.
And let’s not forget about good communication. I’ve worked on too many projects where the plasterers didn’t align with the design team, leading to delays and mismatched finishes. It’s essential that everyone is on the same page before the plastering starts.
Creating a Comfortable and Productive Environment
After all, the primary goal of any office fit-out, plastering included, is to create an environment that enhances comfort and productivity. Think ergonomic furniture, proper lighting, and good airflow—all of which will be influenced by how the plastering is done. I’ve worked on a project for a law firm where the design incorporated plenty of natural light and biophilic elements—plants, green walls, and large windows. The plastering helped set the tone for a calming environment, ensuring that the smooth, polished finish complemented the overall vibe.
Surface Preparation for Office Plastering
Before the plaster goes on, proper surface preparation is essential. In my experience, the success of any plastering job hinges on how well the surface is prepared. A bit of extra time spent here can save you from having to redo areas down the line.
Room and Furniture Preparation
Now, it might sound obvious, but clearing out the room is crucial. When I was working on an office fit-out in a Brisbane office building, the team spent a solid morning clearing out furniture, covering floors with protective sheeting, and securing electrical outlets. The less clutter, the better—especially when you’re working with heavy plaster and mixing equipment. Even if you can’t clear all the furniture, using plastic dust sheets and painter’s tape will help protect surfaces from splatter.
Also, if your office has radiators or wall-mounted heaters, it’s best to remove or cover them. These areas can interfere with plaster application, leaving uneven spots or damaging delicate equipment.
Access to Water and Mixing Tools
Plaster mixing isn’t as simple as throwing water and powder into a bucket. Over the years, I’ve learned that having access to a clean water source makes all the difference. When mixing plaster, I recommend avoiding kitchen or drinking water supplies—plaster’s lime content can make the water unsuitable for food use. Instead, set up a designated, protected area for mixing, with all your tools close at hand. In one of the projects I worked on, we had a dedicated mixing station in a back room to keep everything tidy and prevent accidental spills.
Skirting Board and Wall Considerations
I’ve had clients who wanted to keep their old skirting boards in place, only for them to be completely damaged by the plastering process. If skirting boards are old, worn, or in the way of the plastering process, it’s best to remove them altogether. That said, if they’re in good condition, you can simply protect them with painter’s tape. When we worked on a Melbourne-based office fit-out, the team decided to skim the plaster up to the top of the skirting boards for a seamless finish, which worked beautifully. It’s a small detail, but trust me, it makes a big difference when the plastering is finished.
Wall Preparation Techniques
Now comes the nitty-gritty—getting your walls ready for plaster. The first step is stripping off any wallpaper. Applying plaster over wallpaper is a recipe for disaster—it can easily peel off. I once worked on a commercial space where the previous tenants had wallpapered over every wall. When we began plastering, the team had to strip it all off first—trust me, it’s much easier to deal with this early on than after you’ve already applied the plaster.
Next, wash down your walls using household sugar soap. This step might seem like a small one, but if you skip it, grease and grime can prevent the plaster from adhering properly. In an office I worked on in Sydney, skipping this step led to peeling plaster in certain spots after just a few months, which meant we had to redo the job in those areas.
Scrim Tape and Bonding Primer
Now, for the cracks. If your walls have any cracks, I recommend applying a fibreglass scrim tape to them before you start plastering. This prevents the cracks from shifting and ensures that the plaster will stay intact. I once worked in a heritage office in Brisbane where old walls had significant cracking. Applying scrim tape helped stabilise the surface, and we didn’t have to worry about the cracks widening as the plaster dried.
Then, apply your bonding primer—either PVA (mixed 3:1 with water) or Blue Grit. PVA is a cheaper, more common option that works well for most plasterboard, but Blue Grit offers stronger adhesion, which can be helpful on porous surfaces. For a commercial office in Adelaide, I used Blue Grit to prepare some of the more porous brick walls. This extra adhesion helped prevent the plaster from drying too quickly, ensuring a smooth application.
Types of Plaster for Office Use
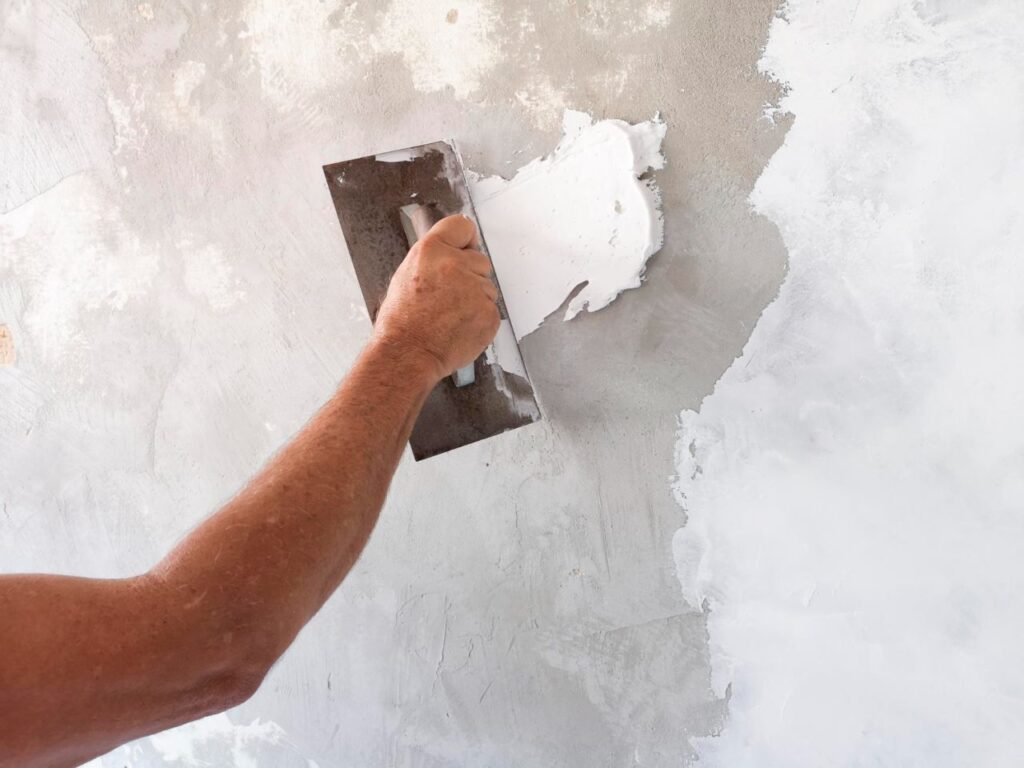
Choosing the right plaster for the job is crucial—it’s not just about aesthetics, but also about functionality and durability. Let me share a few different plaster types I’ve used in office fit-outs, and how they impacted the overall result.
Gypsum Plaster (Skim Coat Finish)
For most modern offices, gypsum plaster is the go-to choice. It’s lightweight, quick-drying, and perfect for achieving a smooth finish. I used gypsum plaster in a recent office renovation in Sydney, where we needed a fast turnaround. The beauty of gypsum is that it provides a smooth, uniform finish that works well under paint or wallpaper. It’s also ideal for areas that don’t experience a lot of humidity. Plus, it’s fire-resistant, which gives it an edge when it comes to safety in high-traffic commercial spaces.
Lime Plaster for Heritage or Wellness Offices
If you’re working on a heritage office or you’re aiming for a natural, breathable finish, lime plaster is the best option. It’s a bit more flexible than gypsum, making it a good choice for older buildings that may be prone to movement. In an office I fit out in Melbourne’s inner suburbs, we used lime plaster for the walls in a heritage-listed building. The material allowed the building to breathe, preventing moisture build-up behind the walls—a common issue in older buildings. Plus, it’s naturally antimicrobial and low in VOCs, which makes it the perfect choice for a wellness-focused office.
Acoustic Plaster Systems
If you’re in an open-plan office or a space where noise levels need to be controlled, acoustic plaster is worth considering. These systems are designed to absorb sound and reduce echo, providing a more comfortable work environment. I used acoustic plaster in a commercial office fit-out for a media company in Sydney. The reduction in noise was immediate, and the clean finish kept the space looking professional and polished. It’s an investment that’s well worth it for any business looking to foster focus and privacy.
Cement Plaster for High-Durability Areas
For more industrial-looking spaces or areas that need a rougher, more durable finish (like hallways or exterior walls), cement plaster is a solid choice. Cement plaster is fast-setting and offers excellent fire resistance, which is ideal for spaces like kitchens or bathrooms. On one office project I worked on in Melbourne, we used cement plaster for the corridors and stairwells. It withstood the heavy foot traffic and looked great in the industrial-themed office.