Plastering is often an unsung hero in the world of construction, yet its impact on both the aesthetics and durability of a building cannot be overstated. Whether it’s the sleek finish of a luxury home or the sturdy walls of a commercial office, plastering plays a pivotal role in shaping the look and longevity of a space. But what truly makes plastering successful? It’s a combination of skilled craftsmanship, quality materials, and meticulous attention to detail that transforms bare walls into works of art. In this guide, we’ll explore the key elements that make commercial and residential plastering projects not only possible but truly successful – from surface preparation to the final finish, ensuring that every corner, every coat, and every layer adds value and longevity to your build.
The Key Components to Successful Plastering in Any Project
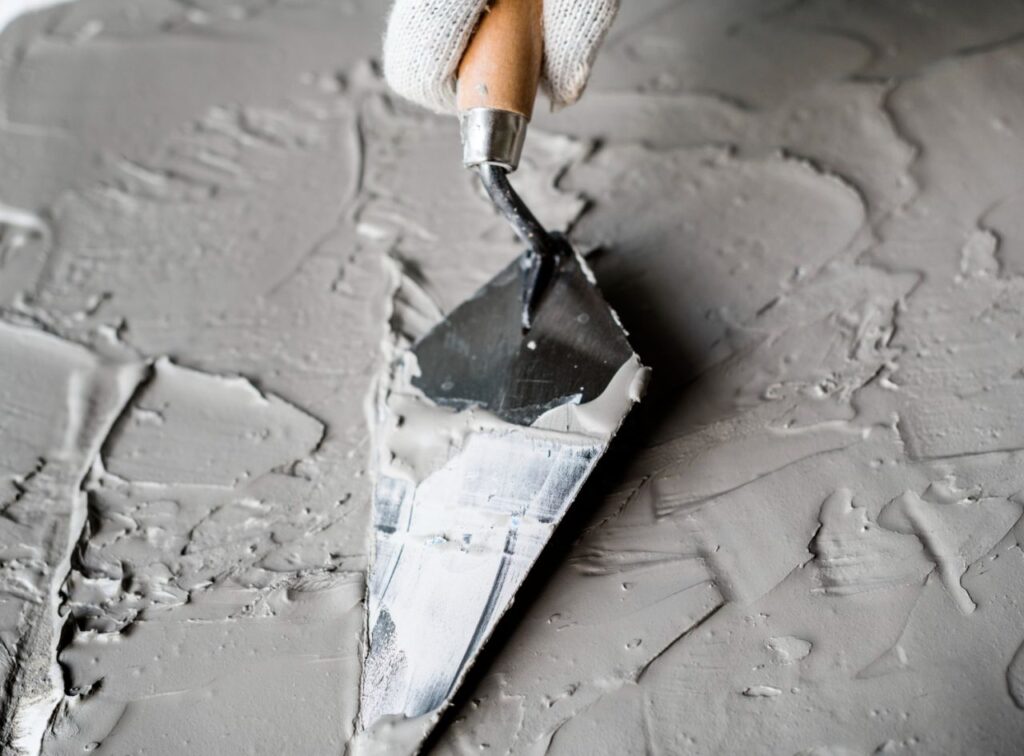
Plastering is often seen as a simple process, but ask any experienced plasterer, and they’ll tell you that success lies in the preparation. It’s like building a house – you wouldn’t start with the roof before laying the foundation, right? Surface preparation is the unsung hero of any plastering job, whether it’s a commercial building or a cosy home renovation.
I remember working on a project in Melbourne’s inner suburbs, where the surface of the old brick walls was incredibly uneven. The job initially seemed straightforward, but when we started prepping, it quickly became apparent that we had to go the extra mile. First, we had to remove layers of paint that were peeling, then fill in cracks and holes that had been there for decades. It was no small task, but it made all the difference. When the plaster finally went on, it adhered like a dream, and the finish was smooth – you’d never know the walls had been so problematic.
Here’s the deal with surface preparation:
- Clean the Surface Thoroughly – Dust, debris, oil, and even dirt can interfere with how well the plaster bonds to the wall. In the Melbourne project, we used a powerful pressure washer to clean the masonry, followed by a scrub down to remove any lingering oil marks. The cleaner the surface, the better the plaster sticks, which means fewer problems down the line.
- Fill in the Cracks and Holes – A quick patch-up job won’t cut it if you want a truly smooth finish. Whether you’re plastering over timber or concrete, every crack and hole needs attention. Think of it like filling in the potholes on a road before laying the new tarmac.
- Apply a Primer – Not every surface needs this, but when you’re working with porous materials like masonry or old plaster, a primer can work wonders. We used PVA primer in the aforementioned Melbourne project, which gave us a perfect base for the plaster and prevented moisture from seeping in.
- Moisture Management – This is especially critical for coastal areas like Sydney or parts of Queensland, where humidity can wreak havoc on plaster. We always make sure to thoroughly wet the surfaces before applying plaster – not soaking wet, just enough to prevent the plaster from drying out too fast and cracking.
When you take time to get this right, the plastering process flows smoothly, and the end result will be far more durable. Remember, a well-prepped surface is half the battle won.
Choosing the Right Materials for Long-lasting Results
When it comes to plastering, choosing the right materials is more than just a matter of picking something off the shelf – it’s about understanding the specific needs of your project, the local environment, and the long-term goals for your space. It’s like choosing the right tool for the job – you wouldn’t use a hammer to screw in a nail, right? Similarly, choosing the wrong plaster can lead to issues like cracking, poor adhesion, or even moisture damage over time.
I recall a commercial job in Brisbane where the client insisted on using a cheaper plaster option for their office fit-out. We warned them that the area was prone to high humidity and that gypsum plaster wouldn’t hold up in the long run. Sure enough, a few months after the job was completed, there were signs of moisture damage on the walls. We had to come back in, strip the old plaster off, and reapply using a more durable, moisture-resistant option – a costly lesson for the client.
Here’s what you should know about choosing plaster for different projects:
- Gypsum Plaster for Indoor Spaces – For interior plastering, especially on walls and ceilings that don’t face extreme conditions, gypsum plaster is often the go-to choice. It’s smooth, lightweight, and easy to apply, making it perfect for finishing jobs in residential homes or commercial spaces. But, be cautious if you’re in a coastal area with higher humidity or if you’re working in a high-traffic space – gypsum’s performance can be affected by these factors.
- Cement Plaster for Durability – When you need strength and resilience, cement plaster is your best bet. We use this on external walls, particularly in areas like Melbourne, where the weather can be harsh. Cement plaster can handle moisture, temperature fluctuations, and heavy wear and tear. For larger commercial spaces or areas exposed to the elements, cement plaster is the material that can stand the test of time.
- Lime Plaster for Restorations – If you’re restoring an older property or working with heritage buildings, lime plaster is a fantastic choice. It’s breathable, flexible, and ideal for use in buildings where moisture control is important. Plus, it helps maintain the historical integrity of the structure. I’ve worked on several old homes in regional New South Wales, where lime plaster was a must due to its ability to adapt to the shifting foundations of the building.
- Polymer-Modified Plasters for Flexibility – For areas prone to temperature shifts or seismic activity, polymer-modified plasters are a great choice. These plasters offer enhanced flexibility and resistance to cracking, making them a solid option in regions like northern Victoria, where you experience both extreme heat in summer and colder winters.
- Eco-Friendly Options – As environmental concerns become more prominent, many clients now ask for eco-friendly plastering materials. Products like earthen plasters or recycled gypsum plasters not only help reduce your carbon footprint but also improve indoor air quality by minimising volatile organic compounds (VOCs). On a recent project in Sydney, we used a natural clay-based plaster that was not only sustainable but also provided excellent acoustic properties – a real win-win for the client.
When you choose the right plaster for your needs, you’re investing in the longevity of the project. Materials that suit the local climate and the intended use of the space will ultimately save you money in repairs and maintenance down the road. Just like any good investment, it’s about doing your homework upfront and ensuring you’re set for the long haul.
Application Techniques and Craftsmanship

There’s no denying it – plastering is an art form. When done right, it creates a smooth, seamless finish that can elevate any space. But even the best materials won’t yield great results if the application techniques aren’t up to scratch. I’ve always believed that craftsmanship makes or breaks a plastering job. A good plasterer doesn’t just apply the plaster; they make it sing.
I had the privilege of working with an experienced plasterer on a high-end townhouse project in Sydney’s eastern suburbs. This particular tradesman, an old-school expert, had a knack for perfecting his application. His attention to detail and steady hand turned what could have been a standard job into something extraordinary. I remember him taking extra care with the corners – he’d use a corner trowel to get those sharp, clean lines that make the room look polished and professional.
Here’s how you can apply plaster like a pro:
- Consistency and Even Application – To achieve a flawless finish, consistency is key. When you apply plaster, you want to keep the pressure steady on your trowel and ensure the plaster is distributed evenly across the surface. We always apply from the bottom left-hand corner upwards, filling in each section completely to avoid uneven layers. Rushing through the process may save time, but it compromises the finish.
- Mastering Corners and Edges – Corners, edges, and areas around light fittings require extra attention. One small slip-up in these areas, and you’ll end up with gaps, lumps, or rough edges. I’ve seen it time and time again – corners that aren’t treated properly can detract from an otherwise beautiful room. Use a corner trowel to get those sharp, crisp lines. It’s these small details that separate a professional from an amateur.
- Layer Thickness Matters – A good plastering job involves the right thickness for each coat. For example, undercoat plaster should be around 11mm thick for walls and 8mm for ceilings. Anything thicker than that, and you’ll need two coats. I remember on one particularly tricky job in a commercial office space, we had to apply a thicker first coat because of the unevenness in the wall. It added time to the job, but it was necessary to ensure that the final finish would be perfect.
- Don’t Rush the Process – It’s tempting to speed things up, but in plastering, patience is paramount. One of the biggest mistakes I’ve witnessed is plasterers rushing to get the job done, only to end up with an uneven finish, cracks, or delamination. The plaster should be applied in layers, with enough time between each layer for it to dry properly. Skipping this crucial step results in poor adhesion and a shoddy finish.
In my experience, craftsmanship is everything. A plasterer who takes pride in their work, pays attention to detail, and applies consistent techniques will ensure that the finish is not just functional, but beautiful. You’ve invested in quality materials; now it’s time to treat them with the respect they deserve.