Plastering is a crucial component in both residential plastering and renovation projects, providing a significant combination of durability, aesthetics, and protection to walls and ceilings. For those starting out, mastering the basics of plastering is vital, and understanding the right tools, materials, and techniques is key to achieving a professional finish.
Whether you’re looking to understand plastering for home renovations, smooth wall plastering, or plastering repairs Melbourne, this comprehensive guide will walk you through the core concepts.
Let’s Get Straight To The Point
This guide covers essential residential plastering tips for beginners, including tools, plaster types, and techniques for achieving a smooth finish. Learn about plastering for home renovations, plaster repairs Melbourne, and plastering ceiling tips, as well as maintenance and safety practices for long-lasting results.
Essential Plastering Tools for DIY and Professional Projects
Before beginning any plastering project, it’s important to have the right tools. Plastering tools for DIY projects may differ from professional tools, but they all contribute to achieving a flawless finish. Here’s a breakdown of essential tools for both beginners and professionals:
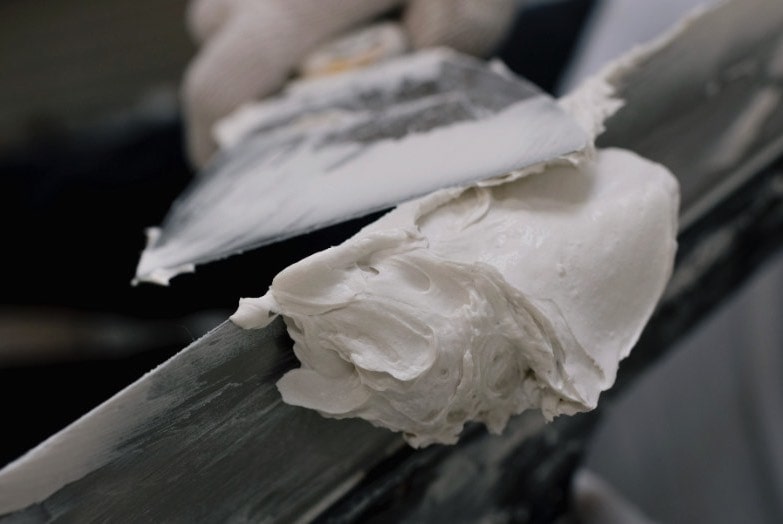
Trowel
The trowel is the primary tool used for spreading and smoothing plaster. Plastering tools for DIY should start with a smaller, easy-to-control trowel to prevent mistakes. Over time, you can transition to larger trowels for more significant projects.
Plastering Hawk
The plastering hawk is a flat, square tool with a handle used to carry and transfer plaster. It helps maintain an efficient workflow by ensuring you don’t run out of plaster mid-application.
Plaster Mixer
For large projects, a plaster mixer ensures a smooth consistency, which is essential for a plastering tips for flawless finish. A plaster mixer helps mix plaster without lumps and is vital when working on large-scale plastering for home renovations or plaster repairs Melbourne.
Types of Plaster for Residential Projects
The type of plaster used can significantly impact the results. The most common types of plaster include:
Lime Plaster for Walls
Lime plaster for walls is an ancient and eco-friendly option. It’s ideal for homes with fluctuating moisture levels and older homes that need flexibility. Its breathability prevents moisture buildup, reducing the risk of mold.
- Best for: Historic home renovations and moisture-prone areas.
- Advantages: Flexible and breathable, reducing cracks over time.
- Drawbacks: More time-consuming and expensive compared to other plaster types.
Gypsum Plaster Application
Gypsum plaster is widely used in modern construction. It sets quickly after mixing with water, making it perfect for wall plastering techniques in interior spaces.
- Best for: Interior walls, drywall installations.
- Advantages: Fast-setting, cost-effective, and easy to apply.
- Drawbacks: Not suitable for high-moisture areas.
Cement Plaster for Exteriors
Cement plaster for exteriors is known for its strength and durability, making it ideal for residential plastering in areas requiring reinforcement. It’s also used in plastering repairs Melbourne due to its robustness.
- Best for: Exterior walls and surfaces requiring strength.
- Advantages: Long-lasting and resistant to external wear.
- Drawbacks: Rough texture, which may require additional smoothing.
Clay Plaster
Clay plaster is an environmentally friendly alternative, made from natural ingredients like clay and sand. It is non-toxic, creating a unique rustic finish but is not suitable for damp areas.
- Best for: Eco-conscious homes and interior walls.
- Advantages: Non-toxic and provides a natural finish.
- Drawbacks: Not suitable for areas with high moisture.
Plastering Tips for Beginners: Step-by-Step Guide
For beginners, following the correct plaster mixing and application steps is essential for a smooth and even finish. Below is a guide to help you achieve professional results.
Step 1: Prepare the Surface
Proper plaster surface preparation is the foundation for successful plastering. Start by cleaning the walls and ensuring they are dry and free of dust. Repair any cracks or holes and remove peeling paint to create an ideal bonding surface for the plaster.
Step 2: Mix the Plaster
Following the manufacturer’s instructions is key to ensuring a perfect mix. Plaster mixing and application should be done carefully to avoid lumps or air pockets, which could compromise the final result. When mixing plaster, be sure to achieve a consistency that is thick enough to adhere to the surface but not too runny.
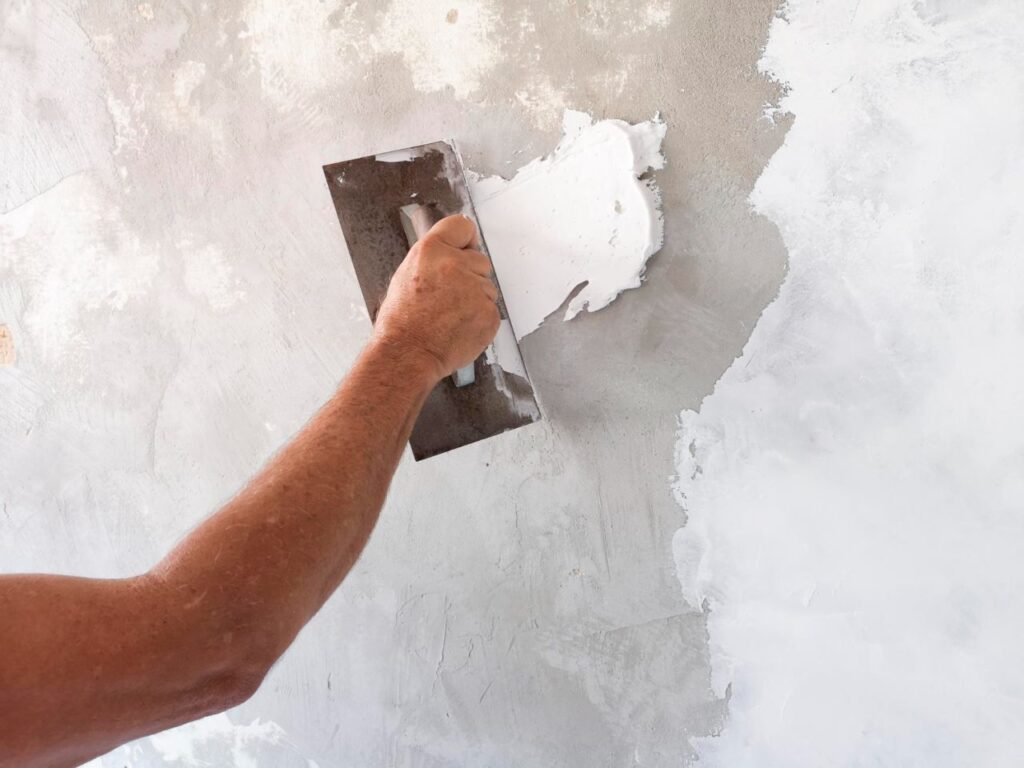
Step 3: Apply the Base Coat
Using a trowel, apply the base coat of plaster in thin layers. Start from the bottom and work upwards, smoothing the plaster across the wall. Be patient—applying thin coats ensures better adhesion and prevents cracking.
Step 4: Apply the Finishing Coat
Once the base coat is dry, apply a thinner finishing coat using gentle, sweeping motions. This layer should be applied more delicately than the base coat to achieve a smooth finish. The plastering tips for flawless finish include keeping the trowel steady and ensuring even pressure while applying the plaster.
Step 5: Drying Time
Allow the plaster to dry fully before sanding or painting. The drying time can vary depending on the types of plaster used, but rushing this stage can lead to imperfections.
Plastering Ceiling Tips for Professional Results
When it comes to plastering ceilings, it’s essential to use the correct tools and techniques to ensure a smooth finish. For ceilings, start by applying the plaster in thin layers and work from the center outwards. Plastering ceiling tips include using scaffolding for better reach and control, and applying multiple thin coats for a smooth result.
Plaster Maintenance and Care
Once the plaster is applied, it’s important to maintain it properly. Regular cleaning and inspection are necessary to prevent cracks and damage.
Cleaning and Dusting
Regular dusting helps keep your plastered surfaces looking fresh. For stains, use a damp cloth—avoid abrasive materials that may damage the surface.
Inspection and Repairs
Look for cracks or chips, particularly in high-traffic areas or bathrooms. If you notice damage, plaster repair techniques can help restore the surface. Small cracks can often be fixed with a quick reapplication of plaster, but larger areas may require resurfacing.
Replastering
For areas with significant wear, you may need to consider plastering repairs Melbourne. Replastering is essential for restoring the smoothness and strength of the walls and ensuring the durability of your plastered surfaces.
Safety Protocols in Plastering
Safety should always be a priority during any plastering project. Ensure proper ventilation to prevent inhalation of dust, and always wear Personal Protective Equipment (PPE), including gloves, a dust mask, and goggles, when mixing and applying plaster.
If you’re plastering ceilings or high walls, use secure scaffolding or ladders. Always ensure your equipment is stable and avoid overreaching while working at heights.
Conclusion
Plastering is a valuable skill in residential construction and home renovation projects. By using the right plastering tools, following wall plastering techniques, and understanding different types of plaster, you can achieve a professional finish, even as a beginner. Whether you’re working on plastering for home renovations, plastering ceiling tips, or plastering repairs Melbourne, mastering the basics of plaster mixing and application will ensure that your walls and ceilings are both beautiful and durable. Always remember the importance of safety and maintenance to prolong the life of your plastered surfaces and keep your home looking its best for years to come.
FAQs About Plastering
How Should I Apply Plaster To The Walls Or Ceilings?
Plaster should be applied in thin layers using a trowel, starting from the bottom and working upwards. It’s important to spread the plaster evenly and smoothly to achieve a uniform finish.
How Do I Achieve A Smooth Finish When Plastering?
Achieving a smooth finish requires practice and proper technique. Using long, sweeping strokes with the trowel and keeping the plaster moist can help achieve a smooth surface.
What Should I Do If Air Bubbles Or Imperfections Appear In The Plaster?
Air bubbles or imperfections can be smoothed out by gently tapping the surface with the trowel or using a damp sponge to blend them in before the plaster sets.
How Long Does Plaster Take To Dry Completely?
The drying time for plaster varies depending on factors such as humidity, temperature, and the type of plaster used. Typically, plaster may take 24 to 48 hours to dry completely.
What Steps Should I Take To Finish And Maintain Plastered Surfaces?
After the plaster has dried, lightly sanding the surface can help smooth out imperfections. Additionally, applying a primer and paint or wallpaper can protect and enhance the plastered surface, and regular maintenance such as cleaning and touch-ups may be necessary to keep it looking its best.

