Achieving the perfect plaster finish is both a science and an art—it’s about knowing the right techniques, selecting the right materials, and most importantly, understanding the number of plaster coats required to create a flawless surface. Whether you’re renovating a heritage home in Melbourne or putting the finishing touches on a new build in Sydney, the number of plaster layers you apply can make all the difference. Too few, and your walls might lack durability and smoothness; too many, and you might be adding unnecessary time and cost. In this guide, we’ll walk through everything you need to know—from the basics of plastering systems to expert tips that’ll ensure your finish is nothing short of perfect. Let’s dive in!
How Many Coats Are Needed for the Best Finish?
Achieving that perfect, smooth plaster finish isn’t just about slapping some plaster on the wall and hoping for the best. It’s a craft, a careful process that requires the right technique, the correct plastering system, and, importantly, the right number of coats. So, how many plaster coats are really needed to get a professional finish? It all depends on the type of surface, the plaster used, and, perhaps most crucially, the finish you’re aiming for. Let’s break it down and explore when and why you need a certain number of plaster coats.
Plastering Systems: One, Two, or Three Coats?
When it comes to plastering, not all systems are created equal. Whether you’re refurbishing an old space in the heart of Sydney or doing a quick plaster job in a new development in Melbourne, the plastering system you choose can make all the difference in the final result. The system refers to how many layers (or coats) of plaster are applied and how each layer is designed to function.
The Basics of Plastering Coats
The number of coats refers to how many layers of plaster are applied during the plastering process. This can range from just one coat for a quick, less durable finish to three coats for the ultimate in smooth, high-quality results.
While the one-coat plastering method might be tempting due to its speed and cost-effectiveness, a two-coat or three-coat system might be a better choice for a more polished and long-lasting finish. Here’s why:
Why the Number of Coats Matters for a Perfect Finish
It’s tempting to think that plastering is just about slapping some plaster on and smoothing it out. But there’s a lot more to it. Each layer of plaster serves a specific purpose: bonding to the wall, smoothing out imperfections, and creating a finish that can be easily painted and maintained for years to come.
A single coat can be quick and easy, but often doesn’t provide the durability and smoothness required for areas with more traffic or where a polished finish is needed. However, a two-coat system (base and finish coat) is a well-loved standard, offering that balance of durability and smoothness. But if you’re after the best possible finish, especially for premium properties or highly visible areas, a three-coat system with a scratch coat, brown coat, and finish coat is unbeatable.
The Role of Plaster Layers in Achieving a Smooth Finish
Each layer of plaster has a specific job. For example, the base coat (or first layer) forms a solid foundation and ensures the plaster adheres well to the wall, especially in areas where moisture or cracking is a concern. This layer might look a little rough, but that’s perfectly normal. The second coat (or finishing coat) smooths everything over, making the surface more aesthetically pleasing. The final coat polishes the job, leaving you with a surface so smooth you could practically eat your dinner off it.
But, as they say, “don’t bite off more than you can chew,” and sometimes, you might just need a two-coat system—say, for less demanding surfaces like an interior feature wall in a dry area. But if you’re dealing with a high-humidity environment like a bathroom, you’ll want that extra coat to make sure your finish not only looks good but also stands the test of time.
Types of Plastering Systems and Their Benefits
To give you a clearer idea of the differences, let’s dive into the three main plastering systems: single-coat, double-coat, and traditional three-coat plastering.
Single-Coat Plastering – Quick and Cost-Effective for Simple Jobs
Let’s start with the single-coat plastering method, which I’ve used on several smaller jobs, like a quick fix in rental properties. It’s the go-to for getting a basic finish, but it has its limitations.
- Description: The plaster is applied thick enough to cover both the base and finish layers in one go. It’s a rapid method, often called “sponge floating” or “speed skim”. After applying it, the plasterer uses a sponge float to smooth out marks.
- Advantages:
- Time-Efficient: When I worked on a set of rental properties in Brisbane, we used single-coat plastering for quick, clean jobs. The beauty of this method is that it’s much faster—one of my colleagues, Alex, completed a room in under 3 hours, while using a two-coat method took almost 4 hours for the same area.
- Cost-Effective: Given that we used fewer materials, this saved the client money.
- Simplicity: Great for smaller areas or where longevity isn’t a primary concern.
- Time-Efficient: When I worked on a set of rental properties in Brisbane, we used single-coat plastering for quick, clean jobs. The beauty of this method is that it’s much faster—one of my colleagues, Alex, completed a room in under 3 hours, while using a two-coat method took almost 4 hours for the same area.
- Disadvantages:
- Limited Durability: While it’s fine for quick jobs, it’s not the most durable option for high-traffic areas.
- Surface Prep is Key: The surface needs to be in decent condition, and the preparation work can be a bit more fiddly than you’d expect.
- Limited Durability: While it’s fine for quick jobs, it’s not the most durable option for high-traffic areas.
Two-Coat Plastering – The Standard for a High-Quality Finish
The two-coat plastering system is what I recommend for most of my residential projects, especially for homeowners who want something durable but aren’t looking to break the bank. It’s the sweet spot for most plastering jobs.
- Description: It involves a base coat followed by a finish coat. The first layer bonds well to the wall, and the second layer smooths everything out.
- Advantages:
- Durability: This method gives you a strong, long-lasting finish that can handle daily wear.
- Smoother Finish: It’s the method I used for a job I did in Melbourne a while back for a client who wanted a high-quality but not overly extravagant result. The finish was smooth and flawless after applying both layers.
- Insulation: It also provides better thermal and sound insulation, especially beneficial for homes near busy streets.
- Durability: This method gives you a strong, long-lasting finish that can handle daily wear.
- Process:
- Base Coat: A thicker coat is applied first, then scratched to create texture.
- Finish Coat: The second, thinner layer is applied for a smooth finish.
- Base Coat: A thicker coat is applied first, then scratched to create texture.
Three-Coat Plastering – The Traditional Method for Perfection
Now, if you’re looking for the best finish, the three-coat plastering system is the way to go. This method is still the gold standard for high-end jobs, like heritage restorations or luxury homes. While it may take longer and require more material, the results are well worth the effort.
- Advantages:
- Best Finish Quality: If you want the best plaster finish, the three-coat system is unbeatable. For example, I worked on a commercial project in Sydney’s CBD, where we used the three-coat method to ensure the plaster would last and maintain its pristine finish for years.
- Maximum Durability: The three coats make the plaster significantly more resistant to cracking, which is especially important in high-traffic areas like hallways and kitchens. It’s also ideal for moisture-prone areas such as bathrooms.
- Eco-Friendly: Using natural materials like lime and sand, the plaster is breathable and regulates moisture, which helps prevent mould growth—a big concern in Australia’s humid climate.
- Superior Insulation: The additional layers also offer better thermal and sound insulation, perfect for keeping energy costs down and improving comfort in homes, particularly in colder regions like Tasmania.
- Best Finish Quality: If you want the best plaster finish, the three-coat system is unbeatable. For example, I worked on a commercial project in Sydney’s CBD, where we used the three-coat method to ensure the plaster would last and maintain its pristine finish for years.
- Best Use Cases:
- Heritage Buildings and Luxury Homes: A few years ago, I worked on a project restoring a beautiful old Victorian terrace in Melbourne. The three-coat method not only matched the original plasterwork perfectly but ensured the walls were durable enough for future generations.
- High Humidity Areas: The plaster’s breathability is a huge benefit for bathrooms and kitchens, where moisture control is a must.
- Large Commercial Projects: For retail spaces or auditoriums, where durability, soundproofing, and aesthetics matter, the three-coat system is the go-to choice.
- Heritage Buildings and Luxury Homes: A few years ago, I worked on a project restoring a beautiful old Victorian terrace in Melbourne. The three-coat method not only matched the original plasterwork perfectly but ensured the walls were durable enough for future generations.
Factors Influencing the Number of Plaster Coats Needed
Choosing the right number of plaster coats isn’t just about preference; several factors come into play. Let’s dive into the key considerations that influence how many coats you’ll need.
Surface Condition – Smooth or Rough?
The condition of the surface you’re plastering will dictate how many coats are needed. Uneven surfaces or rough walls generally require more plaster to fill in the imperfections. On the other hand, smooth, pre-prepared surfaces (like fresh plasterboard or masonry) may only need a couple of coats.
- Personal Experience: In a recent Brisbane renovation project, the walls were a mix of old plaster and exposed brick. We had to apply an extra base coat to the rougher sections to make sure the plaster adhered properly, and then finished with two coats. The difference was night and day – a smooth, level surface ready for painting.
Plaster Type – Gypsum vs. Cement
Different plaster types also play a role in how many coats are required. Gypsum plaster, for example, tends to require fewer coats than cement plaster. Cement-based plasters often need an extra coat to achieve the same smoothness as gypsum due to their thicker consistency.
- Example: For a high-rise apartment in Melbourne, we used gypsum plaster because the client wanted a faster and smoother finish. It was ideal for internal walls, requiring only a two-coat system.
Desired Finish – Polished, Smooth, or Textured
If you’re after a polished, smooth finish, like the kind seen in modern homes or high-end commercial spaces, a two-coat or three-coat system is the way to go. But if you’re after a more textured or rustic look, you might only need one or two coats to create that finish.
- Real-World Example: For a farmhouse in the Hunter Valley, the client wanted a textured rough-cast finish, so we used just a two-coat system. The surface wasn’t meant to be perfectly smooth, and the texture added character to the interior spaces.
Weather Conditions – Temperature and Humidity’s Impact on Drying Time
In hot, dry weather, plaster can dry out too quickly, leading to cracks or poor adhesion if the application isn’t done carefully. On the flip side, cold, humid conditions can slow down the drying time, making it harder to apply subsequent coats.
- Personal Experience: I once worked on a project near Cairns, where the tropical climate meant we had to wait longer between coats due to the humidity. It took a bit of extra time, but we had to be patient for the plaster to set properly. On the other hand, I worked in outback Queensland, where the dry heat forced us to work quickly to prevent cracks.
Step-by-Step Process for Achieving the Best Plaster Finish
Achieving a professional-quality plaster finish requires careful planning and the right techniques. Here’s the step-by-step guide I follow, ensuring the best plaster finish for my clients.
Preparing the Surface for Plaster Application
The first step in any plastering job is surface preparation. A clean, dry, and smooth surface is critical to ensuring the plaster bonds properly and achieves the best finish.
- Checklist:
- Clean the surface: Remove dirt, grease, or loose paint.
- Repair holes and cracks: Use filler and let it dry before plastering.
- Ensure the surface is dry: Use a moisture test (tape a plastic sheet to the wall for 24 hours—no moisture should form under it).
- Apply a primer or bonding agent: Especially important for porous surfaces to prevent peeling.
- Clean the surface: Remove dirt, grease, or loose paint.
Mixing the Plaster – Getting the Right Consistency
Mixing plaster is an art in itself. You want the plaster to be smooth and lump-free but thick enough to cling to the wall without running.
- Pro Tip: I’ve found that using a mechanical mixer is key to avoiding air bubbles. But don’t overmix – just mix until the plaster reaches a thick cream-like consistency. Always follow the manufacturer’s instructions to get the best result.
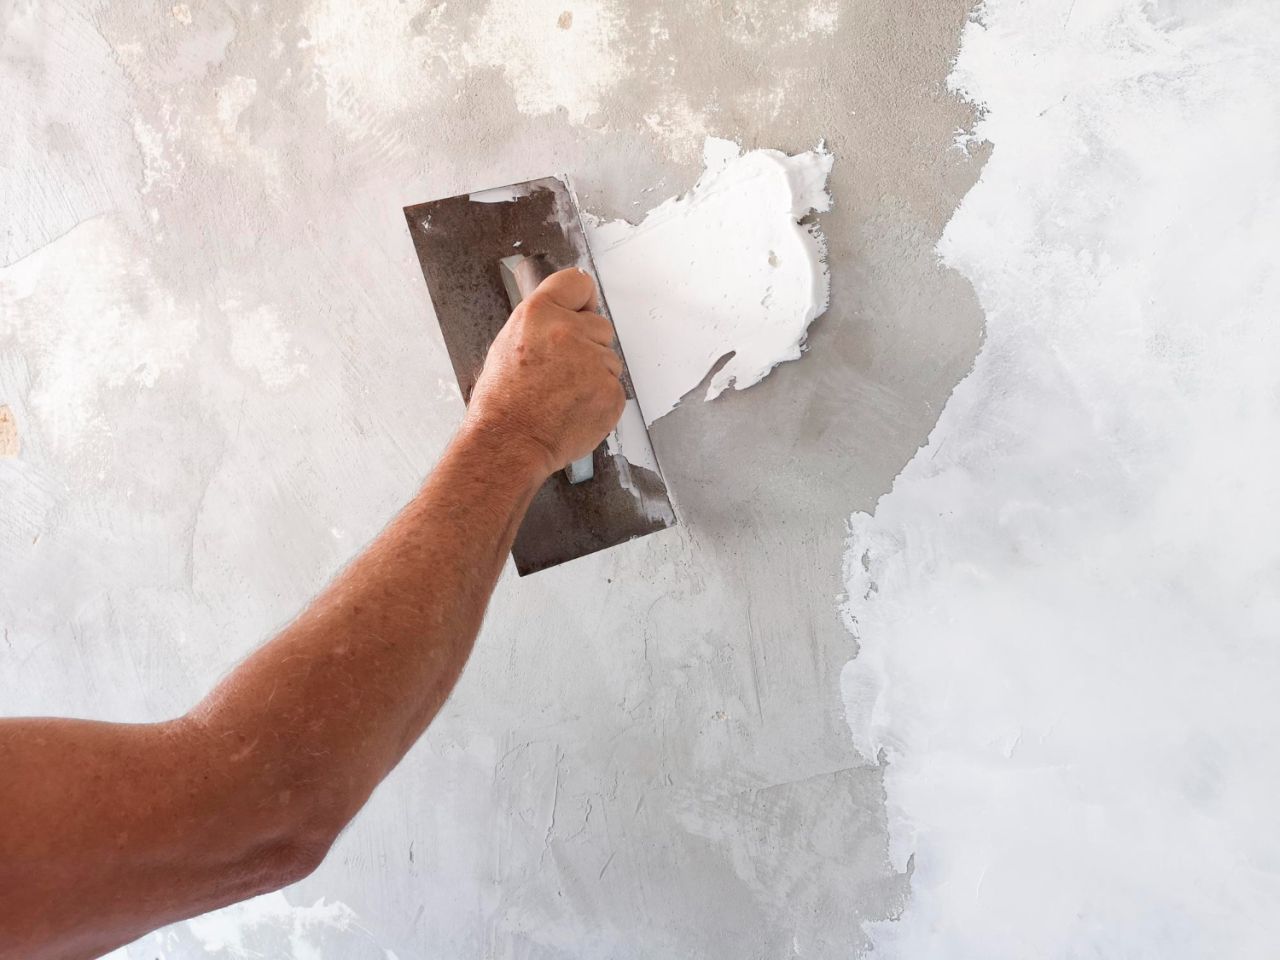
The Application Process – Layering for a Smooth and Strong Bond
- Step 1: Apply the First Coat: Start with a thin, even coat (around 2-3mm thick). Use moderate pressure and work in manageable sections.
- Step 2: Apply the Second Coat: Once the first coat has dried, apply the second, thinner layer. Use a straight edge or spirit level to ensure everything is level and smooth.
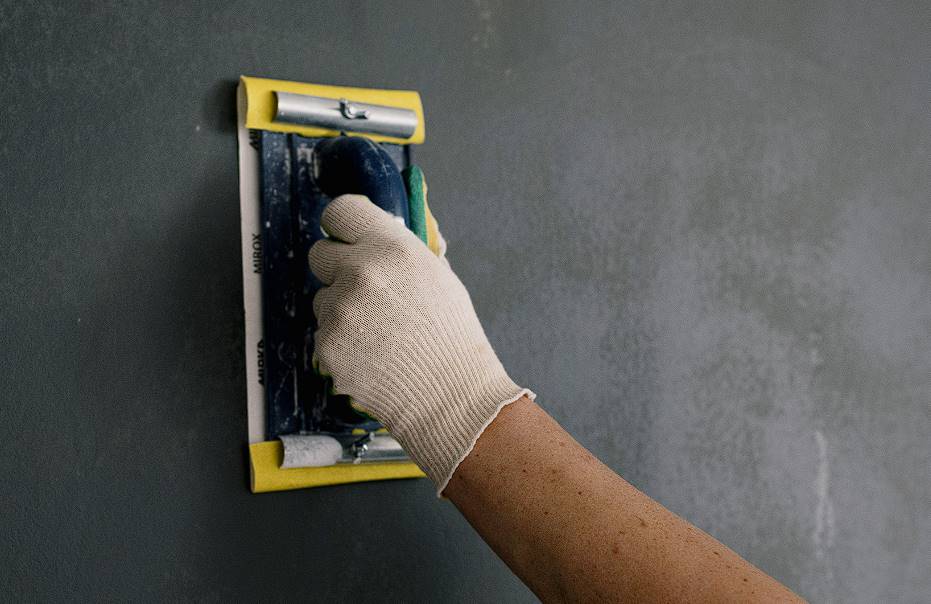
Smoothing and Sanding – Perfecting the Finish
- Smoothing: Once the final coat is applied, you want it perfectly smooth. Use a damp trowel to polish the surface as it dries. This helps eliminate any rough patches or lines.
- Sanding: After it’s fully dry (usually within 24 hours), gently sand with fine-grit sandpaper to remove imperfections.
