When folks aren’t handy around the house, they usually hire professionals to plaster the walls. Many individuals would rather not even consider it because of the prospect of learning plastering on the fly and then being stuck in the middle of a delicate technique that might make or ruin a space.
But we’re here to tell you that it’s doable! Plastering a wall is something anyone can learn how to do, whether they’re short on cash or want a challenge. You only need patience, detail orientation, and a desire to learn. The result may be satisfying work that seems like an expert did it.
Fortunately, we have already put in much effort on your behalf. If you’re new to plastering, don’t worry-we’ve covered you with our detailed instructions below.
What is Plastering?
Before decorating a structure, plastering creates an appropriate final finish on the walls and ceilings.
The surface on which the plastering method will be applied is called a substrate.
The substrates are typically covered with backing coats that range in thickness from 9 mm to 40 mm; however, this thickness can be increased in coats as needed.
Ceilings And Partitions
In older buildings, a layer of plaster covers a layer of timber laths in certain regions.
When reinforcement is needed, expanded metal lath, a thin steel sheet mesh, is fastened and plastered.
Modern quick-track techniques include:
- Fastening plasterboards into place.
- Sealing their joints with fibre mesh tape (scrim) to avoid cracking.
- Applying a final layer of gypsum plaster.
Plasterboards
Plasterboard, in its most basic form, consists of a 9-12.5 mm thick flat sheet of gypsum covered with two layers of sturdy paper. Insulation, water vapour restriction, and fire protection are all possible using boards with various backings of varying thicknesses.
Plasterboards bonded or fastened to substrates for a backing plaster coat are now standard procedure. Dot and dab or drywall is the name of this technique.
Finishing Coats
Finishing coats are often applied in thicknesses ranging from 3mm to 5mm to achieve a smooth skim finish on the backing coats. You may get these setting coats made with finishing plasters, essentially premixed gypsum plasters.
Additional options for finishing coats include lime putty and fine sand or gauged setting stuff, a combination of lime, sand, and gypsum.
Solid Plastering
Solid plastering refers to using aggregate and a binding matrix in a paste or mortar-like consistency for the backing coats. Lime, gypsum, and cement are part of the binder mix. Sand, vermiculite, and perlite are all types of aggregates.
Plasterer
An expert plasterer can apply plastering materials to a substrate in a way that meets the specifications laid down by the customer.
Plasters are available in one-coat and pump/spray varieties. However, most high-quality work still requires the plasterer to use hand tools to apply three coats: a scratch coat to level out the suction, a float coat to create an even surface, and a finishing coat to create a smooth finish.
Is Plastering a Wall Challenging?
Although most people hire experts to plaster walls, you may do it yourself if you plan and follow a tried-and-true method. Get in some warm-up runs beforehand. The finished wall should be smooth and ready to be painted or wallpapered.
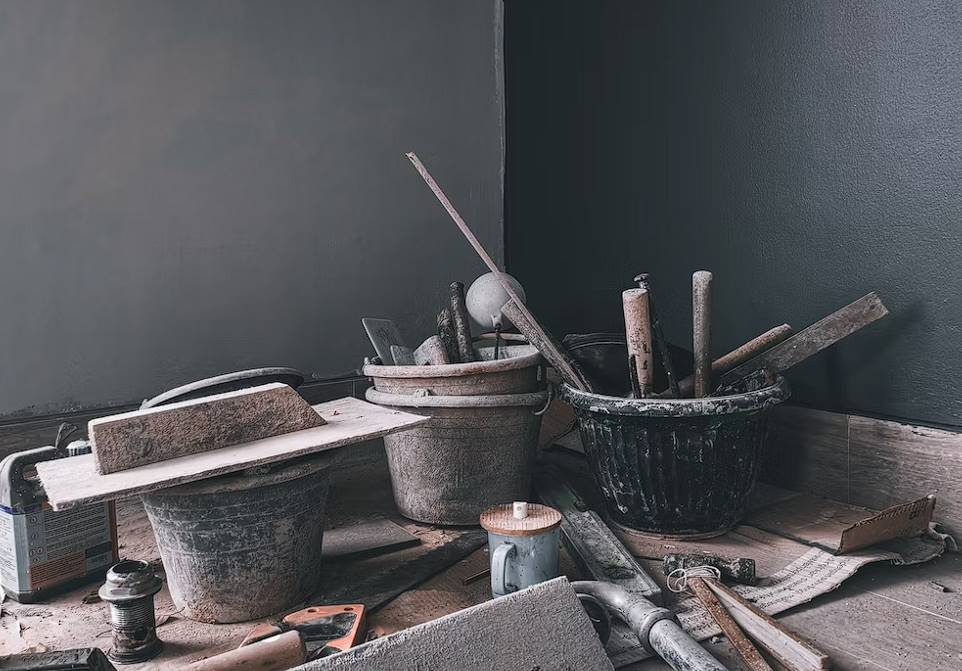
A List of Everything You’ll Need to Plaster a Wall
Doing some shopping for the necessary tools and materials is the first order of business. We have included a list of everything you’ll need below:
- Masking tape
- Blade for cutting
- Tools for plastering and hawk
- Craftsman’s float
- An emulsion roller, a tray, a deviling float, and PVA glue
- Nails that protrude
- Finishing plaster for boards-two buckets
- Rod for stirring
- Mop, towels, and a spray bottle for light misting
- Sheets for dusting
- Face covers that trap dust
Preparation
This focuses on getting the groundwork in place so the rest of the project can go smoothly. First, lay down drop cloths so your work area remains clean. Consider purchasing inexpensive canvas sheeting or plastic tarps to keep dust, spills, and dirt out of your room. Pay close attention to the following details:
Be careful to cover your flooring thoroughly. Staining or damaging wood or laminate flooring is possible with plaster.
- Upon completing the task, retrieve the drop cloths and spritz them with a cleaning solution.
- Use painter’s tape to create an airtight seal when fastening the drop cloth directly to the wall.
Put Pva On The Walls
Here, the PVA glue both adheres to the plaster to the wall and promotes equal drying. It is important to dilute the PVA glue using the ratio of one part PVA to four parts water. The mixture can be applied to walls using a roller or a brush. Crucial information:
- The plaster clings to the wall because of PVA.
- Apply the plaster to the wall just when the PVA is sticky and not fully dry.
Mix Plaster
Learning the proper way to mix plaster is the focus of this step. It would help if you put on a dust mask before handling the plaster bags. First things first! After that, fill a bucket halfway with water (it should hold around 7 or 8 gallons) and stir in the plaster until a mound is formed on top of the water. Subsequently, combine the dried plaster particles using a stirring rod. When the mixture is thick and lump-free, stir it. Crucial information:
- The plaster mixture must always be added to the water, never vice versa.
Put On The First Coat Of Plaster
Here we go into the exciting part – the application. Applying the first coat of plaster requires the correct technique and using a hawk, float, and trowel. Gather some plaster onto the trowel’s edge and scrape it onto the hawk. A little water should do the trick if the plaster clings to the bird. In the lowest left corner, scrape a little plaster off your hawk and apply it to the wall. A helpful hint:
- Crouching down, work up the wall in a gradual arc-like motion, starting in the bottom left-hand corner. To get the most out of your stroke, stand up straight. Gently slide the trowel two or three inches to one side, then in the opposite direction, lower it once more.
Smoothing The Plaster
After around 20 minutes, the plaster will have dried slightly, and you may notice little, random lumps all over your plastered wall. Gently smooth them out with your trowel, paying specific attention to the areas surrounding the wall’s bottom and top corners.
Put On The Second Layer Of Plaster
To make the second layer thinner than the first, add more water to the plaster mixture and stir until it is diluted. Here, a 2 mm coating of plaster is all that’s needed. After that, let it dry.
Polishing Up On The Details
Assuming the plaster has dried a little, you should have a nearly plastered wall; the last step is to give it a little shine. Brush some water over the spray gun’s surface and use it to coat the plaster’s edges. To make sure the surface is smooth, use the trowel and a moist brush to fill in the wall’s difficult edges.
FAQs About Plastering
Are There Any Tips For Beginners Learning How To Plaster A Wall?
Practice on a small area first, watch tutorial videos and don’t rush the process. Take your time to ensure each layer is applied evenly and smoothly for the best results.
How Do I Achieve A Smooth Finish When Plastering A Wall?
To achieve a smooth finish, use a clean, damp sponge or trowel to gently smooth out any imperfections or ridges in the plaster before it sets.
How Long Does It Take For Plaster To Dry On A Wall?
Drying time varies depending on humidity and temperature, but plaster typically takes 24 to 48 hours to dry completely.
What Should I Do If I Encounter Air Bubbles Or Imperfections In The Plaster?
If air bubbles or imperfections appear, gently tap the surface with a trowel or use a damp sponge to blend them in before the plaster sets.
What Technique Should I Use To Apply Plaster To The Wall?
Start by applying a thin coat of plaster with a plastering float, working from the bottom to the top and using smooth, sweeping motions to create an even layer.
Finding the Right Plasterer
We all know that renovations and adaptations are costly and challenging projects. Décorating your home holds great significance for you as it is the sanctuary where you find solace, liberty, and joy. It would help if you were happy with your apartment since you’ve already invested a lot of money.
Allow me to go into further depth with each of these suggestions. If you use them, finding a plastering contractor will be a breeze.
Prepare Yourself With The Fundamentals
Before beginning the plastering procedure, it is advisable to familiarise yourself with the basic concepts. Find out the fundamentals of what you may expect to do on the job.
Anyone interested in learning more about the many kinds of plastering should conduct their research. You may find a lot of organisations and places on social media where people can share their stories. Feel free to enquire about the specific tasks and abilities required to complete the various plastering assignments.
How Does The Craftsman Prepare For Your Project?
At first glance, two walls plastered in opposite directions can appear to be identical. However, one must go past the surface to evaluate the quality and longevity of the job done.
Glueing everything together makes it appear nice initially, but how long will it stay? A plasterer can find a half-hour and half-dollar-saving alternative to flying over a bedroom. It could have a nice appearance at first, but eventually, cracks will appear.
When working with lime plaster, for instance, which can be 100 years old, there is a chance that some areas of the plaster may be defective. It may appear in good shape, but you must address the issue immediately if it responds to your pressing. After that, you can only remove it once you replaster the whole region, which means ripping out huge sections and starting over. The fresh plaster will crack under the weight if you don’t. The likelihood of it happening increases with time, even if it doesn’t happen immediately.
Before starting, a trained artisan will meticulously evaluate the ceiling and walls for damage. Before working, you must push or bang the surface to see its condition. And it is crucial.
Find A Candidate With Relevant Work Experience.
This field requires relevant job experience. If your plastering contractor has experience, they will do a fantastic job.
Check Out Reviews Written By People Who Have Used It Before.
Picking a handyperson based on word of mouth is a sound strategy. And simply unhappy. You can learn the most about a person’s work and quality from the experiences of others.
Plastering is often a very untidy occupation because of the high volume of dust produced and the ease with which wet mortar may be sprayed onto surfaces. A contractor who takes pleasure in their work and cleans up is essential.
Get samples of the plasterer’s work from clients you’ve worked with. It helps to know at least one of those clients to get a feel for it. Enquire not only about the work quality but also about his level of caution around their home while he was working and the extent to which he cleaned up afterwards.
Conclusion
It’s not hard to plaster a wall; anyone can do it, even if they don’t have a lot of money or like to take on challenges. Plastering gives walls and ceilings their final coat of paint before they are decorated. The backing coats, which usually range in thickness from 9mm to 40mm, cover the base, which is the surface that the plastering method is put on. In modern quick-track methods, plasterboards are fixed in place, their gaps are sealed with fibre mesh tape, and a final layer of gypsum plaster is applied.
Plasterboards are made of gypsum and two layers of strong paper. They are used to keep heat in, stop water vapour from escaping, and prevent fires. To get a smooth skim finish, finishing coats are put on in layers that range in thickness from 3mm to 5mm. In solid plastering, the backing coats are made of aggregate and a binding matrix that has the consistency of paste or cement.
Professional plasterers know how to put plastering materials on a base in a way that meets the needs of the customer. Three coats are put on by hand: a scratch coat to get rid of the pressure, a float coat to make the surface even, and a finishing coat to make the finish smooth.
Masking tape, a blade for cutting, tools for plastering and hawking, a tray, a deviling float, an emulsion roller, and PVA glue are all things you’ll need to plaster a wall. Cover the work area with drop cloths, make sure they are in place, and use PVA glue to stick them together.
It is very important to find the right plasterer for repairs and changes to work. Get to know the basics of painting and look into the different kinds on social media and in professional groups.
Before starting work, a skilled craftsman will check the roof and walls for damage. If the plaster is lime, which can be 100 years old, look for cracks and other flaws. Fix any problems right away to keep the rock from breaking when it’s put under weight.
Look for a contractor who has done work similar to what you need, and read reviews made by past clients. Plastering is often a messy job because it makes a lot of dust and is easy to spray wet cement. It’s important to hire a contractor who enjoys their job and cleans up after themselves.
Get examples of the plasterer’s work from people you’ve worked with before to get a sense of how safe, clean, and well-done their work is. If you follow these steps, your painting job will go smoothly and turn out well.
Content Summary
- Plastering a wall is a skill that can be learned with patience, attention to detail, and a willingness to learn.
- Plastering prepares walls and ceilings for decoration by creating a smooth finish.
- The substrate, or surface to be plastered, can vary in thickness and material.
- In older buildings, plaster is often applied over timber laths or expanded metal lath for reinforcement.
- Modern methods include using plasterboards and sealing joints with scrim to prevent cracking.
- Plasterboard is a common backing for plaster, made of gypsum with paper layers for added strength.
- The finishing coat of plaster is usually 3mm to 5mm thick for a smooth surface.
- Solid plastering involves a mix of aggregate and binder for the backing coats.
- A skilled plasterer can apply plaster in a way that meets customer specifications, often using a three-coat process.
- Plastering is not inherently challenging but requires practice and a systematic approach for best results.
- Essential tools and materials for plastering include masking tape, a cutting blade, plastering tools, a hawk, and a craftsman’s float.
- Preparation involves laying down drop cloths and using masking tape to protect the work area.
- Applying PVA glue to walls helps the plaster adhere and promotes even drying.
- Mixing plaster correctly is crucial to achieving the right consistency and avoiding lumps.
- The first coat of plaster is applied using a hawk and trowel, starting from the bottom and working upwards.
- Smoothing the plaster after the first coat helps remove lumps and imperfections.
- A second, thinner layer of plaster is applied over the first coat to refine the finish.
- Final touches involve polishing the plastered surface with water and a trowel for a smooth finish.
- Finding a skilled plasterer involves understanding the basics of plastering and knowing what to expect.
- Evaluating the work of a plasterer includes examining the preparation and application techniques used.
- Experience is crucial in plastering, as it affects the quality and durability of the work.
- Reviews from previous clients can provide valuable insights into a plasterer’s workmanship and professionalism.
- A clean work environment and thorough cleanup after plastering are signs of a good plasterer.
- Asking for samples of a plasterer’s work can help assess their skill and attention to detail.
- The quality of a plastering job is not just about appearance but also about the longevity and integrity of the work.
- Proper preparation, including assessing the condition of walls and ceilings, is essential for a successful plastering job.
- The choice of materials, from the type of plaster to the tools used, can impact the final result.
- Learning to plaster involves understanding the properties of different plasters and how they are applied.
- Plastering requires a balance between speed and precision to achieve a smooth, durable finish.
- The drying time of plaster is critical to the overall success of the plastering process.
- Protecting surrounding areas and ensuring a clean workspace are important aspects of plastering.
- Diluting PVA glue correctly and applying it at the right time are key steps in the plastering process.
- The thickness of the plaster coats must be carefully controlled to avoid cracking and ensure an even finish.
- Attention to detail in the mixing, application, and smoothing of plaster is what differentiates a professional job.
- Ensuring the plaster has dried slightly before applying the second coat helps achieve a better finish.
- Water misting and polishing the plaster after it has set are final steps to ensure a smooth surface.
- The skills of a plasterer extend beyond applying plaster to include assessing and preparing the surface.
- Adequate training and practice are necessary for anyone learning to plaster.
- The complexity of plastering varies depending on the substrate and the desired finish.
- Safety precautions, including the use of dust masks and protective gear, are important in plastering.
- The satisfaction of completing a plastering job well can be significant for DIY enthusiasts.
- Professional plasterers often use a variety of techniques and materials to achieve the desired outcome.
- The durability of a plastering job depends on the quality of the materials and the skill of the plasterer.
- Plastering can transform a room, providing a fresh, clean canvas for decoration.
- The cost of hiring a professional plasterer can be justified by the quality and durability of the work.
- DIY plastering can be a cost-effective option for those willing to learn and put in the effort.
- The aesthetic appeal of a well-plastered wall is a key factor in home renovation projects.
- The role of a plasterer is both artistic and technical, requiring a good eye and steady hand.
- Preparation is as important as the plastering itself, affecting the final quality of the job.
- The decision to hire a professional plasterer should be based on the complexity of the project and the desired finish.

