Plaster ceilings are a classic feature in many older Australian homes, adding character and a sense of timelessness. However, over time, these ceilings can suffer from various types of damage, such as cracks, sagging, and water damage.
If you’ve noticed any issues with your plaster ceiling, you may be wondering, “Can the damaged plaster ceiling be fixed?” Fortunately, the answer is often yes, but the repair process depends on the severity and cause of the damage. In this article, we will walk you through the steps of assessing, repairing, and maintaining your plaster ceiling to restore its original beauty.
Let’s Get Straight To The Point
Plaster ceilings in older Australian homes can develop damage over time, such as cracks, sagging, and water stains. Repairing these ceilings depends on the damage’s severity and cause.
Minor cracks can be fixed with joint compounds or spackle, while larger issues like sagging or extensive water damage may require professional intervention or full replacement. It’s important to identify the root cause of damage—such as water leaks or temperature fluctuations—before repairing. For significant damage, overboarding with plasterboard can be a cost-effective solution. DIY repairs are suitable for small issues, but larger problems should be handled by professionals.
Assessing the Damage: The First Step in Repairing a Plaster Ceiling
Before beginning any plaster ceiling repair, it’s crucial to assess the damage thoroughly. The cause and extent of the damage will dictate whether you can handle the repairs yourself or need to call in a professional.
Identify the Cause of Damage
The first step in plaster ceiling restoration is understanding the root cause of the damage. Common causes include:
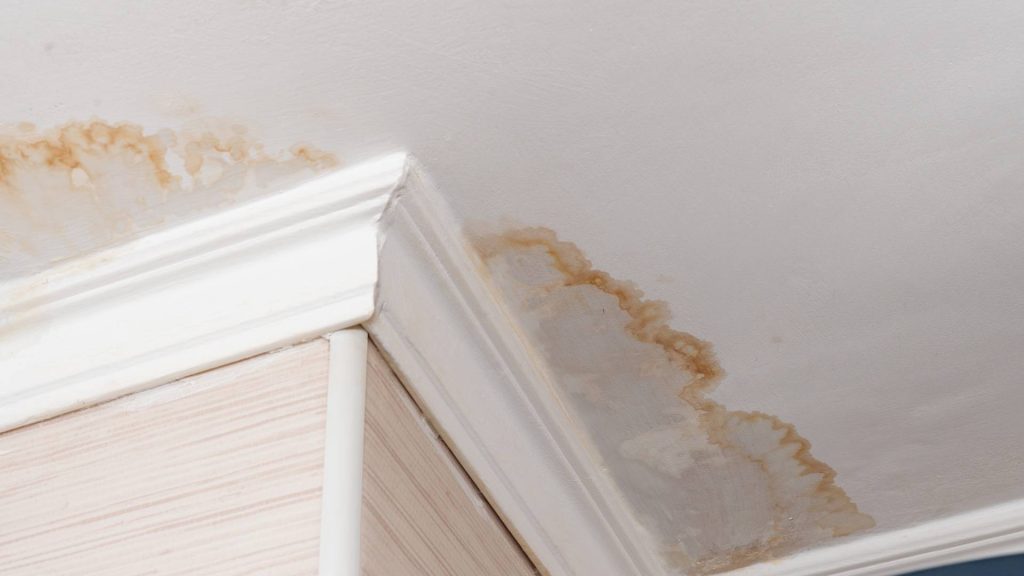
- Water Damage: Leaks from the roof or plumbing often lead to water stains and sagging plaster.
- Temperature Fluctuations: Extreme temperature changes can cause plaster to crack.
- DIY Mistakes: Poorly executed repairs or installations may leave cracks or holes in the ceiling.
In some cases, the damage may be purely cosmetic, such as small hairline cracks. However, if the cracks are larger than 1/10 of an inch, they might indicate structural issues. Expert Insight: Always investigate the source of the problem before beginning repairs, especially if you suspect water damage. Identifying and resolving the underlying issue, such as fixing a ceiling leak, is essential to prevent further damage.
Is It Worth Repairing?
Minor cracks, holes, and small patches of damage are usually manageable with basic tools and materials. For example, you can use joint compounds or spackle to fill small cracks or holes. However, larger structural damage—such as sagging or large gaps—may require more extensive repair or even full replacement. Real-World Example: If you have a historic plaster ceiling that is sagging due to long-term water damage, simply patching it may not be enough. The ceiling might need to be replaced or at least overboarded with plasterboard for long-term stability.
Repairing Cracks and Holes in a Plaster Ceiling
Once the cause of the damage is identified, it’s time to move on to the repair work. Smaller cracks and holes can be easily fixed with the right tools and techniques.
How to Fix Minor Cracks
For small, shallow cracks in plaster, follow these steps for a smooth and seamless finish:
- Widen the Crack: Using a putty knife, gently widen the crack to ensure the filler has enough room to bond properly. This may sound counterintuitive, but it ensures a stronger repair.
- Clean the Area: Brush away any loose debris and dust to create a clean surface.
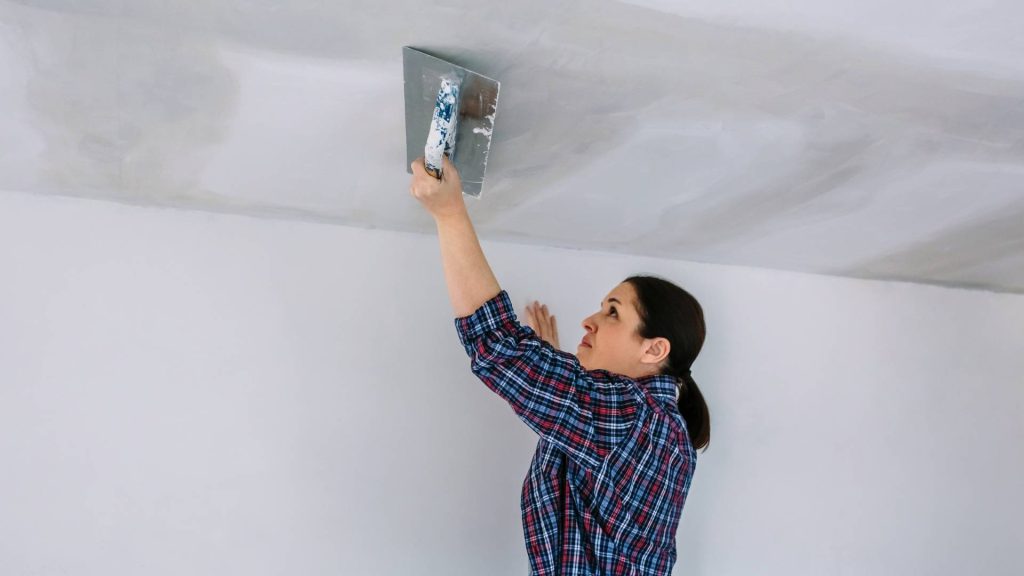
- Apply Joint Compound: Spread joint compound over the crack using a putty knife. Apply in thin layers, allowing each layer to dry before adding the next.
- Sand and Paint: After the compound is dry, sand the area until smooth. Finish with a fresh coat of paint to match the rest of the ceiling.
First-Hand Experience: Professionals recommend applying multiple thin layers of joint compound, as this provides a stronger bond than one thick layer, ensuring that the repair lasts longer.
When to Use Mesh or Fiberglass Tape
For larger cracks, particularly those wider than 1/10 of an inch, reinforcing with mesh or fiberglass tape is essential. This tape helps prevent the crack from reopening and gives the repair more stability. Here’s how to apply it:
- Apply Tape: After widening the crack, place mesh tape over the gap.
- Cover with Joint Compound: Spread joint compound over the tape, ensuring the tape is fully covered. Smooth out any excess compound.
- Let It Dry: Allow the compound to dry before sanding and painting.
Expert Tip: Mesh tape is especially useful for cracks that span the ceiling and wall joint, providing additional support for the plaster repair.
Dealing with Water Damage and Larger Repairs
Water damage can be one of the most challenging issues to deal with when it comes to plaster ceilings. If your ceiling has been exposed to moisture, prompt action is required to avoid further deterioration.
When Water Damage Demands Full Replacement
If your plaster ceiling has sustained significant water damage, the extent of the damage might require replacing the plaster or even the underlying ceiling structure. Signs that the damage is extensive include:
- Sagging plaster.
- Mould growth.
- Discolouration or stains.
If the plaster has become soft or brittle due to prolonged exposure to moisture, it may be best to replace the damaged sections entirely. Case Study: In some historic homes, water-damaged plaster is carefully removed and replaced with a modern plasterboard system that mimics the original look while ensuring structural integrity.
Replacing the Ceiling: Repair or Overboard?
In cases of severe sagging or structural damage, you may need to decide between repairing or replacing the ceiling. If the damage is too extensive, overboarding with plasterboard might be a better option than patching individual holes. Overboarding involves installing new plasterboard sheets over the existing plaster, effectively creating a new ceiling without the need for full replacement.
Authority Insight: Overboarding is a quicker and more cost-effective solution for homes with lath-and-plaster ceilings that have suffered significant water damage. This method allows you to preserve the aesthetic of the original plaster ceiling while ensuring long-term stability.
Professional vs DIY: Weighing the Options
Deciding whether to tackle a plaster ceiling repair yourself or hire a professional can be challenging. Here’s a breakdown of when it’s worth doing it yourself and when to call in an expert.
Cost and Complexity: Should You DIY or Hire a Professional?
- DIY Repairs: Minor issues like small cracks, holes, or water stains are ideal for DIY repairs. If you’re comfortable with basic tools and materials, you can easily fix these types of problems with minimal effort.
- Professional Repairs: For more complex issues such as sagging ceilings, large cracks, or extensive water damage, hiring a professional plaster ceiling expert is the best option. They have the experience and equipment to tackle large-scale repairs safely and efficiently.
Expert Advice: Professionals can save you time and ensure that repairs meet industry standards. They can also identify underlying issues that you may have missed, preventing further damage down the line.
When to Replace a Plaster Ceiling
Sometimes, repairs are not enough, and a full plaster ceiling replacement is necessary. If the damage is too extensive or the ceiling is too old, replacing the ceiling might be the only option.
Deciding Between Repair and Full Replacement
Several factors should be considered when deciding whether to repair or replace a plaster ceiling:
- Age of the Ceiling: Older ceilings that have been damaged by water or wear may not be worth repairing. A complete replacement can offer a more durable and long-lasting solution.
- Extent of the Damage: If the ceiling has large cracks, sagging sections, or significant water damage, replacing it may be more cost-effective in the long run.
- Aesthetic Considerations: If you have a historic home with unique plasterwork, repairing and restoring the ceiling may be worth the investment to maintain its original charm.
Expert Insight: In some cases, replacement can be more cost-effective than continually repairing a ceiling that has been heavily damaged. This is especially true if the ceiling has suffered from structural damage or water infiltration.
Conclusion
When it comes to fixing damaged plaster ceilings, taking the right approach is crucial. Whether you’re dealing with minor cracks or extensive water damage, assessing the damage early and addressing it with the correct techniques is key to a successful repair.
If you’re unsure about the severity of the damage or the appropriate repair methods, it’s always wise to consult with plaster ceiling experts. They can assess the damage and recommend the best course of action, ensuring your ceiling is repaired properly.
Procrastinating on plaster ceiling repairs can lead to more significant problems, including structural damage and mould growth. It’s always best to address issues early, whether that means simple repairs or a complete ceiling restoration. Regular plaster ceiling maintenance and inspections can help prolong the life of your ceiling and keep your home looking beautiful.
Frequently Asked Questions
Can A Water-Damaged Plaster Ceiling Be Repaired, Or Must It Be Replaced?
Yes, a water-damaged plaster ceiling can often be repaired, depending on the extent of the damage. Minor to moderate water damage usually requires drying out, stabilizing the plaster, and patching or recoating. However, if the structural integrity of the ceiling is compromised or if mould has developed extensively, replacement might be necessary.
How Can I Tell If My Plaster Ceiling Is Too Damaged To Repair?
The key factors to consider are:
- The extent of the water damage.
- The presence of mould.
- The condition of the plaster.
If the plaster is sagging, crumbling, or extensively mouldy, it might be beyond repair. A professional assessment can provide a definitive answer and recommend whether repair or replacement is best.
What Are The First Steps I Should Take If I Notice Water Damage On My Plaster Ceiling?
The first step is to address the source of the water leak to prevent further damage. Once the leak is fixed, allow the ceiling to dry out completely. This may involve using dehumidifiers or fans. After the area is dry, you can assess the damage more accurately and decide on the next steps, whether DIY repair or calling in professionals.
How Long Does It Take To Repair A Water-Damaged Plaster Ceiling?
The repair time can vary depending on the extent of the damage, the drying process, and the repair method chosen. Minor repairs might only take a few hours of actual work spread over several days to allow drying times between steps. More extensive repairs could take several work days and additional time for drying and curing materials.
Can I Repair A Water-Damaged Plaster Ceiling, Or Should I Hire A Professional?
This depends on your DIY skills, the extent of the damage, and your comfort level with the repair process. Homeowners with basic DIY skills can often repair minor damage, such as small cracks or water stains. However, for extensive damage, sagging ceilings, or if there’s a risk of mould, it’s advisable to hire a professional. Professionals have the experience, tools, and materials to safely and effectively restore your ceiling.
